

ON1 Photo RAW 2027 Guided tour Step 1 of 7
Local Adjustments
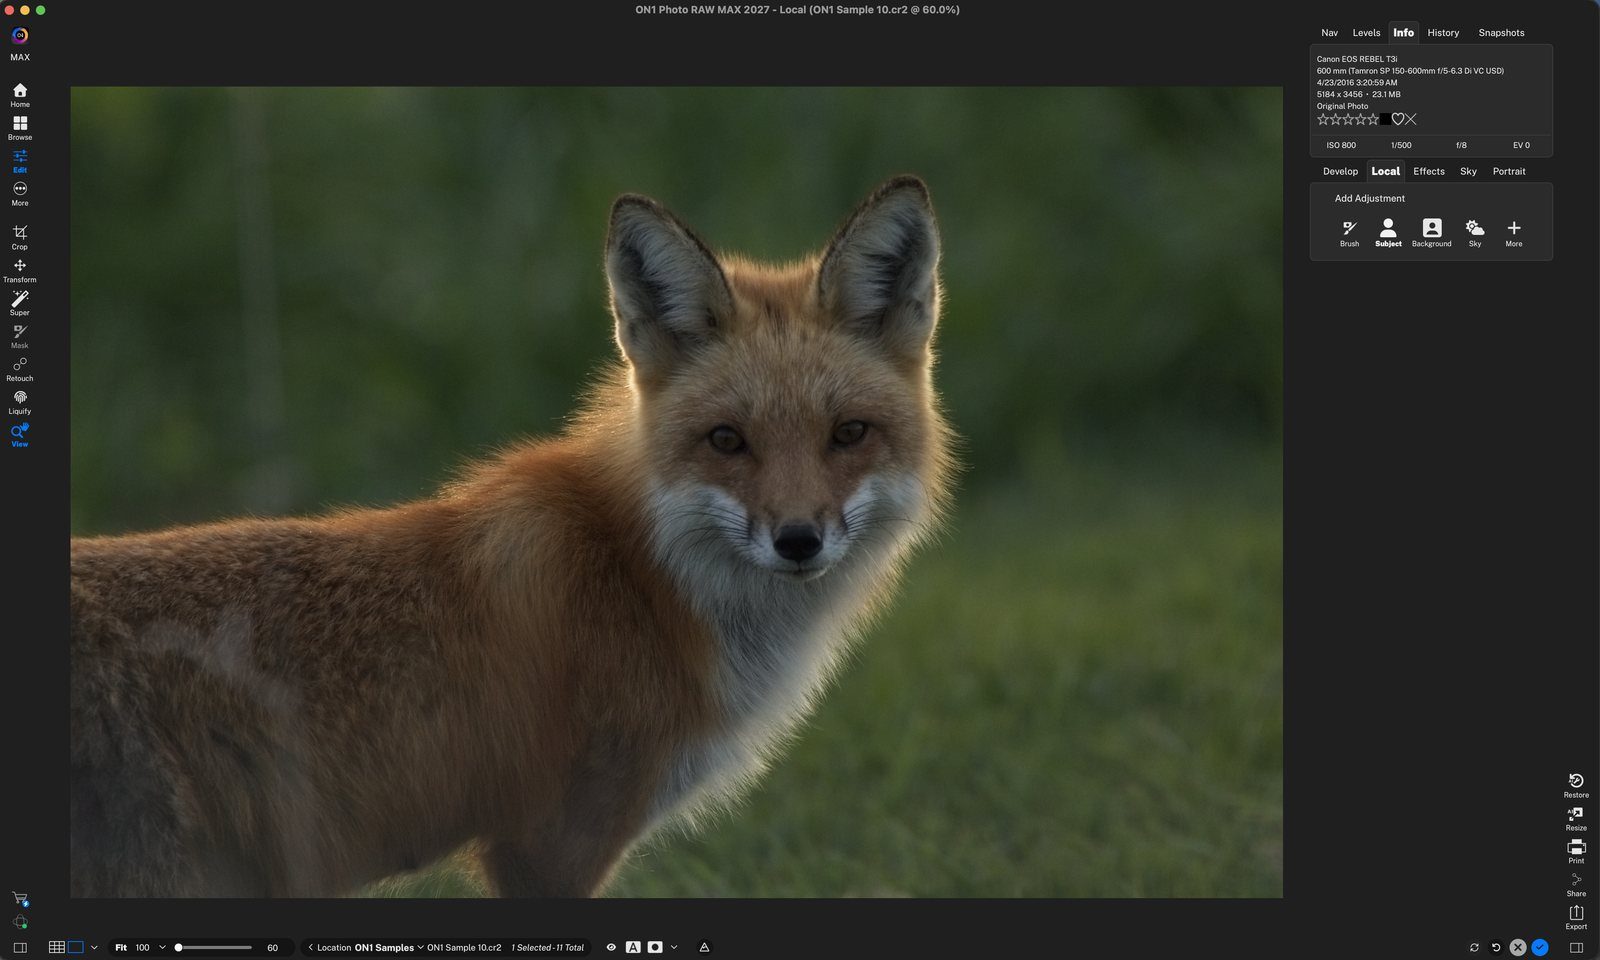
Local adjustments change just one part of your photo. Open the Local tab, then use Add Adjustment to pick the area: one-click AI selections, or a Brush to paint your own.
Pick a Style
A new adjustment opens with Styles at the top. A Style is a quick starting point for the area you selected.
Refine with the Sliders
Fine-tune the adjustment with the Tone, Structure and Color sliders. They change only the selected area.
Darken the Background
Add as many adjustments as you need. Each one is separate, so you can treat the subject and background differently.
Paint with the Brush
For areas AI can't pick, use the Brush to paint the adjustment exactly where you want it.
Compare Before and After
Check your edits against the original photo with the preview controls in the bottom bar.
Manage and Apply
Every adjustment sits in its own pane in the Local panel. When you're happy with the look, apply your edits.
Tour complete
You selected the Subject and Background, picked Styles, refined with sliders, painted with the Brush and applied your edits.
- 1Local and Add Adjustment
- 2Subject
- 1Styles
- 2Exposure
- 1Sliders
- 1Background
- 2Darken
- 1Brush
- 2Brush options
- 3Paint
- 1Split view
- 2Preview
- 1Adjustment panes
- 2Apply