

What Is Noise in a Photo?
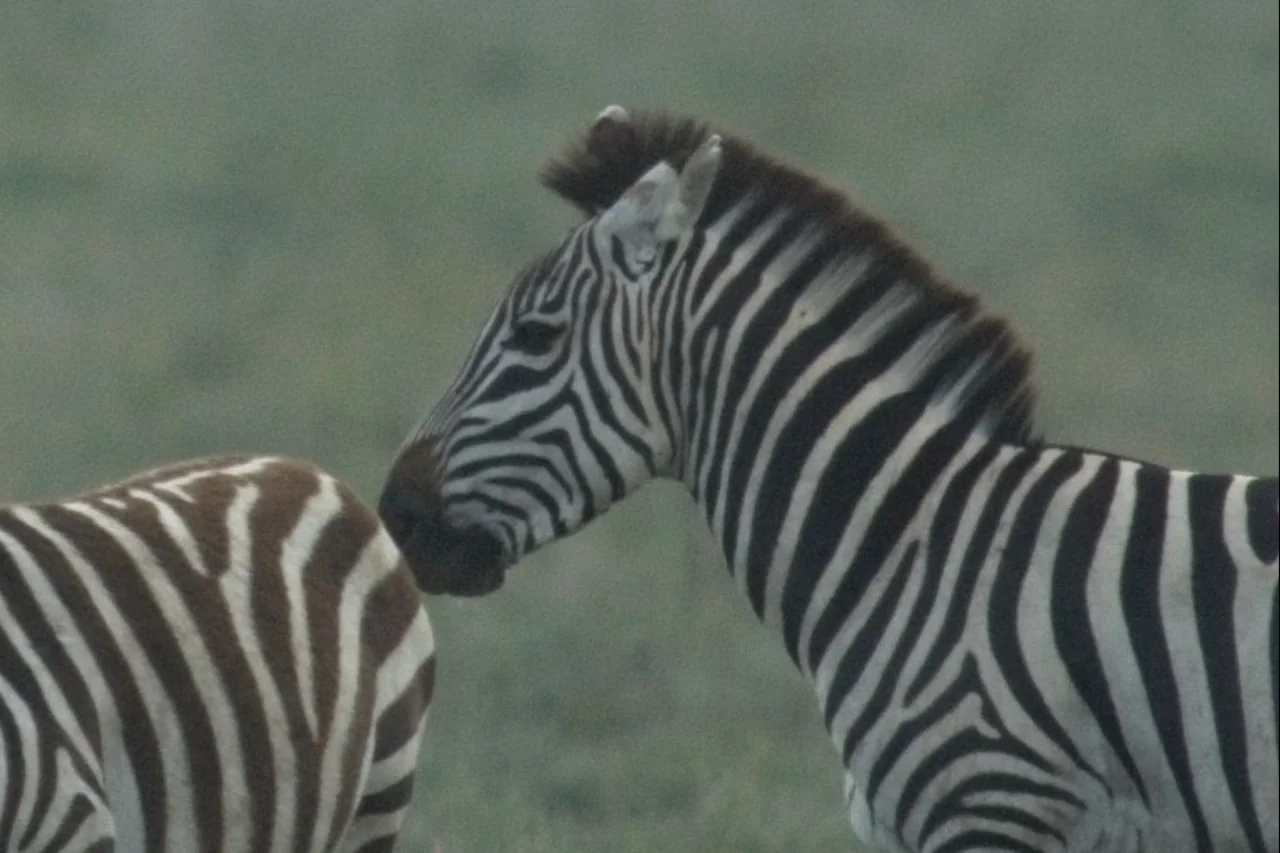
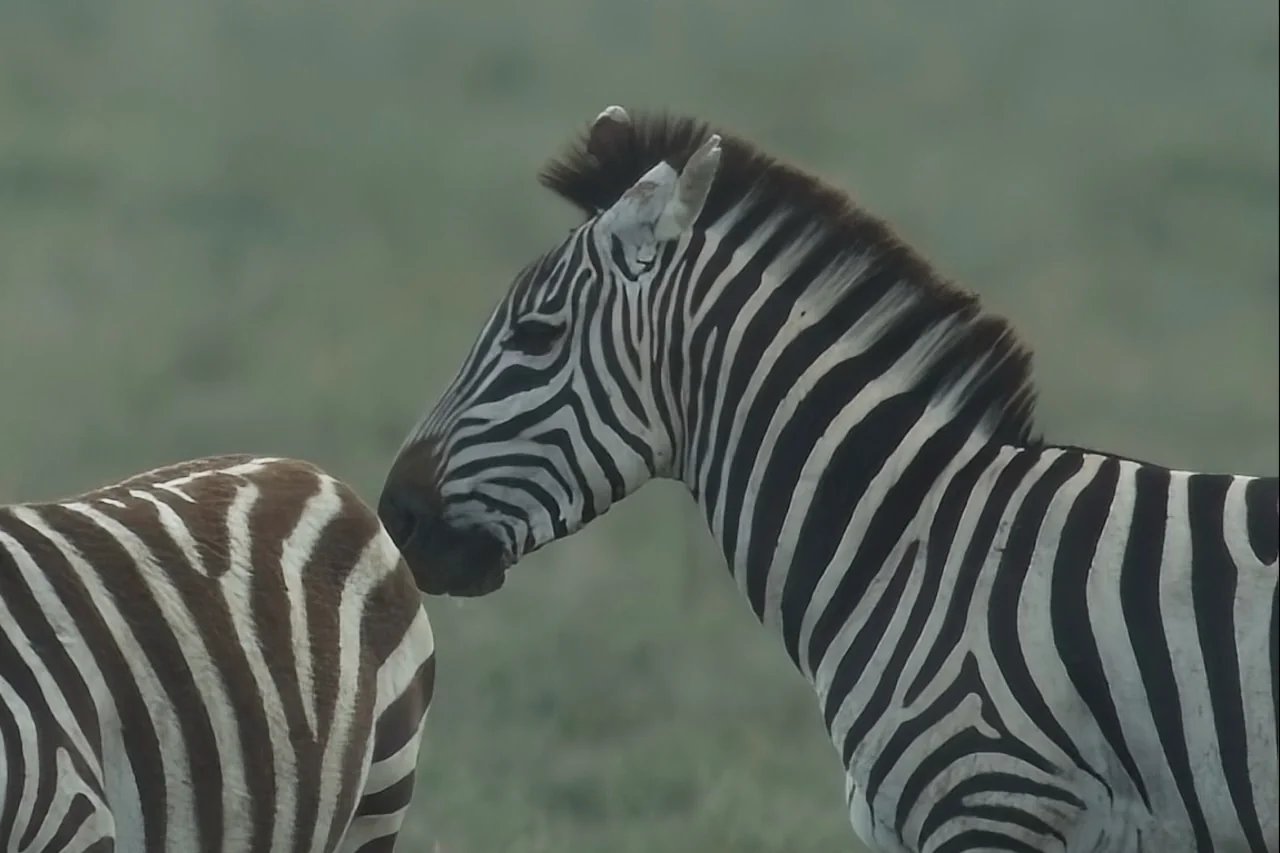
Noise is the speckling you see in a photo, most noticeably in shadows, skies and other smooth areas. It comes from the camera sensor. When there isn't much light in the scene you're photographing, the sensor has less real image data to work with, and the camera amplifies the signal to make the exposure brighter. That amplification brings unwanted random variation along with it. That's noise.
There are two kinds of noise, and they are fixed differently:

Grain
What Is Luminance Noise?
Luminance noise is random variation in brightness from pixel to pixel. It looks like film grain: small light and dark specks with no color. A little of it can look natural. A lot of it makes a photo look rough.
Remove it
What Is Color Noise?
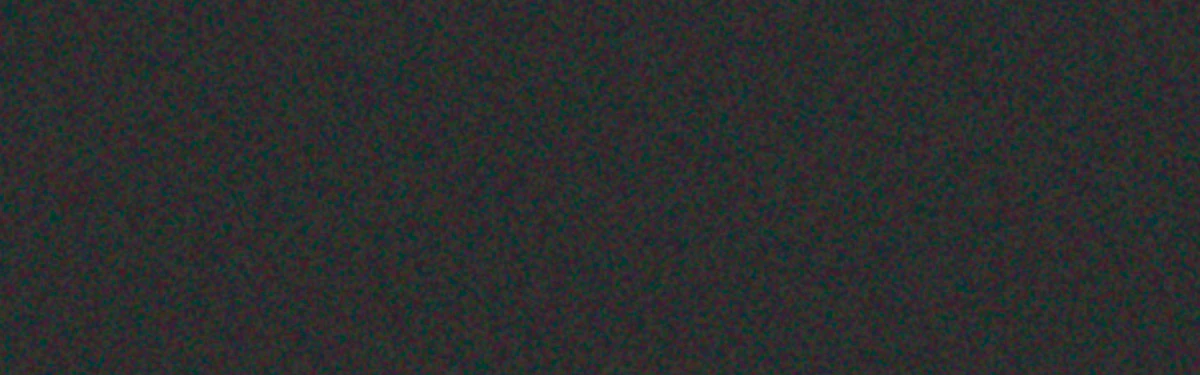
Color noise, also called chroma noise, is random variation in color from pixel to pixel. It shows up as red, green and blue speckles, especially in dark areas. It almost never looks good and should usually be removed completely.
What Causes Noise in Photos?
High ISO
Raising ISO brightens the exposure by amplifying the sensor signal, and noise rises with it. It is the most common cause.
Low Light
Dim scenes such as night skies, concerts, indoor events and wildlife at dawn force higher ISO or longer exposures.
Underexposure
Brightening a dark photo in editing pulls noise out of the shadows. A correctly exposed photo at ISO 3200 often looks cleaner than an underexposed photo at ISO 1600 that has been brightened afterward.
Long Exposures and Heat
Long exposures and a warm sensor can add hot pixels and extra noise.
Small Sensors
Phones and compact cameras have smaller pixels that gather less light, so they show noise sooner than full-frame cameras.
Heavy Editing
Big shadow lifts, strong clarity and aggressive sharpening all make existing noise more visible.
How to Reduce Noise When You Shoot
The cleanest photo is the one that needed the least amount of rescue. These habits reduce noise before you ever open an editor:
- Use the lowest ISO the shot will allow. Open the aperture or slow the shutter first, and raise ISO only when those can't go further without blur.
- Expose correctly, or slightly to the right. Keeping the histogram toward the right side, without clipping highlights, gives the sensor more light and leaves less to brighten later on in photo editing.
- Shoot RAW. RAW files keep far more data than JPEGs, and noise reduction works much better on them. See RAW vs. JPEG for the full comparison.
- Use a tripod for static subjects. A steady camera allows you to use slower shutter speeds at a lower ISO.
- Turn on long-exposure noise reduction in your camera menu for exposures of several seconds or more.
How to Reduce Noise When You Edit
The same steps apply in almost any photo editor:
- Start with color noise. Increase color noise reduction until the colored speckles disappear. This rarely costs visible detail in your photo.
- Reduce luminance noise next. Increase it gradually while zoomed to 100%. Stop when the grain is under control and before skin, feathers, foliage or fabric start to look smooth and plastic.
- Protect detail. Use the detail control, if your editor has one, to bring back texture that luminance noise reduction softened.
- Sharpen last, and lightly. Noise reduction and sharpening pull in opposite directions. Sharpen after reducing noise, and use masking so sharpening applies to edges instead of smooth areas like skies.
- Apply it selectively when needed. Shadows and skies often need more noise reduction than the subject. A local adjustment or mask lets you treat each area differently. Watch Selectively Applying Noise Reduction or Sharpening for a walkthrough.
Using Lightroom? Our guide on how to reduce noise in Lightroom covers its Detail panel step by step.
AI Noise Reduction vs. Traditional Noise Reduction
Traditional noise reduction works by blurring small variations in the image. It removes noise, but it can't tell grain apart from fine texture, so pushing the sliders far enough to clean a high-ISO shot usually softens real detail too.
AI noise reduction is trained on thousands of pairs of noisy and clean images, so it learns what noise looks like compared with actual detail. That lets it remove more noise while keeping more detail, especially in textures, which matters most for high-ISO wildlife, night, event and astro photography. For a side-by-side look at the leading options, see our comparison of the best AI sharpening and noise reduction software.
Traditional sliders
- Blurs small variations to hide noise
- Can't tell grain from fine texture
- Heavy settings soften real detail
AI noise reduction
- Trained on noisy and clean image pairs
- Separates noise from actual detail
- Removes more noise, keeps more texture
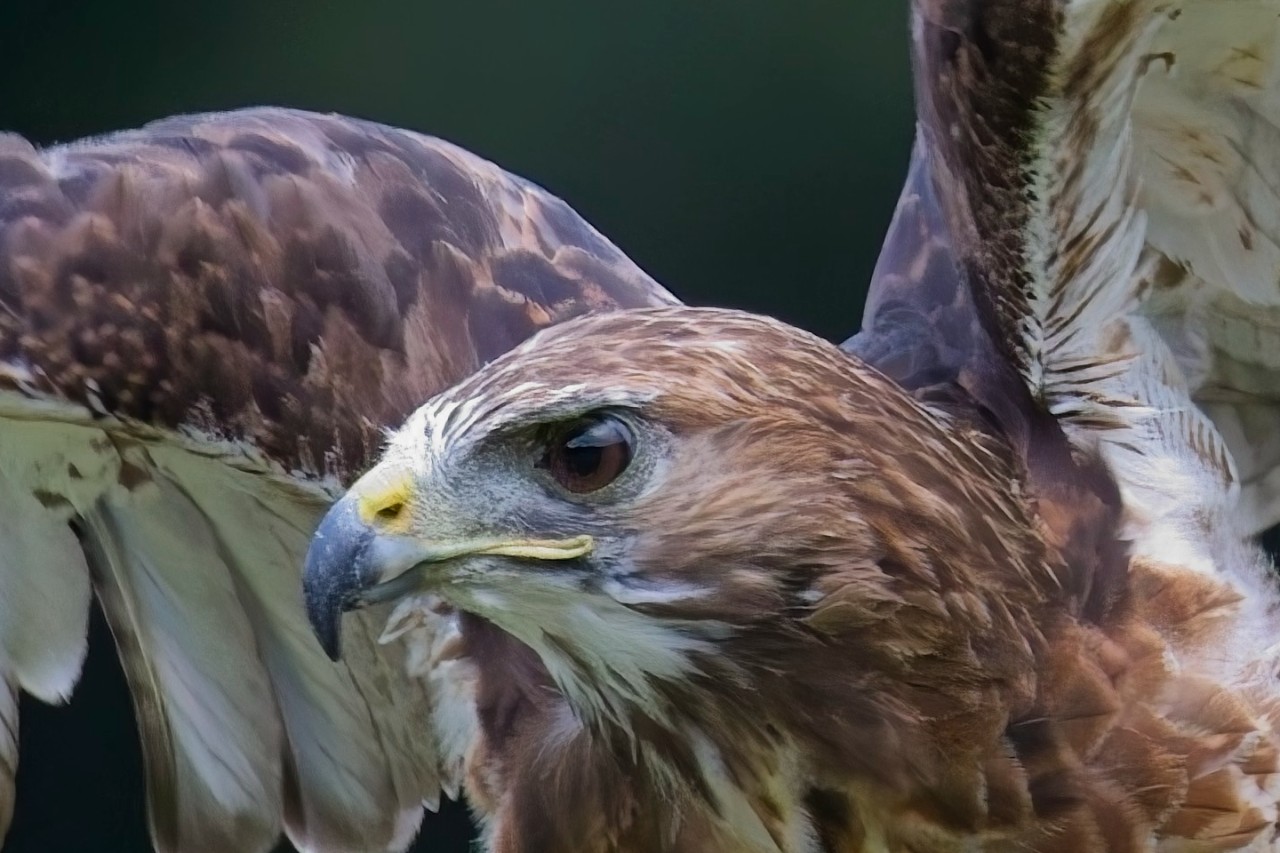
How to Reduce Noise with ON1 NoNoise AI

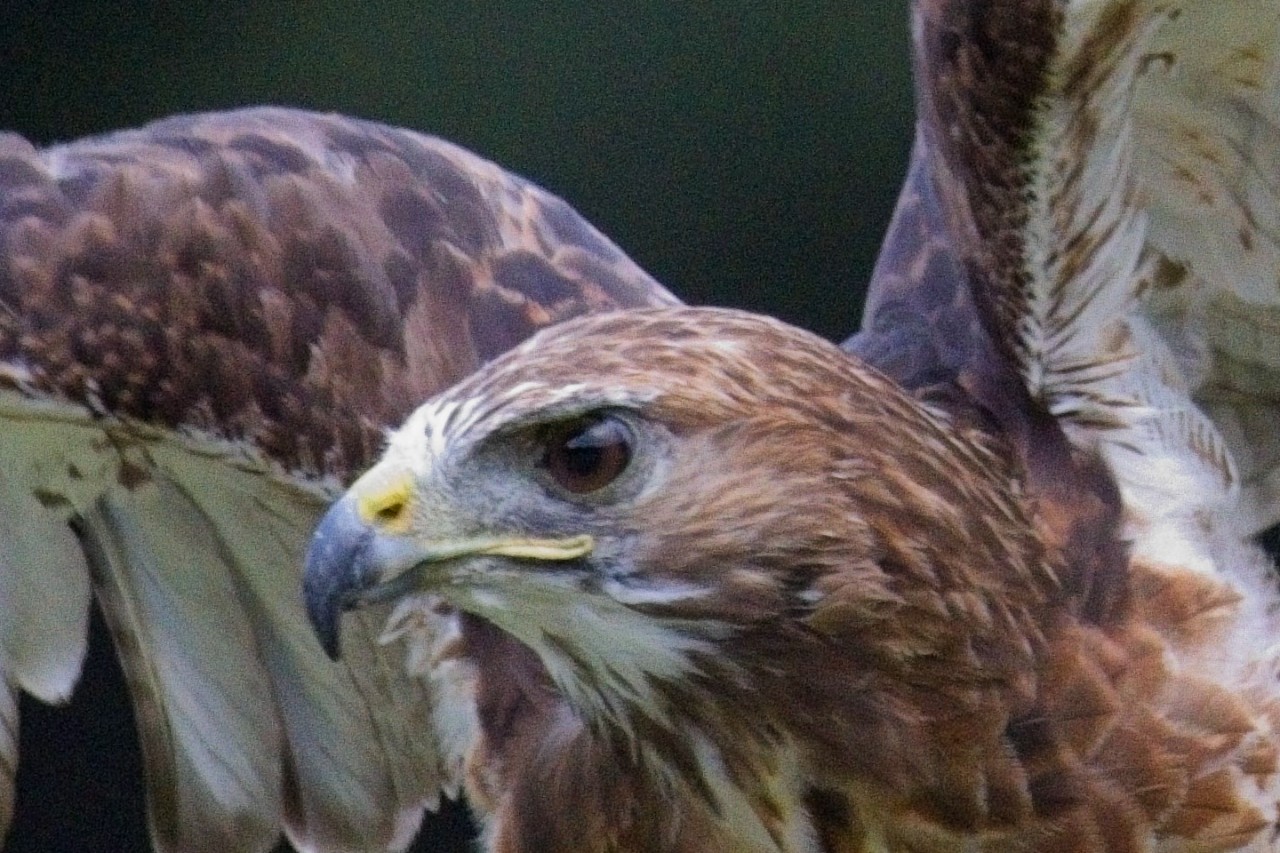
ON1 NoNoise AI removes both luminance and color noise from RAW, DNG, JPEG, TIFF and PNG files, and combines AI noise reduction with AI-based demosaicing and ON1's Progressive Sharpening for cleaner detail. It is built into ON1 Photo RAW and also works on its own or as a plugin inside Lightroom Classic, Photoshop, Capture One, Affinity Photo and Apple Photos.
- Works in
- ON1 Photo RAW
- Standalone
- Lightroom Classic
- Photoshop
- Capture One
- Affinity Photo
- Apple Photos
The basic workflow:
- Open your RAW file in ON1 Photo RAW, or send it to NoNoise AI from your current editor.
- Apply NoNoise AI and review the live preview at 100%.
- Adjust the noise reduction and detail amounts until the grain is gone and texture still looks natural.
- Sharpen lightly if needed, then keep editing or save back to your host app.
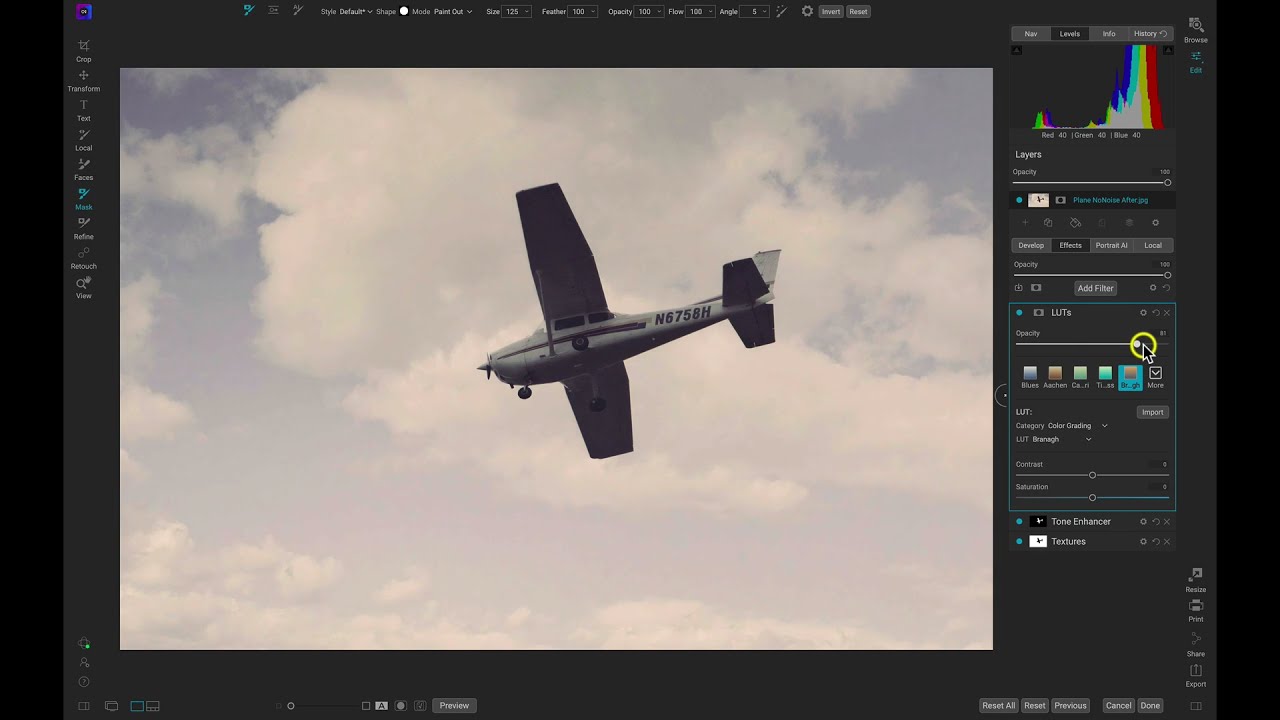 See it in action
How to Reduce Noise in Images with High ISO
See it in action
How to Reduce Noise in Images with High ISO
Clean Up Your High-ISO Shots
Try NoNoise AI on your own photos, free.
- 30-Day Money-Back Guarantee
- No Subscription Required