

October 2026 ON1 Plus Recap: Noise Reduction, Weather Effects, and More
- 75 Views
 Posted by Kahlie Wright
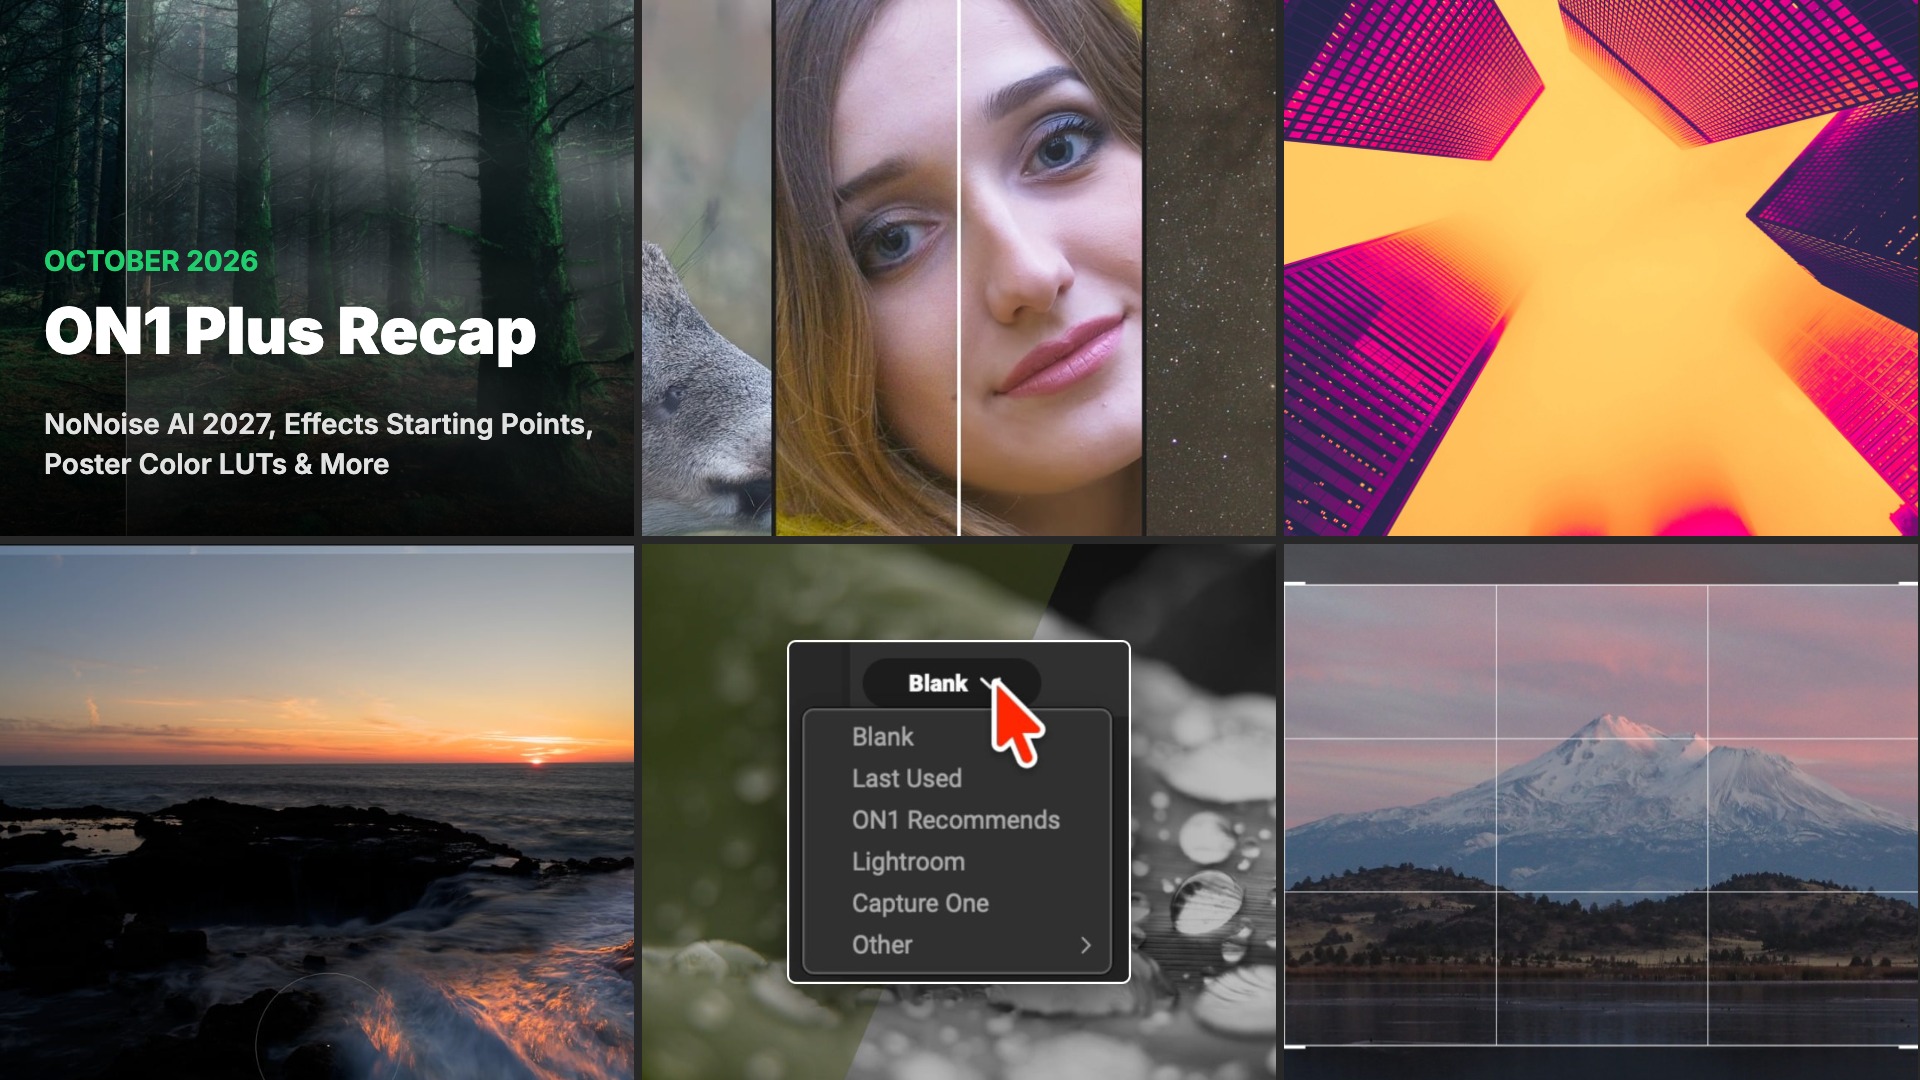
Noise shows up when the light runs out, and the right fix depends on what is in your frame. In October, we recorded lessons that match the NoNoise AI 2027 Model Selector to astro, portrait, and wildlife shots, and showed how to sharpen an owl without touching its background. We also hosted a webinar on adding believable fog, rain, and snow, added Poster Color LUTs to the Creative Library, and wrote a guide to cropping.
ON1 Photo RAW 2027 is here. We rebuilt the RAW engine for richer color and more natural shadows and highlights, built NoNoise AI 2027 into the app, and redesigned masking so it works the same way across layers, filters, and local adjustments. See what’s new in ON1 Photo RAW 2027 →
If you’re an ON1 Plus member, you can start learning it today. In our new course, Best Practices and Workflows in Photo RAW 2027, Dylan Kotecki takes you through a complete workflow in seven lessons, from importing and culling to exporting and sharing, with the biggest 2027 features built into each step. You also get a best practices checklist and 10 Wild Light presets to keep. We’ll feature the course in full in our November recap. Here is the full October lineup.
Compositing Using Photo RAW’s Layers
October 1, 2026
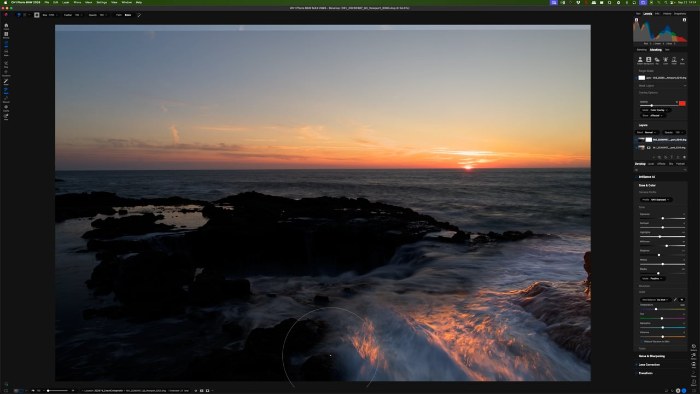
The foreground looks right in one frame and the sky looks right in the other, and you shot both within seconds of each other. In this video, we blend the best parts of each into one seamless image. You’ll use soft masking in Layers, edit the sky and the foreground separately so everything feels natural, and finish with a stamped layer.
You’ll learn how to:
- Blend two photos shot seconds apart with soft masking in Layers
- Edit the sky and the foreground separately
- Bring it together with a stamped layer for final finishing touches
Choosing the Right Denoise Model in NoNoise AI 2027
October 6, 2026
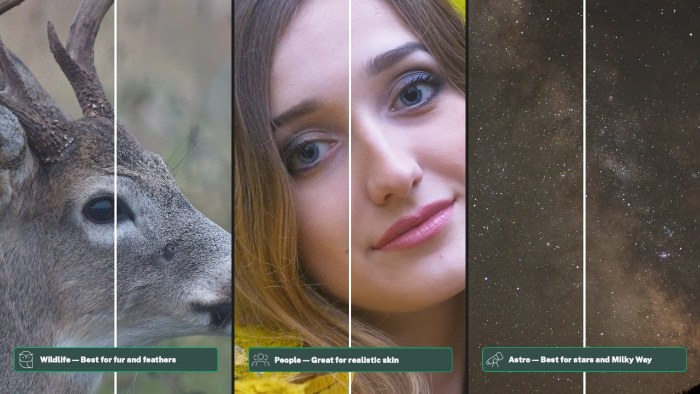
Stars, skin, and fur each hold detail in their own way, so one noise setting rarely suits every shot. The new Model Selector in NoNoise AI 2027 lets you pick a model based on what is in your frame. We walk through three real edits: a Milky Way shot with the Astro model, a portrait with the People model, and a wildlife photo with the Wildlife model.
Along the way, we show how to set up the preview so you check the areas that matter most, and how far you can push sharpening on fur before noise starts coming back.
You’ll learn how to:
- Pick the right model for astro, portrait, and wildlife shots
- Set up the preview to check noise where it matters
- Know when to skip extra detail and sharpening
- Sharpen wildlife without bringing noise back
Sharpen Wildlife, Keep Backgrounds Soft in NoNoise AI 2027
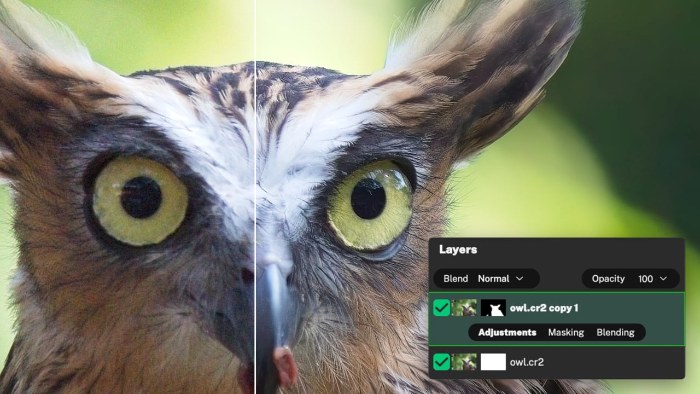
October 8, 2026
You want the feathers crisp and the background bokeh smooth, and sharpening the whole frame gives up one to get the other. In this lesson, we denoise an owl photo with the Wildlife model in NoNoise AI 2027, then add a subject mask so the extra sharpening lands on the owl only. The same technique works for portraits.
You’ll learn how to:
- Denoise fur and feathers with the Wildlife model
- Duplicate a layer and add a subject mask
- Sharpen only the subject, not the background
- Crop to finish the composition
Try ON1 Photo RAW 2027 free for 30 days. Run your own high-ISO shots through NoNoise AI 2027, the same tool from the lessons above, now in Photo RAW 2027. If you like what you see, you can own it outright with a one-time purchase and no subscription.
Creating and Using Effects Starting Points
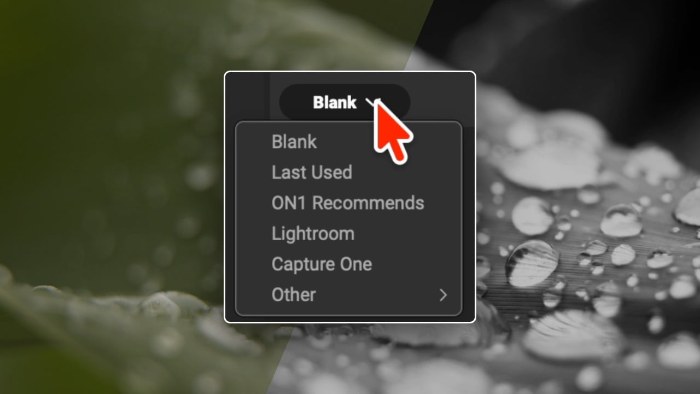
October 13, 2026
You open the Effects tab on a new photo, and you would rather not build the filter stack from scratch. In this ON1 Plus tip, we cover each starting point in ON1 Photo RAW. Last Used brings back your previous filter stack with its exact settings. ON1 Recommends loads Black & White, Dynamic Contrast, LUTs, Vignette, and Film Grain, a set that works on portraits, landscapes, wildlife, and more, and you switch on the ones you want and fine-tune from there.
If you come from Lightroom or Capture One, we also show how to set up the Effects tab in the filter order you already know.
You’ll learn how to:
- Find effects starting points
- Reload your last filter stack
- Build a look with ON1 Recommends
- Add your own filters to any stack
- Use the Lightroom and Capture One layouts
Creating Realistic Weather in Your Edits
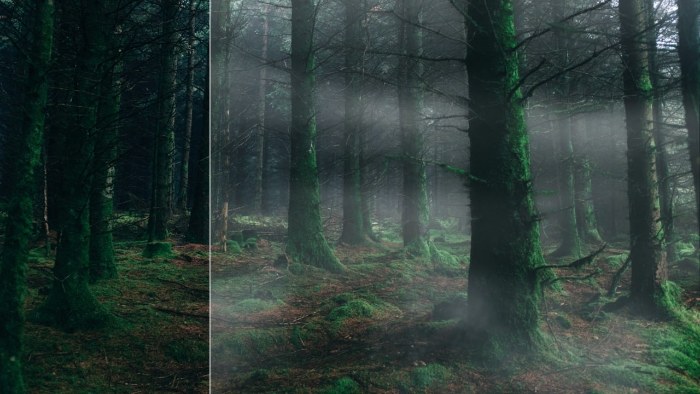
October 20, 2026
The scene looked fine in daylight, but the mood you pictured has fog in it. In this webinar, Dylan Kotecki starts with the built-in Weather filter for quick snow, rain, fog, and clouds, then moves on to importing custom weather overlays with the Textures filter. You’ll also see how to mask weather into specific areas with the masking brush and depth masks, and how to paint in clouds and mist with custom brush shapes.
You’ll learn how to:
- Add instant weather with the Weather filter
- Import custom weather overlays into Textures
- Mask fog into specific areas with depth masks
- Paint in clouds and mist with custom brushes
Poster Color LUTs
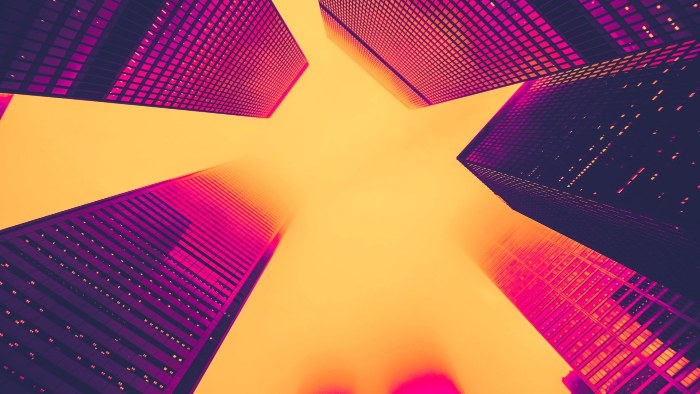
October 23, 2026
You have a skyline or a silhouette with strong light and shadow, and you want it to look like a printed poster. Poster Color LUTs turn the brightness in your photo into flat, saturated color with a soft, lifted-black finish. The ten looks run from warm sunset purples and golden oranges to electric blues, teal-and-orange contrast, and acid greens, so there is a look for skylines, silhouettes, street scenes, and foliage.
Start with backlit subjects, architecture, street scenes, or dense foliage. Each look replaces the original colors, so portraits need a lighter touch. In ON1 Photo RAW, add the LUTs filter in the Effects tab, then use the Opacity slider to dial a look back or mask it to part of the photo.
What’s included:
- 10 LUTs in .cube format
- An ON1 preset file for easy installation
- Works in ON1 Photo RAW, Adobe Photoshop, and any editor that supports .cube LUTs
The Art of Cropping and Composition
October 27, 2026
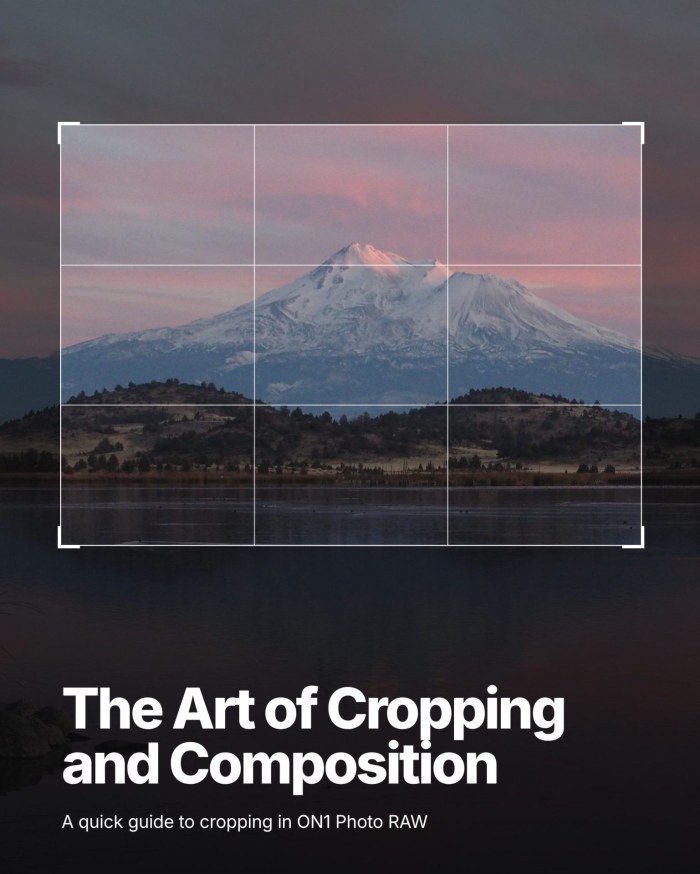
A crop is where a good photo becomes a strong one, and it is easy to clip a horizon or cut a person at the joints. This 40-page guide shows you how to use the Crop tool in ON1 Photo RAW to make deliberate composition choices, with real before-and-after examples and a short exercise at the end of every chapter.
You’ll learn how to:
- Pick the right aspect ratio for prints, Instagram, Stories, and the web
- Place your subject and horizon with the rule of thirds overlay
- Straighten crooked horizons with the Leveling Tool and AI Crop and Level
- Use leading lines, lead room, and negative space to guide the eye
- Crop people without cutting at the joints or losing headroom
- Extend past the edges with Canvas Extension and apply one crop to a whole shoot
Everything above is part of your membership.
If you’re an ON1 Plus member, you can watch, read, and download everything in this recap today, from the NoNoise AI 2027 lessons to the Poster Color LUTs. If you’re not a member yet, October’s lineup shows what a single month of ON1 Plus adds to your editing.
New lessons land throughout the month. We email members when the next batch arrives, and the Video Library, Bookshelf, and Creative Library on your ON1 Plus dashboard hold everything in between.
Get more out of every edit with ON1 Plus. Webinars, tutorials, guides, and creative assets, all in one membership. Explore ON1 Plus →
Please review our privacy policy for information about how we use the data we collect.