

August 2026 ON1 Plus Recap: Color Droppers, Live Edits & Film Overlays
- 4,121 Views
 Posted by Kahlie Wright
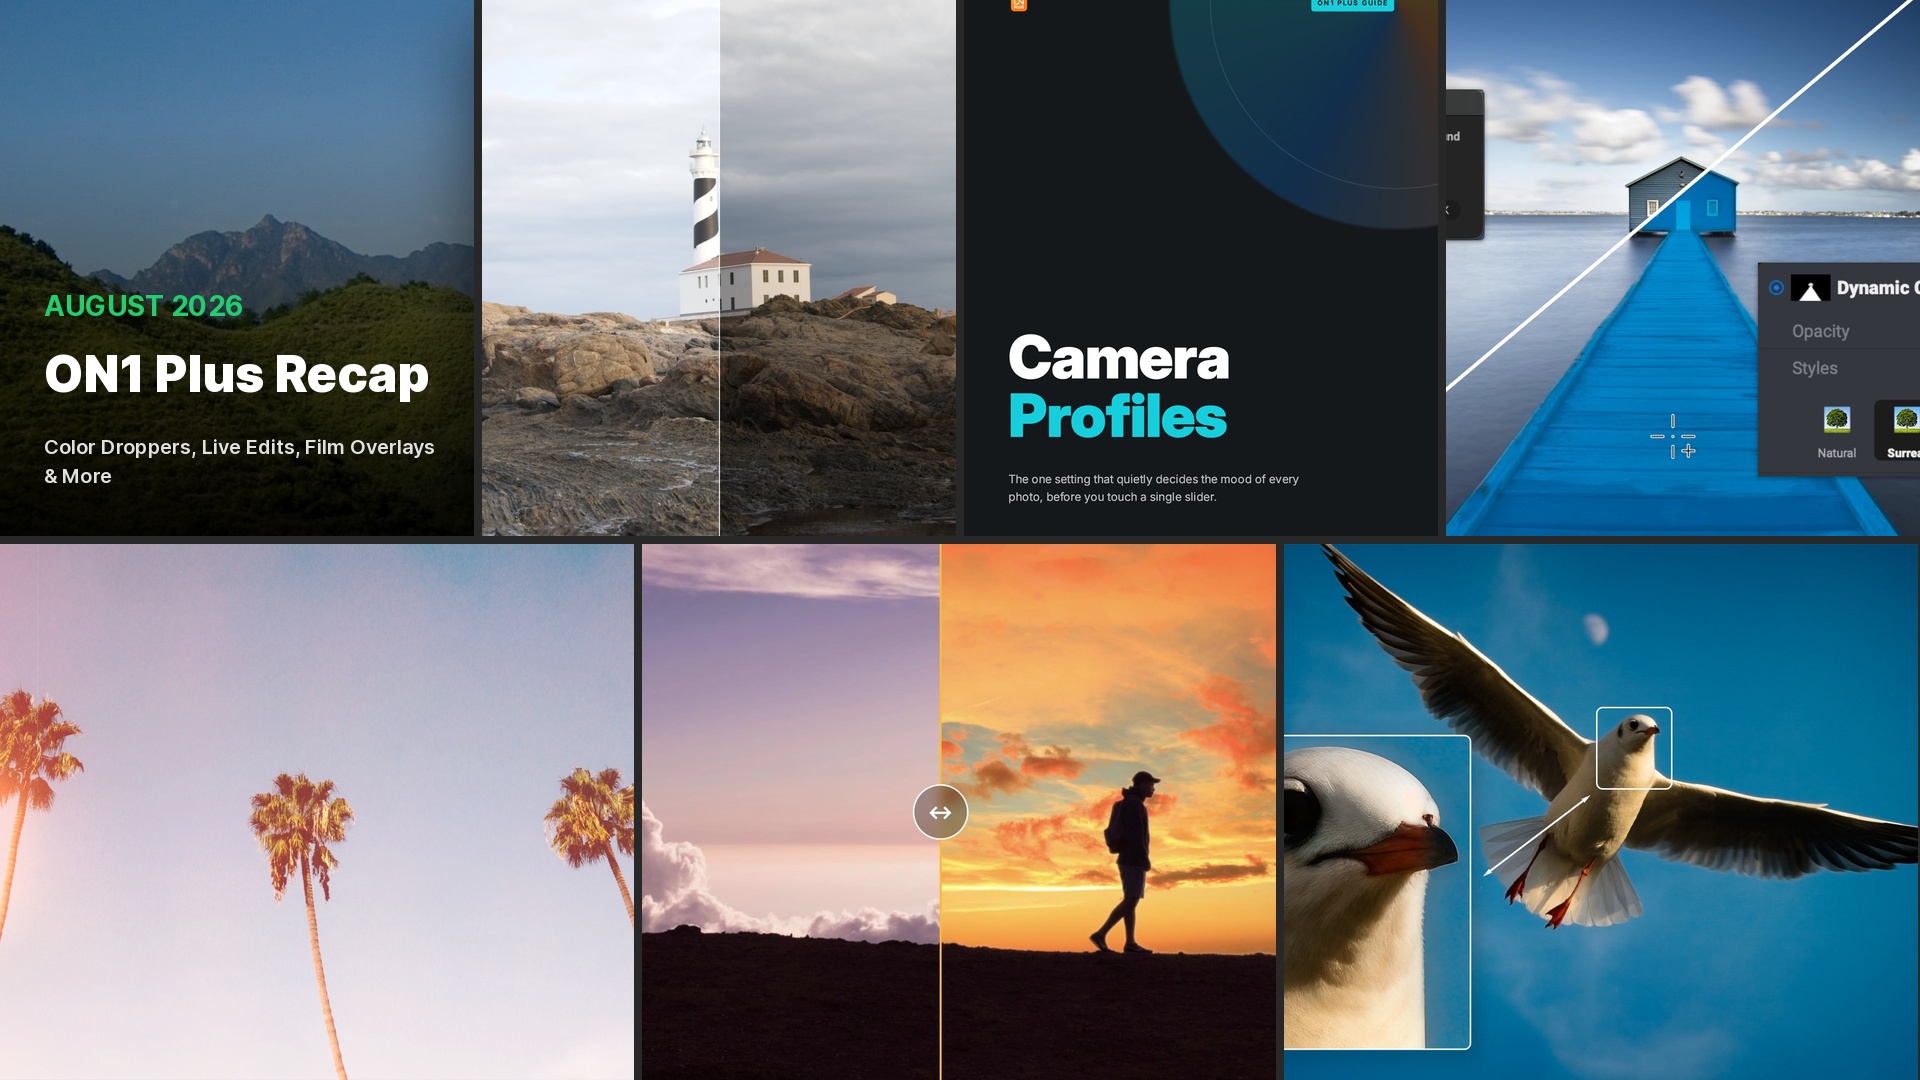
Color Dropper tips are back this August: an older ON1 Plus favorite, reworked for ON1 Photo RAW 2026. Members also got a Local Adjustments live edit built for depth and direction, a new Camera Profiles eBook, and a fresh set of Film Vault Overlays for the Creative Library, plus new tutorials on resizing and compositing. Here’s what landed in ON1 Plus this August.
3 Ways to Use Color Droppers in ON1 Photo RAW 2026
August 25, 2026
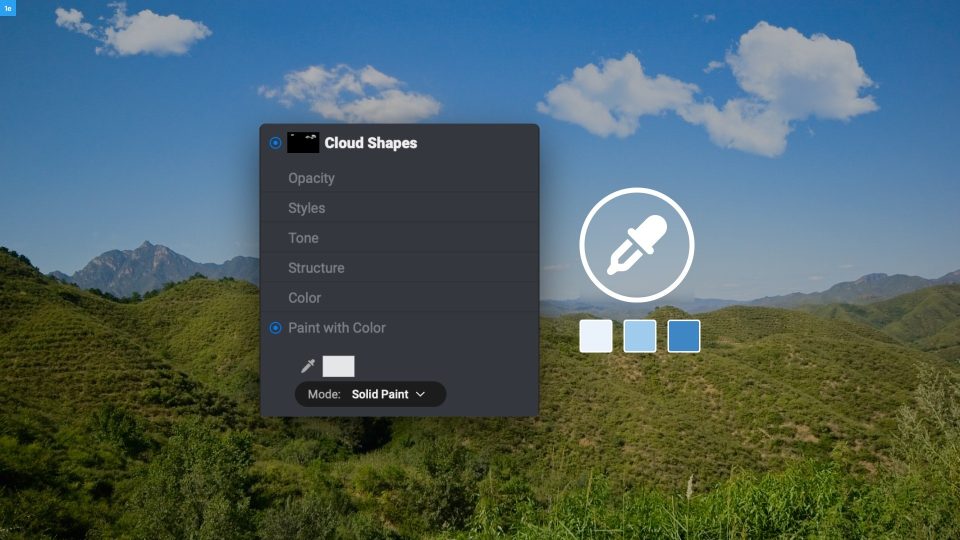
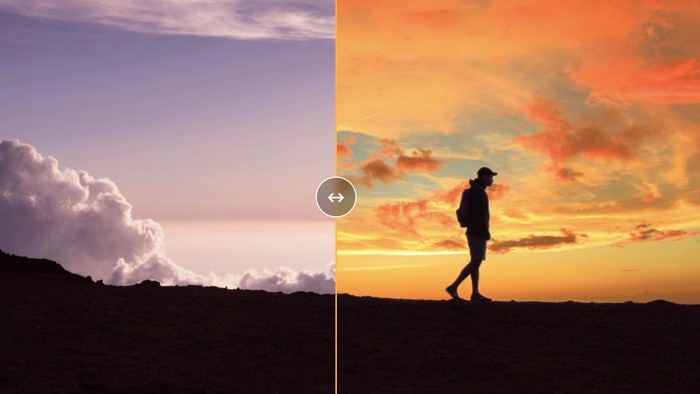
That classic Color Droppers tip is back, reworked for ON1 Photo RAW 2026. This lesson shows you how to fix white balance, target individual colors, and paint in clouds that match your sky, all with the same tool and without touching a single slider.
You’ll learn how to:
- Fix color temperature by sampling any spot that should read as gray
- Adjust a single color’s brightness, saturation, or hue with the Black and White and Color Enhancer filters
- Sample sky or cloud color so anything you paint blends with the existing light
- Paint in cloud shapes with crisp edges instead of soft, feathered ones
Create Depth and Guide the Eye With Local Adjustments: Live Edit
August 21, 2026
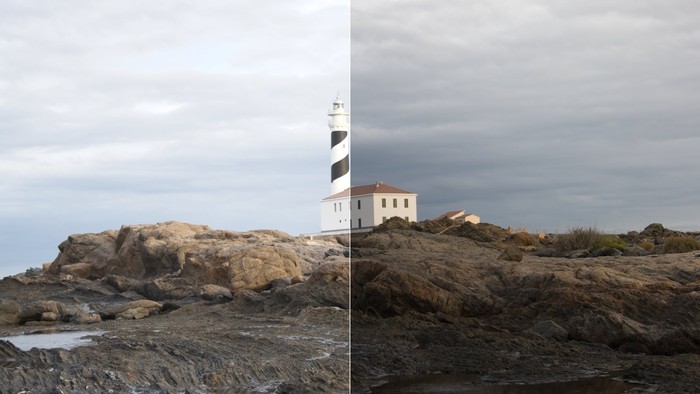
This live edit puts Local Adjustments to work creating depth and directing the viewer’s eye. Across a range of images, you’ll see gradient masks, radial gradients, reflected gradients, and the Line Mask tool used for both subtle corrections and bolder creative effects.
You’ll learn how to:
- Darken and brighten areas with gradient masks
- Guide attention with custom radial gradients
- Create directional light with reflected gradients
- Build precise adjustments with the Line Mask
Film Vault Overlays
August 21, 2026
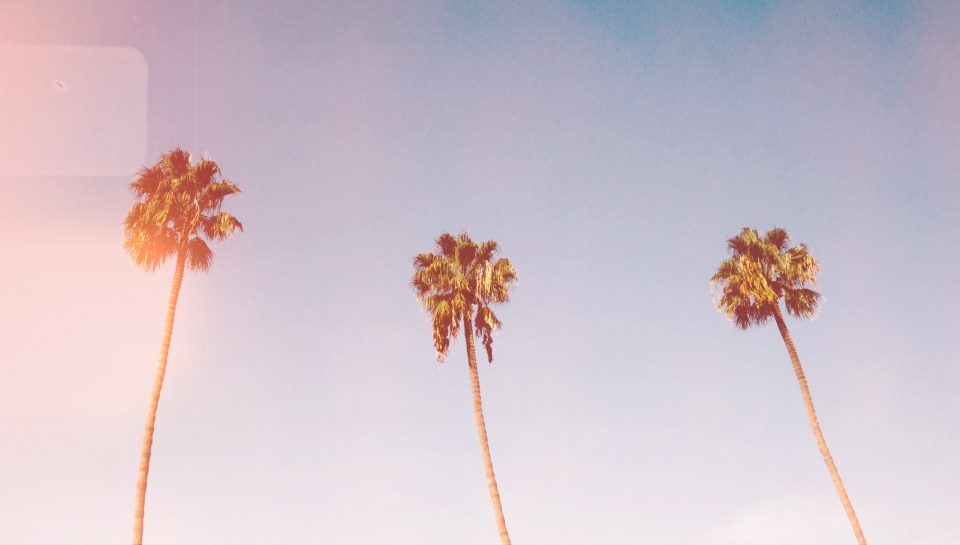
Film Vault Overlays bring authentic film grain and light leaks to any photo in seconds. The collection includes ten overlays with dust, scratches, and sprocket-edge detail, ideal for portraits, weddings, and any photo that calls for a lived-in, analog feel.
What’s included:
- 10 Film Vault Overlays with dust, scratches, and sprocket-edge detail
- Warm amber-to-cool teal color casts sourced from real film stock
Try ON1 Photo RAW 2026 free for 30 days. No subscription required.
Subject Not Found? Here’s Your Fix in ON1 Photo RAW
August 18, 2026
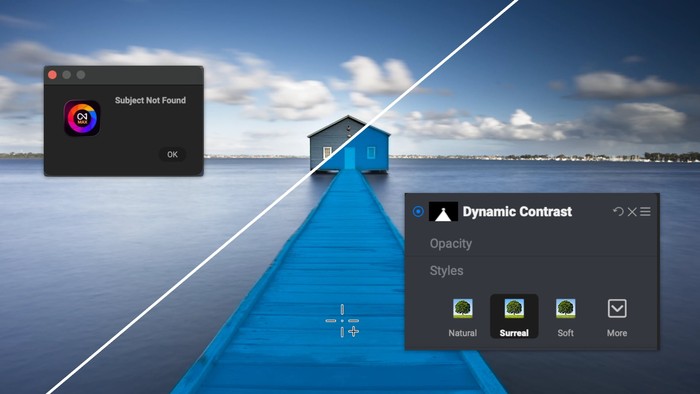
When ON1 Photo RAW can’t identify a defined subject, a quiet dock, an empty boat, a stretch of shoreline, you don’t have to settle for a global edit. This lesson shows you how to grab Quick Mask AI inside Local Adjustments and Super Select AI inside Effects to mask exactly the area you want, then apply color, contrast, or detail right where it belongs.
Camera Profiles
August 13, 2026
Camera Profiles sit in the single pop-up above your Tone and Color sliders, and they decide the mood of every edit before you move a slider. This guide walks through ON1’s five built-in profiles side by side, shows how your camera’s own color science shows up automatically in the menu, and covers how to build a custom profile of your own.
Enlarge Without Losing Detail With Resize AI
August 11, 2026
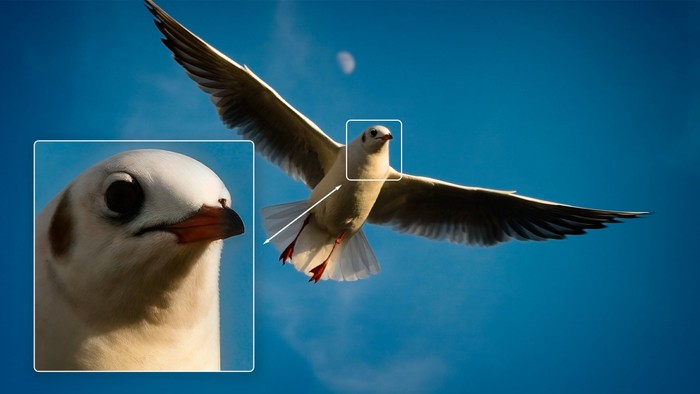
Resize AI enlarges small JPEGs and older RAW files up to 8x while keeping fine detail intact. This lesson resizes a compressed landscape shot and a wildlife photo, walking through which quality setting to use and why resizing should always come after your edits, not before.
You’ll learn how to:
- Enlarge a small JPEG up to 8x with Resize AI without losing sharpness
- Decide why resizing should happen after your edits, not before
- Choose between the Standard and Highest Quality settings
- Use a quick sharpening trick to bring back fine detail after enlarging
Combine Images With Quick Mask AI and Layers
August 6, 2026
This lesson shows you how to combine Quick Mask AI with layers to cut out subjects or backgrounds, reveal new scenes beneath them, and build seamless photo composites without tedious manual masking.
You’ll learn how to:
- Use Quick Mask AI to remove subjects or backgrounds in seconds
- Combine multiple photos into clean, natural-looking composites
- Choose between Paint and Erase masking modes
- Reposition layers for a polished final result
Already a member? Everything above is already unlocked.
Every live edit, tutorial, guide, and creative asset in this recap comes with your ON1 Plus membership. A month this full of new training is exactly what membership is for.
More drops throughout September. Keep an eye on your inbox for member emails, or check the Video Library and Bookshelf on your ON1 Plus dashboard between recaps.
Get more from every photo with ON1 Plus. Tutorials, live edits, guides, and creative assets, all in one membership. Explore ON1 Plus →
4 Comments
Andrew GraySeptember 4, 2026
Love these guides, even if you are long time user, they serve as refresher guides…
RobSeptember 5, 2026
I use color dropper to fix temperature all the time, but the other two tips are new to me and I can’t wait to try them out!
RobSeptember 5, 2026
Actually I just spotted something else really useful about using Color Dropper with the Brush tool. In your example, if I use the brush to draw in some clouds, I can go back to the Color Dropper and reselect a different cloud colour. Really useful if the clouds are slightly too bright or dark. and I want to sample a different part of the existing cloud.
Peter PikulinSeptember 5, 2026
These are GREAT reminders. Thanks for putting the time into this!
Please review our privacy policy for information about how we use the data we collect.