

July 2026 ON1 Plus Recap: New Workshop, Patagonia Edit & More
- August 4, 2026
- 3,355 Views
Posted by Kahlie
July was one of the biggest months yet inside ON1 Plus, the number one resource for ON1 Photo RAW training and photography education. The headline release is Build a Faster, Bolder Editing Workflow, a six-lesson workshop recorded live during ON1 Plus Day that walks through a faster editing process, professional color grading, custom effects stacks, and precision AI masking, then ties it all together in one full start-to-finish edit.
Beyond that, Hudson Henry took members along on a Patagonia shoot to re-edit older images with nondestructive masking and Tack Sharp AI, a live edit tackled difficult lighting, and a new Vivid Visions LUTs collection was published in the Creative Library. Round that out with lessons on shoot consistency, file management, color correction, and subject separation, and here’s everything that was delivered in ON1 Plus this July.
Recorded live during ON1 Plus Day, this six-lesson workshop takes an edit from faster workflow to full compositing.
Build a Faster, Bolder Editing Workflow
July 31, 2026
Originally recorded live during ON1 Plus Day, this six-lesson workshop walks through a faster editing process, professional color grading, custom effects stacks, precision AI masking, and creative compositing, then ties it all together with a full start-to-finish edit. Work through the lessons in order, or jump straight to the skill needed most.
You’ll learn how to:
- Build a faster editing process from import to output
- Apply professional color grading to set the mood of an image
- Build custom effects stacks for a repeatable creative look
- Use precision AI masking for advanced creative compositing
- Tie every skill together in one full start-to-finish edit
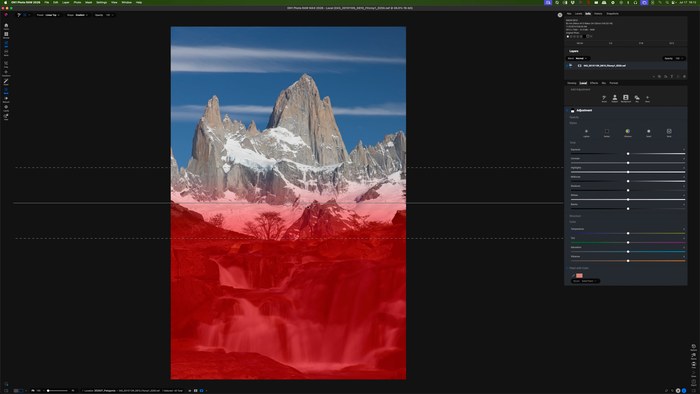
Hudson Henry re-edits older Patagonia images using nondestructive masking and Tack Sharp AI.
Editing Patagonia: Nondestructive Masking Meets Tack Sharp AI
July 27, 2026
Hudson Henry takes members along on a recent trip to Patagonia, then sits down to show exactly how he edited the images from start to finish. The video walks through Photo RAW’s nondestructive masking alongside Tack Sharp AI, revisiting older photos to show how much more control and nuance is available now compared to just a couple of years ago.
You’ll learn how to:
- Re-edit older images with more precision using nondestructive masking
- Recover critical detail and sharpness with Tack Sharp AI
- Apply a start-to-finish editing approach to a real shoot, not just a single technique
Gradient, sky, and depth masks rescue a backlit portrait in the Mastering Difficult Lighting live edit.
Mastering Difficult Lighting: Live Edit
July 16, 2026
Backlit portraits, hazy landscapes, and blown-out skies can ruin an otherwise great shot. This live edit webinar shows how to fix those problem images in minutes using Photo RAW’s local adjustments, including gradient, sky, and depth masks, plus a repeatable three-slider workflow built around exposure, contrast, and whites.
You’ll learn how to:
- Balance a blown-out sky against a well-exposed foreground with gradient masks
- Use sky masks and feathering for seamless, natural-looking edges
- Choose depth masks over subject masks for backlit portraits and landscapes to avoid haloing
- Rescue foggy and hazy images fast with the exposure, contrast, and whites formula
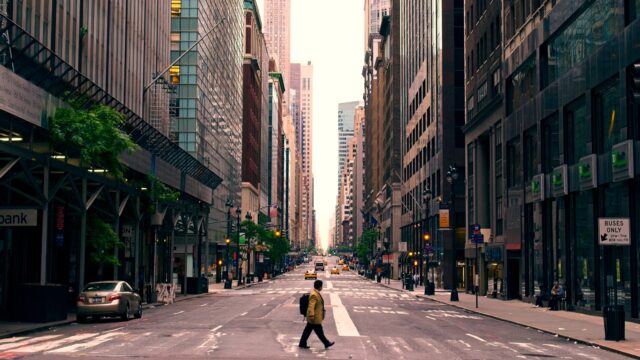
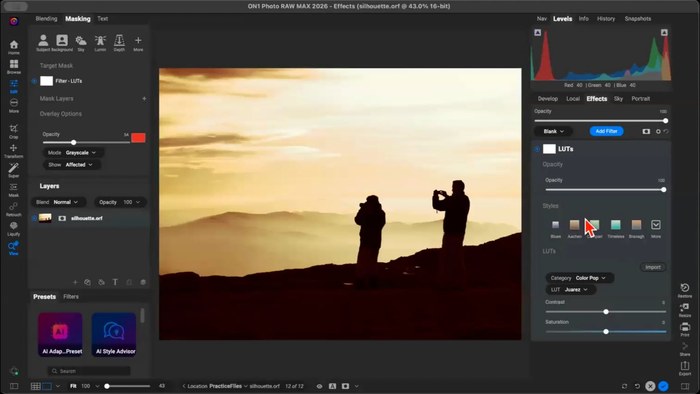
Vivid Visions LUTs pair deep, crushed blacks with punchy midtones for a cinematic look.
Vivid Visions LUTs
July 15, 2026
Vivid Visions is a new set of 10 LUTs built around bold contrast and saturated color. Deep, crushed blacks pair with punchy midtones and highlights, giving skin tones, skies, and foliage a noticeable boost. Each variant leans into its own warm or cool cast, so the set works as a range of high-impact looks rather than one single grade.
What’s included:
- 10 Vivid Visions LUTs, each with a distinct warm or cool cinematic cast
- Presets suited to portraits, skies, and foliage-heavy scenes alike
Try ON1 Photo RAW 2026 free for 30 days. No subscription required.
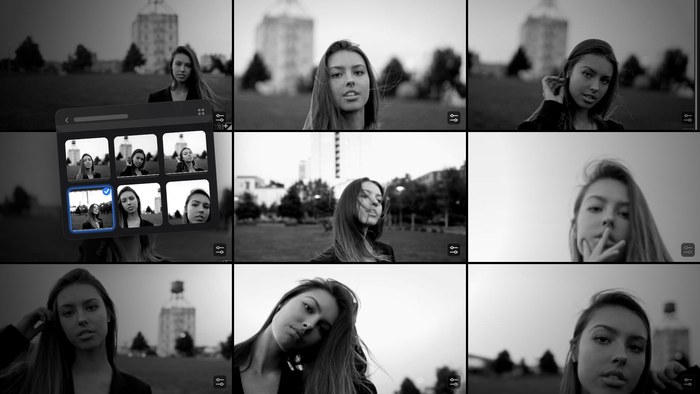
Grouping and syncing settings brings a full shoot into one consistent look.
How to Create Consistency Across a Full Shoot
July 14, 2026
A shoot full of great photos can still fall flat if the edits feel scattered, with different light, angles, and moods that never quite come together. This lesson covers a simple grouping method for bringing dozens of images into one consistent style, along with the sync and preset tricks that add a signature look without redoing the work.
You’ll learn how to:
- Group images by lighting, angle, and scene to make batch editing painless
- Use Sync All Settings to apply one edit across an entire group
- Spot and fix outliers so every image in a group truly matches
- Layer on a signature style with Sync Settings and presets without losing the base edit
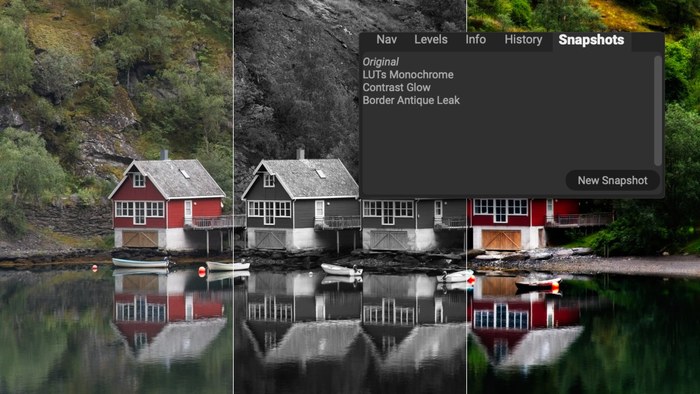
Snapshots and Versions store multiple edit styles inside a single photo, without duplicate files.
Stop Duplicating Files: Snapshots & Versions Export Every Style
July 10, 2026
Editing a photo five different ways used to mean duplicating files just to keep every look. Snapshots and Versions solve that. Snapshots save multiple edits inside a single photo for instant recall, while Versions turn them into separate styled views in the Browse module, all without duplicating files or using extra storage.
You’ll learn how to:
- Create Snapshots to save multiple edit styles inside a single photo
- Rename and update Snapshots as edits change
- Convert Snapshots into Versions without duplicating files or storage
- Export multiple Versions of one photo in a single batch
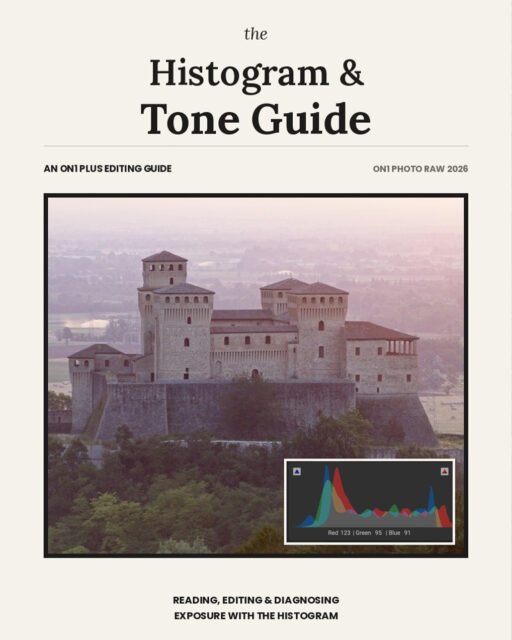
The Tone sliders reshape the histogram in real time as an edit takes shape.
Understanding the Histogram & Tone
July 7, 2026
Most editors glance at the histogram without ever really reading it. This guide changes that across three sections: what the histogram actually shows and why no two well-exposed photos look the same on it, how the Tone sliders reshape it in real time while editing, and how to read clipping warnings, the pixel-level tool that shows exactly where a photo has lost highlight or shadow detail.
You’ll learn how to:
- Read what the histogram shows and why well-exposed photos can still look different on it
- Watch the Tone sliders reshape the histogram in real time
- Use clipping warnings to find lost highlight and shadow detail at the pixel level
Download includes: Web guide and downloadable PDF version.

Color Enhancer targets individual colors to bring back vibrance lost in a dull capture.
Rescue Dull Color
July 3, 2026
Coming home from a shoot excited about a scene, only to find the color looking flat and lifeless on screen, is a familiar letdown. This lesson covers how to use Photo RAW’s Color Enhancer to target individual colors, oranges, blues, greens, and yellows, and bring back the vibrance that got lost in a dull capture. It’s part of the Rescue Your Photos course, which tackles all kinds of tough, tricky images.
You’ll learn how to:
- Target individual colors with the Color Enhancer instead of adjusting globally
- Bring back vibrance lost in a flat or dull capture
- Apply the technique as part of the broader Rescue Your Photos course
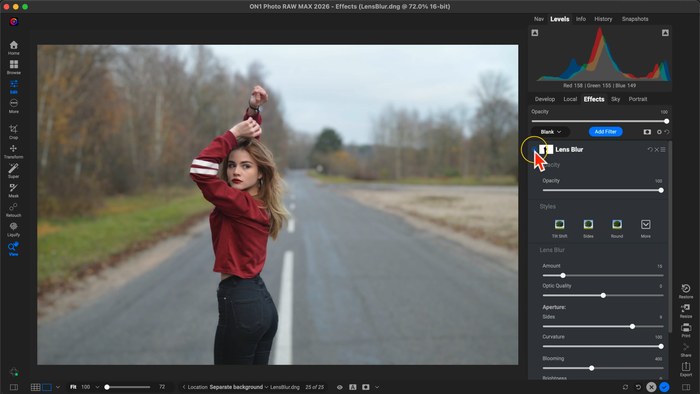
AI Background Masks, Lens Blur, and Dynamic Contrast add separation between subject and background.
Creating Separation Between Subjects and Backgrounds
July 2, 2026
A busy background can flatten an otherwise strong photo. This lesson covers simple, AI-powered techniques for creating stronger subject separation using Background and Subject Masks, Lens Blur, Dynamic Contrast, and vignettes. These non-destructive tools guide the viewer’s eye, add depth, and give portraits and wildlife photos a more polished look in just a few clicks.
You’ll learn how to:
- Darken backgrounds with AI Background Masks
- Enhance subjects using local adjustments and Dynamic Contrast
- Add natural depth with Lens Blur
- Focus attention using subtle vignettes
- Build stronger portraits and wildlife shots with simple, non-destructive edits
Missed something? It’s all in ON1 Plus.
Every workshop, video, guide, and creative asset in this recap is already included in your ON1 Plus membership. If you’re not a member yet, this month is a good example of what you’re missing.
New content is released throughout every month. Keep an eye on your inbox for member emails, or check the Videos and Bookshelf pages on your ON1 Plus dashboard to stay current.
Get more from every photo with ON1 Plus. Workshops, live edits, guides, and creative assets, all in one membership.
3 Comments
Wayne MunceAugust 5, 2026
always useful videos and tips, the segments on “how to” are a real bonus and very informative.
Brian GrayAugust 5, 2026
Thank you for posting these monthly recaps. With the demands of the weekly work grind, it can be difficult to devote as much time as I would like to my photography. These recaps give me an excellent opportunity to slow down, catch up, and discover features or techniques I may have missed. Content like this is one of the main reasons I enjoy using ON1 Photo RAW.
Alexandro Lacadena GómezAugust 6, 2026
Love this recaps to keep up with everything!
Please review our privacy policy for information about how we use the data we collect.