
Many photographers think of a studio as a luxury, a facility only few can afford. I’m here to show you that you can have one of your own, at home, for as little as a few hundred dollars.
You might be asking yourself: why would I want a studio if I’m not a people photographer? A studio gives photographers of all kinds a playground to practice their craft regardless of weather or location, and a level of control they rarely have outdoors. Even if you only use it for personal projects, a multi-purpose home studio pays real dividends in building and maintaining your skills.
Finding Your Space
Most of us don’t have a room dedicated solely to photography, but we might have one that can serve double duty. A spare bedroom works great. So does a garage.
For me, it’s the dining room.
Dining rooms are so old-fashioned. Big, open, beautiful spaces that sit unused 90% of the year. Ours was basically used on Thanksgiving and Christmas. The rest of the year we eat at the breakfast nook. So I ditched the giant table and converted the space into a multi-purpose workout room and photo studio. (Convincing your significant other may be its own challenge. That part’s on you.)
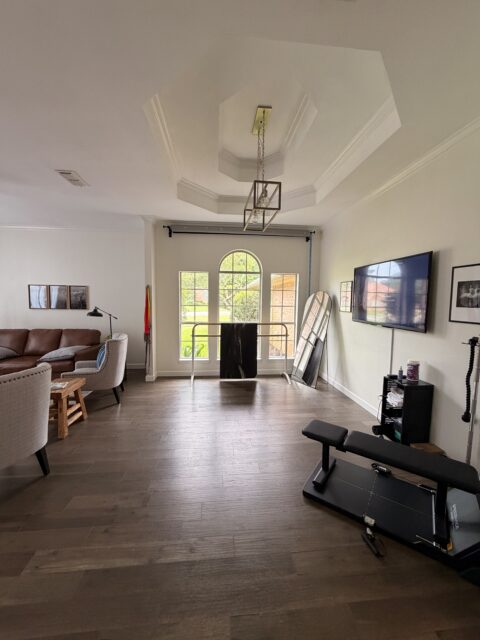
The space has high ceilings, hardwood floors, and great windows for natural light. In workout mode, it looks like the photo above. In studio mode, I pull down the background paper and wheel in my studio cart.
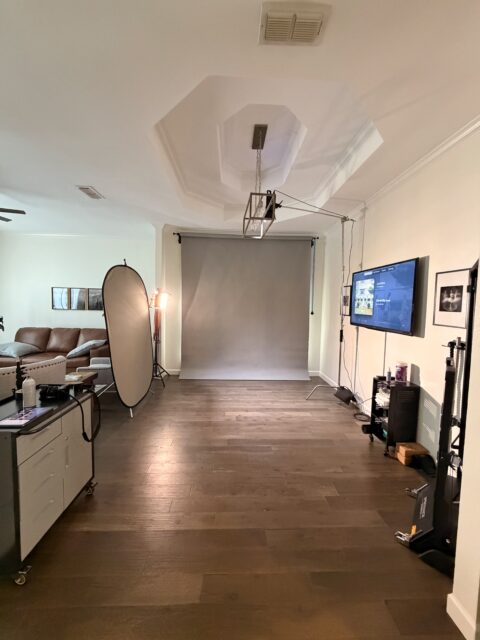
If you didn’t see the background roller near the ceiling, you’d never know the room did double duty. The whole switch from workout room to a photo studio takes less time than warming up.
What You Need to Buy
I’ll assume you already have a camera and a tripod. A macro or portrait lens are also nice additions depending on your interests, but neither is required to get started. Here’s everything else.
A Background
The simplest option is a wall painted whatever color you like. I prefer gray. With proper lighting, you can shift it anywhere from white to black, and with a few colored gels, almost any hue. If you’d rather not paint, a background stand with seamless paper works beautifully. I added a roller drive system to mount mine to the ceiling. Both pieces together came and were under $150 on Amazon.
A Cart
You need somewhere to store your lighting gear that’s easy to move and tuck away. I use a small metal cart on wheels, about $175 on Amazon. It fits in a closet, rolls out in seconds, and doubles as a work surface when I’m shooting tethered.
Some Lights
I grew up learning on strobes, but they’re harder to use and harder to learn on. Today I shoot with LED panels almost exclusively. They’re inexpensive, simple, and forgiving. Unless you’re a working pro, you don’t need top-of-the-line gear. A two-light kit with stands runs about $140, and several photographers have gotten great results based on my recommendation.
That’s really all you need. A stool, a small folding table, and a couple of foam core reflectors from the craft store round things out nicely, but they’re extras.
What You Can Do With It
The gear list above totals less than $500. Less than most lenses. Here’s some of what I’ve made with it.
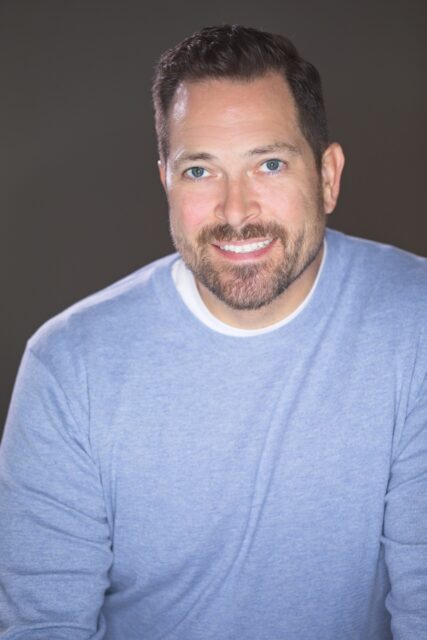
Self-portraits are one of the first things I tried. There’s no better model than yourself when you’re learning to light, because the feedback loop is immediate. You see the result, you adjust, you shoot again.
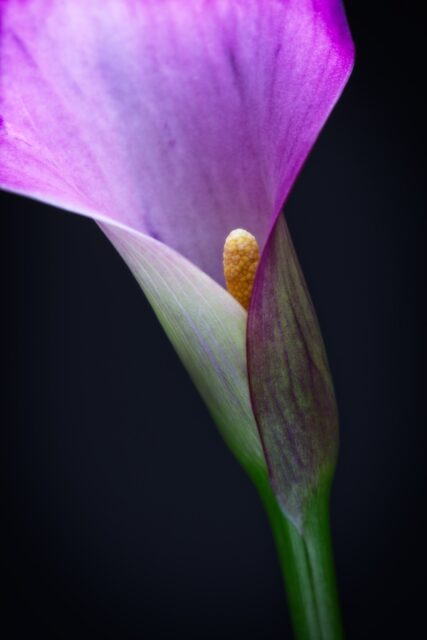
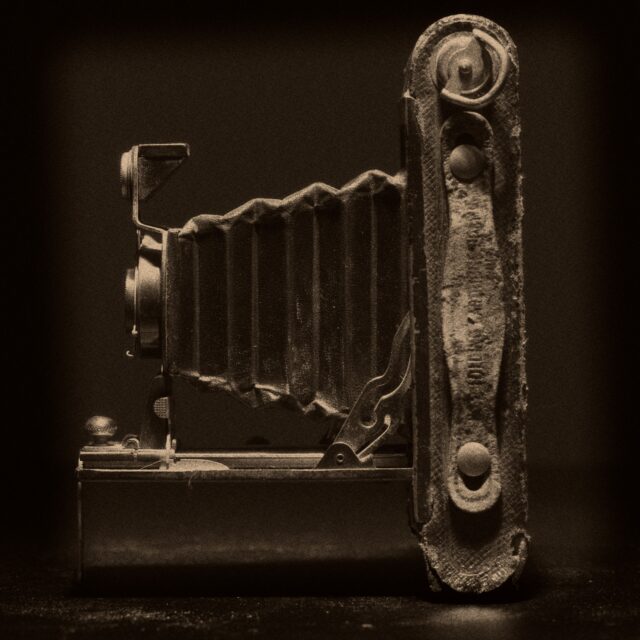
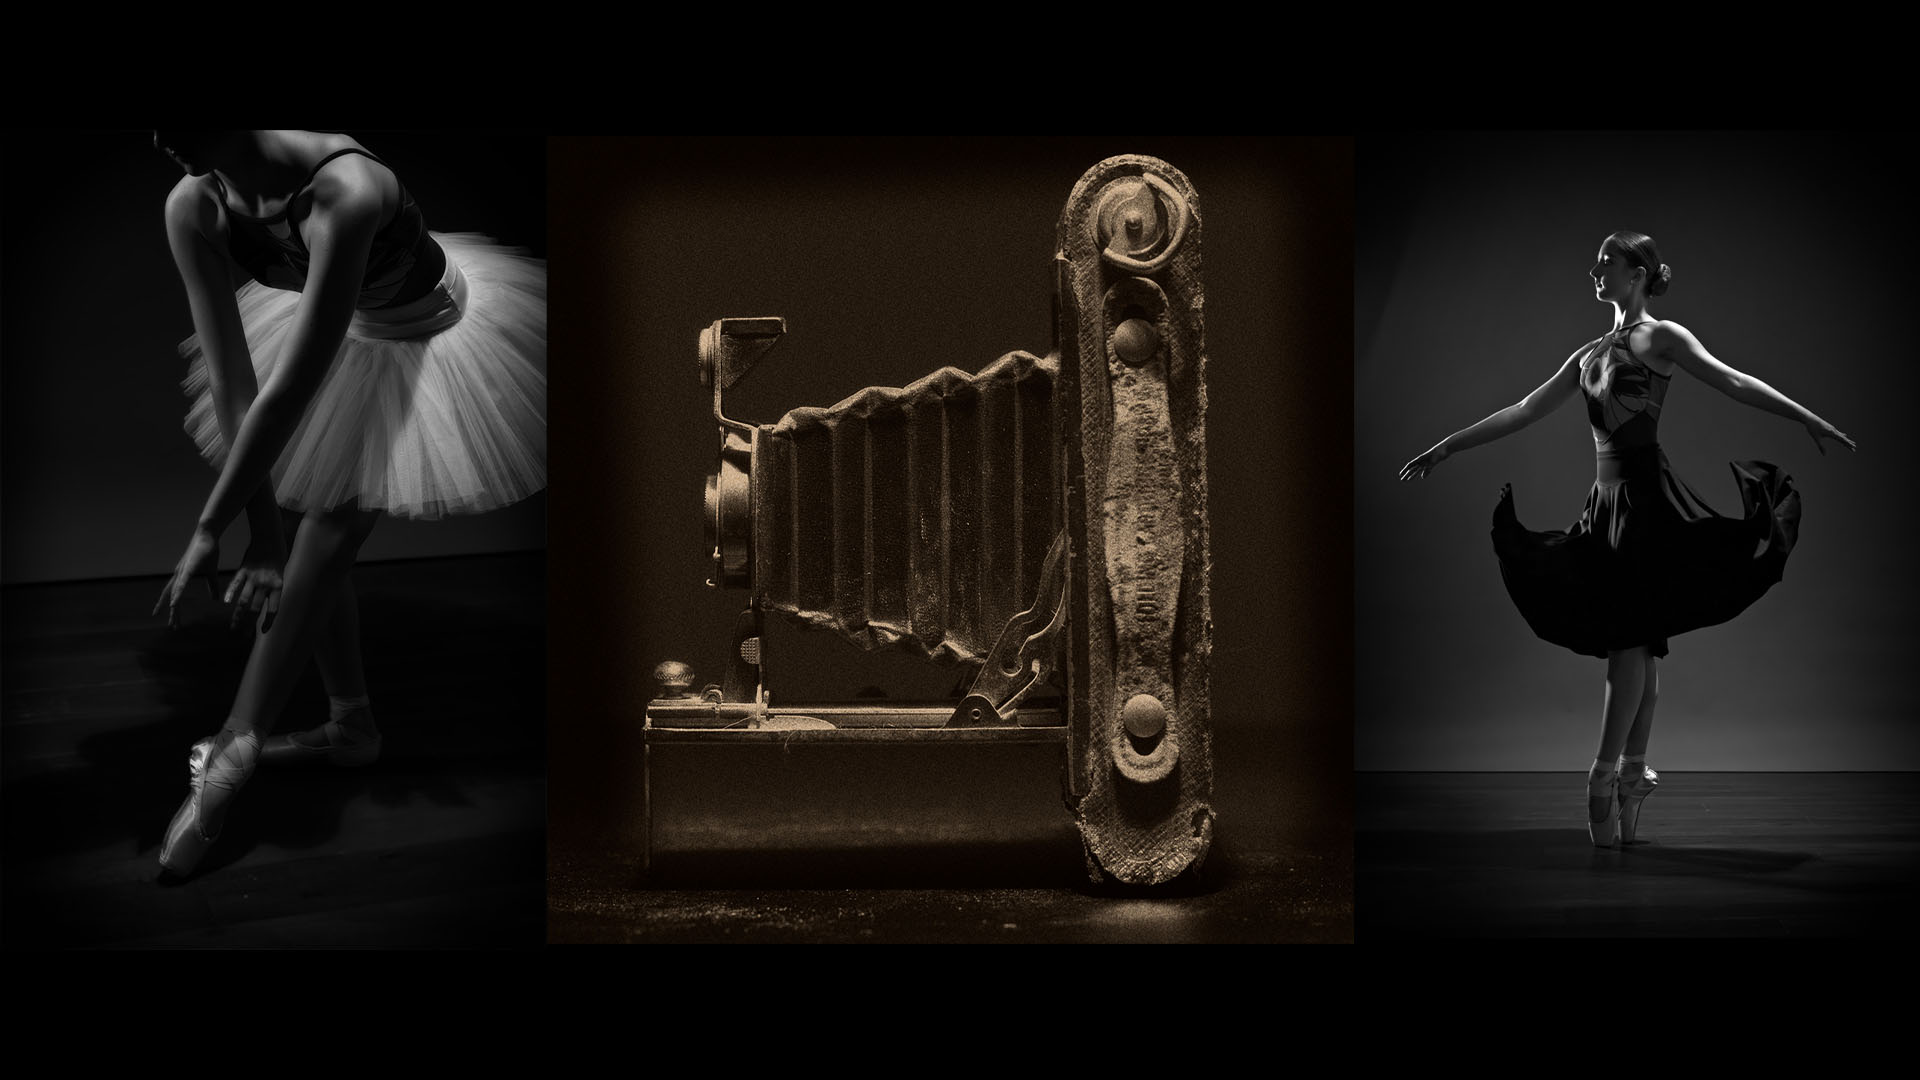
Still life work is where the studio really shines for non-portrait photographers. Flowers, old cameras, collections, products. Controlled light lets you isolate your subject completely and work slowly without worrying about the sun moving or the wind picking up.
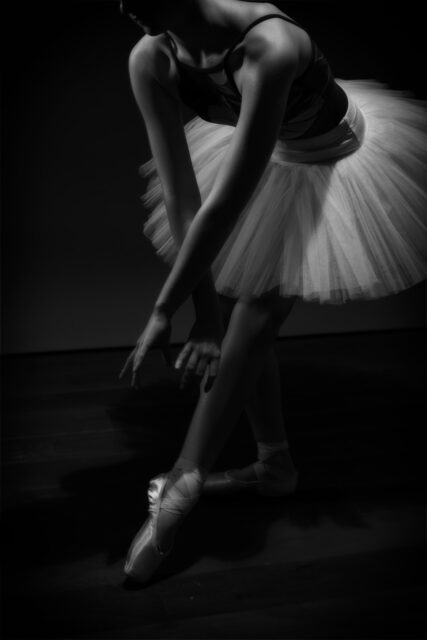
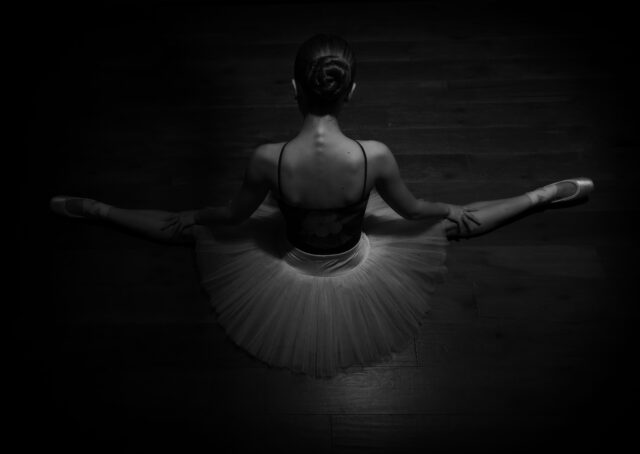
I’ve photographed ballet dancers in that room. I’ve hosted photography workshops there. The space doesn’t announce itself as a studio, which means it doesn’t limit what you can do with it.
If this inspires you to carve out a corner and give it a try, you might be surprised how much it accelerates your growth, and how much fun you have along the way.
Please review our our privacy policy for information about how we use the data we collect.