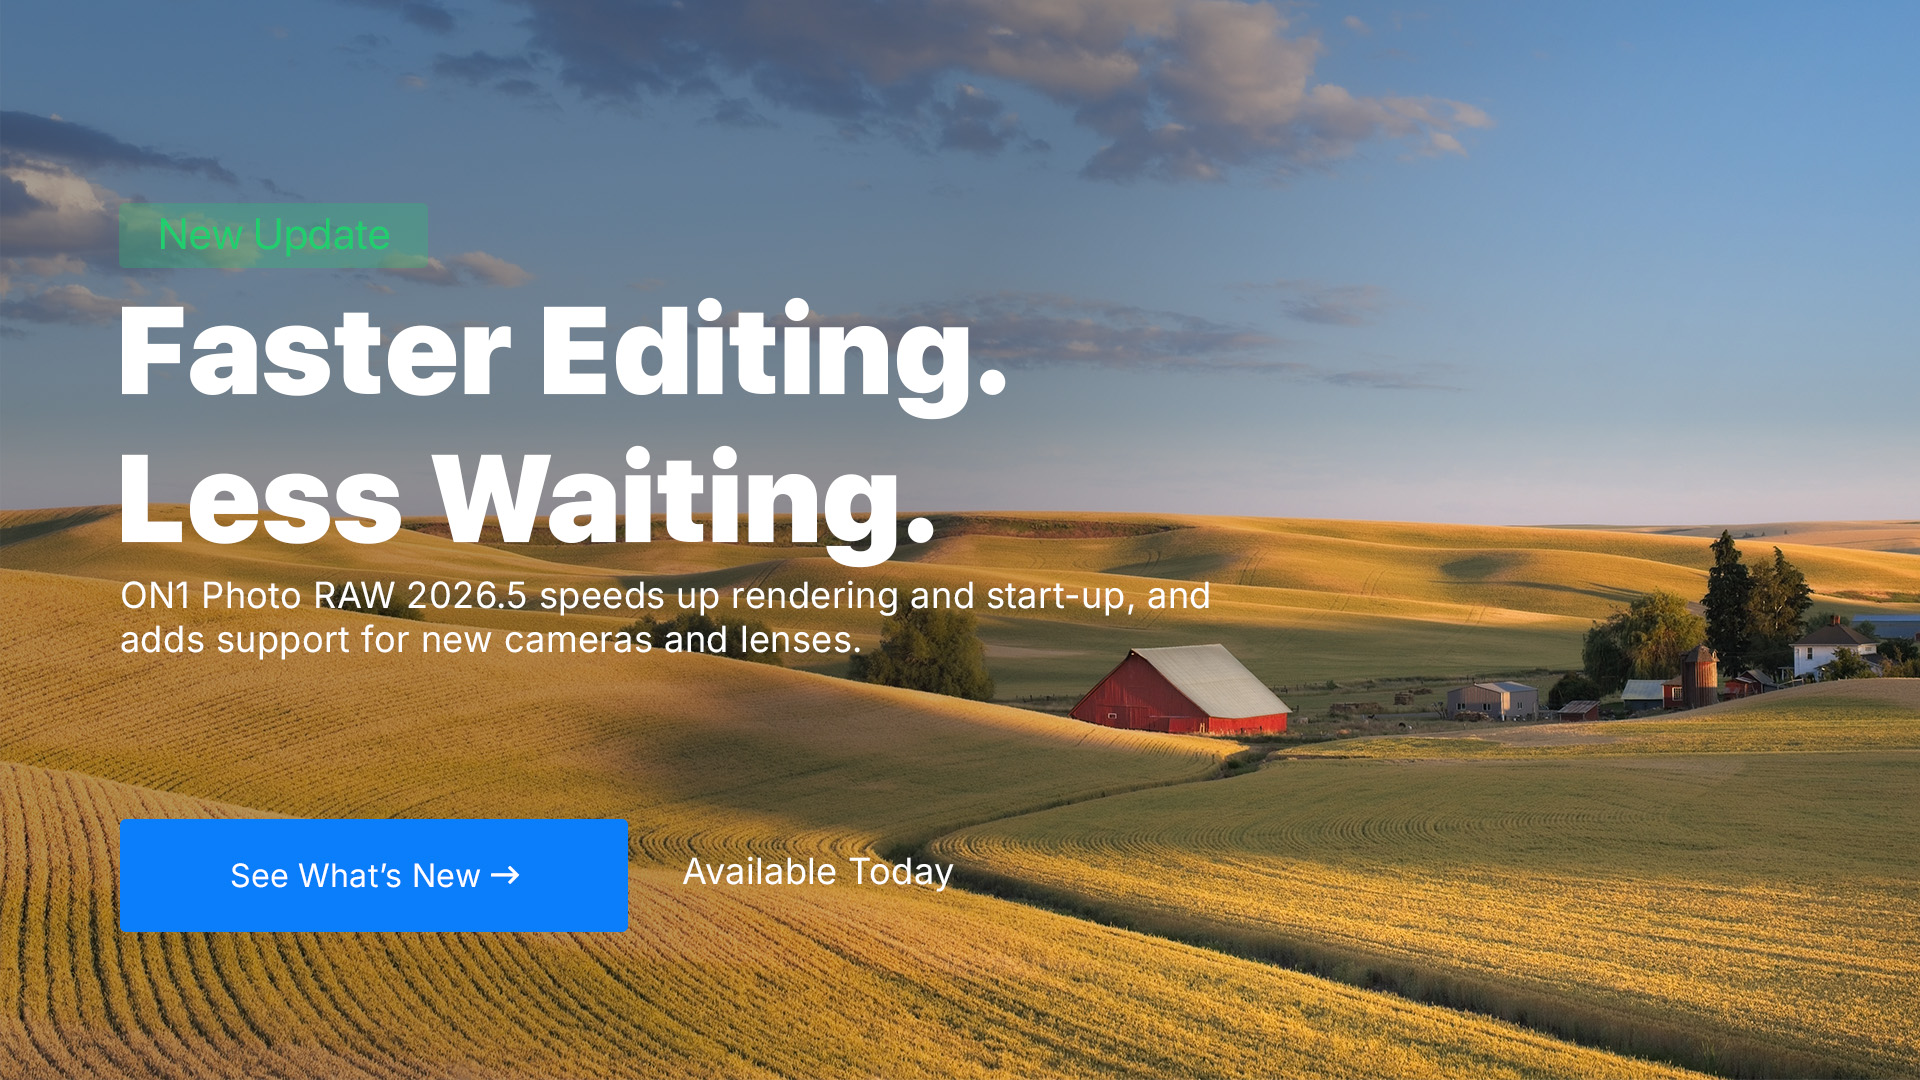
March 14, 2017 | 21665 Views | By Dan Harlacher

Tech Talk – Sharpening in ON1

I wanted to dive in and talk about the different ways to sharpen your photos using ON1. Specifically, why and when you would use the different sharpening methods.
Do you know the differences between High Pass, Progressive and Unsharp Mask Sharpening? If not, follow along and I’ll explain.

Categories:

Tags:


20 comments on “Tech Talk – Sharpening in ON1”

  1. On March 14, 2017 at 2:00 pm Anastasios Konstantinidis wrote:

    Anastasios Konstantinidis

    Great video Dan! Could you also explain the difference between fixfocus, printing and sharpening for screen mode?

  2. On March 14, 2017 at 7:10 pm Bruce Press wrote:

    Bruce Press

    Excellent! This is just the kind of detail I’d like to get. Often we make aesthetic or technical choices with tools based on habit or poor understanding. The more technical information we can have to evaluate the tools at hand the better choices we will make to support our creative efforts.

  3. On March 15, 2017 at 1:55 pm David Price wrote:

    David Price

    Hi Dan
    I agree with all of the above contributors comments. Please can we have more of this sort of technical info.
    Also, I am planning to send some photos off to a processor. I am probably going to add the Print Lab’s Printer Profiles to Lightroom 5, because it has soft proofing. However, I’d love to do this in Photo Raw. So, how do we add printer profiles to Resize in Photo Raw?
    And, is there any prospect of ‘soft proofing’ beign launched in Photo Raw. If so, when is it likely to arrive?

  4. On March 15, 2017 at 5:12 pm Thomas Jonathan wrote:

    Thomas Jonathan

    Hi Dan, Great instructional guidance – the Difference blending tip is one I had not come across before and it’s cool for really visualizing the settings. Saved this to watch again to make sure I really get the differences in sharpening options. In the past I’ve occasionally done some pixel-peeking by comparing variant photos sharpened with different settings – plan to do that again because you really need to see sharpening at 100-200% for the whole image area in some cases to gauge the effect. Maybe with this particular topic a downloadable video at higher 1440p resolution would be useful because the devil is in the detail ? Alternatively maybe you could post some jpg sample extracts of each sharpening option for side by side comparison ?

  5. On March 16, 2017 at 10:21 am Robert Shrader wrote:

    Robert Shrader

    Thanks, Dan. This kind of information is really appreciated!

  6. On March 19, 2017 at 1:30 pm Miguel Rozsas wrote:

    Miguel Rozsas

    Great explanation ! This is something that I never could guess. I already tried with this in a try-error approach. Much better now I know when use them.

  7. On March 19, 2017 at 4:54 pm steve.sharin@mac.com wrote:

    steve.sharin@mac.com

    Thanks for diving into ON1 sharpening but I was hoping to learn where the guys have hidden sharpening in “Local Adjustments.” I really miss that tool that was included in Aperture. It really worked well to sharpen an object, leaving the rest of the photo soft. Eyes of birds, and four legged critters come to mind. Hope I’ve missed something and that the feature does exist.

  8. On March 20, 2017 at 5:50 am LYNN B wrote:

    LYNN B

    Great video, Dan! This video demonstrates that knowing “WHY TO and WHEN TO” are as important as knowing the HOW TO…!
    The more technical understanding we have about Photo Raw, the more effectively we can use the tools. More like this, please!
    Thanks.

  9. On March 20, 2017 at 8:14 am Dean Thompson wrote:

    Dean Thompson

    Great Video, Dan. Like the others have commented and could you do the same type of technical video on the other sharpening tools in RAW like Dynamic Contrast, Detail in Develop module as well as other models like noise reduction. I like the when and where you would use and suggest normal settings.
    Thanks

  10. On March 20, 2017 at 3:09 pm James Golando wrote:

    James Golando

    Great video Dan and echo the comments above. One question, for output sharpening what would you do if you are sending it to a lab like Mpix rather than. Printing yourself?
    Thanks,
    Jim

  11. On March 21, 2017 at 6:12 am irvin tepper wrote:

    irvin tepper

    Thanks Dan, I appreciate your presentation on sharpening.

  12. On March 25, 2017 at 6:02 am Joanne Diochon wrote:

    Joanne Diochon

    Very interesting and helpful video, thanks.

  13. On March 25, 2017 at 4:06 pm Don L wrote:

    Don L

    Thanks… explains a lot. One question is to understand how to avoid the noise you get when using sharpening.

  14. On March 27, 2017 at 12:21 pm Ben Denner wrote:

    Ben Denner

    Thank you, this was much needed.
    Can you please do a pdf ?

  15. On March 29, 2017 at 12:55 pm Mark wrote:

    Mark

    Hi Dan, I enjoyed this explanation. In the past; I was used to applying a capture sharpening routine – globally, then some selective sharpening locally – to draw the eye and finally output sharpening – depending on where I was sending it.
    I have been adding 10 in Detail in Develop as capture sharpening. Should I abandon this? I would welcome your views.

  16. On May 2, 2017 at 3:30 am Steven Wasserman wrote:

    Steven Wasserman

    I found this video very helpful
    At the end of the video you switch to resize and open the Preset window
    and click on the type and size of the paper .
    Preset window opens and I scroll down to Epson Matted Paper and found
    that their is no Preset for 13 x 19 matted paper .
    Dose this mean that I cannot use the Preset window ?

  17. On May 7, 2017 at 11:27 am doug b wrote:

    doug b

    The latest version of On1 Photo RAW no longer has the “blending, opacity and add to” mode. Also gone, is the settings cog from that tool. Why?

    1. On May 8, 2017 at 8:28 am Patrick Smith replied:

      Patrick Smith

      It’s still there. Make sure you have a filter added to your stack and those tools become active.

Leave a Comment