
![]()
Photo RAW 2026.4
The Ultimate Raw Photo Editing Software Application
Deal Ends May 31st
No Subscription Required
Everything You Need for Stunning Photos in One Place
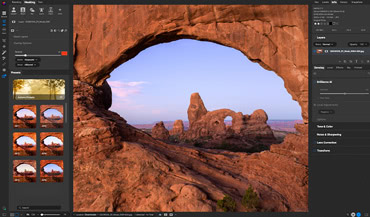
With the all-new ON1 Photo RAW 2026, you get all-in-one photo editing software that combines powerful RAW processing, advanced AI tools, traditional editing tools, and easy photo management in a single app. Whether you're looking for a professional alternative to Lightroom and Photoshop or just want a faster, more intuitive workflow, Photo RAW gives you everything you need to browse, edit, retouch, and share your photos without switching programs.
All-in-One Application
Photo RAW combines raw processing, editing, layers, and effects in one app. Instead of juggling multiple programs (like Lightroom and Photoshop), you can browse, edit, retouch, and export all in one place.
Advanced AI Tools
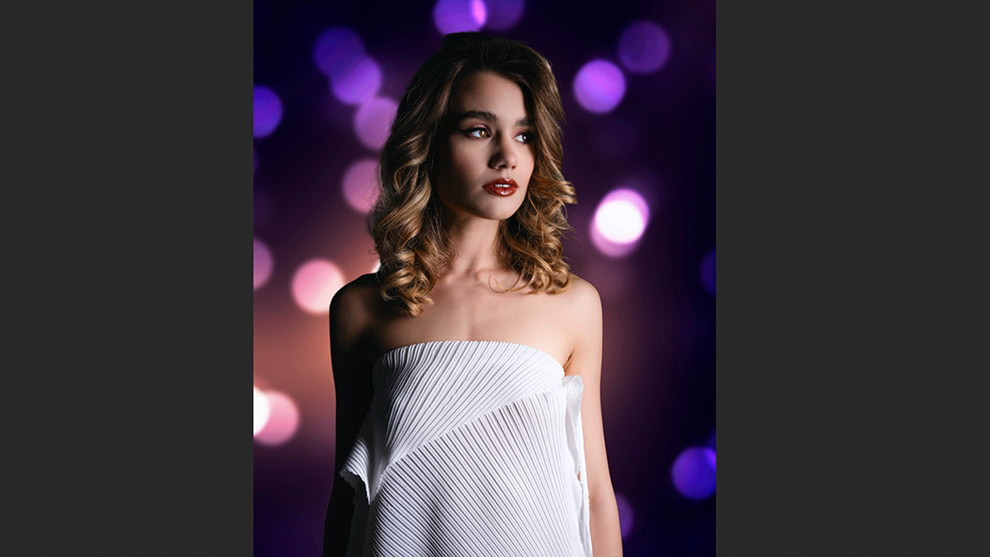
The app includes advanced AI tools such as Generative Erase to remove distractions, NoNoise AI for noise reduction, Resize AI for super resolution, Sky Swap AI, and Portrait AI. These make complex editing jobs quick and accessible for any skill level.
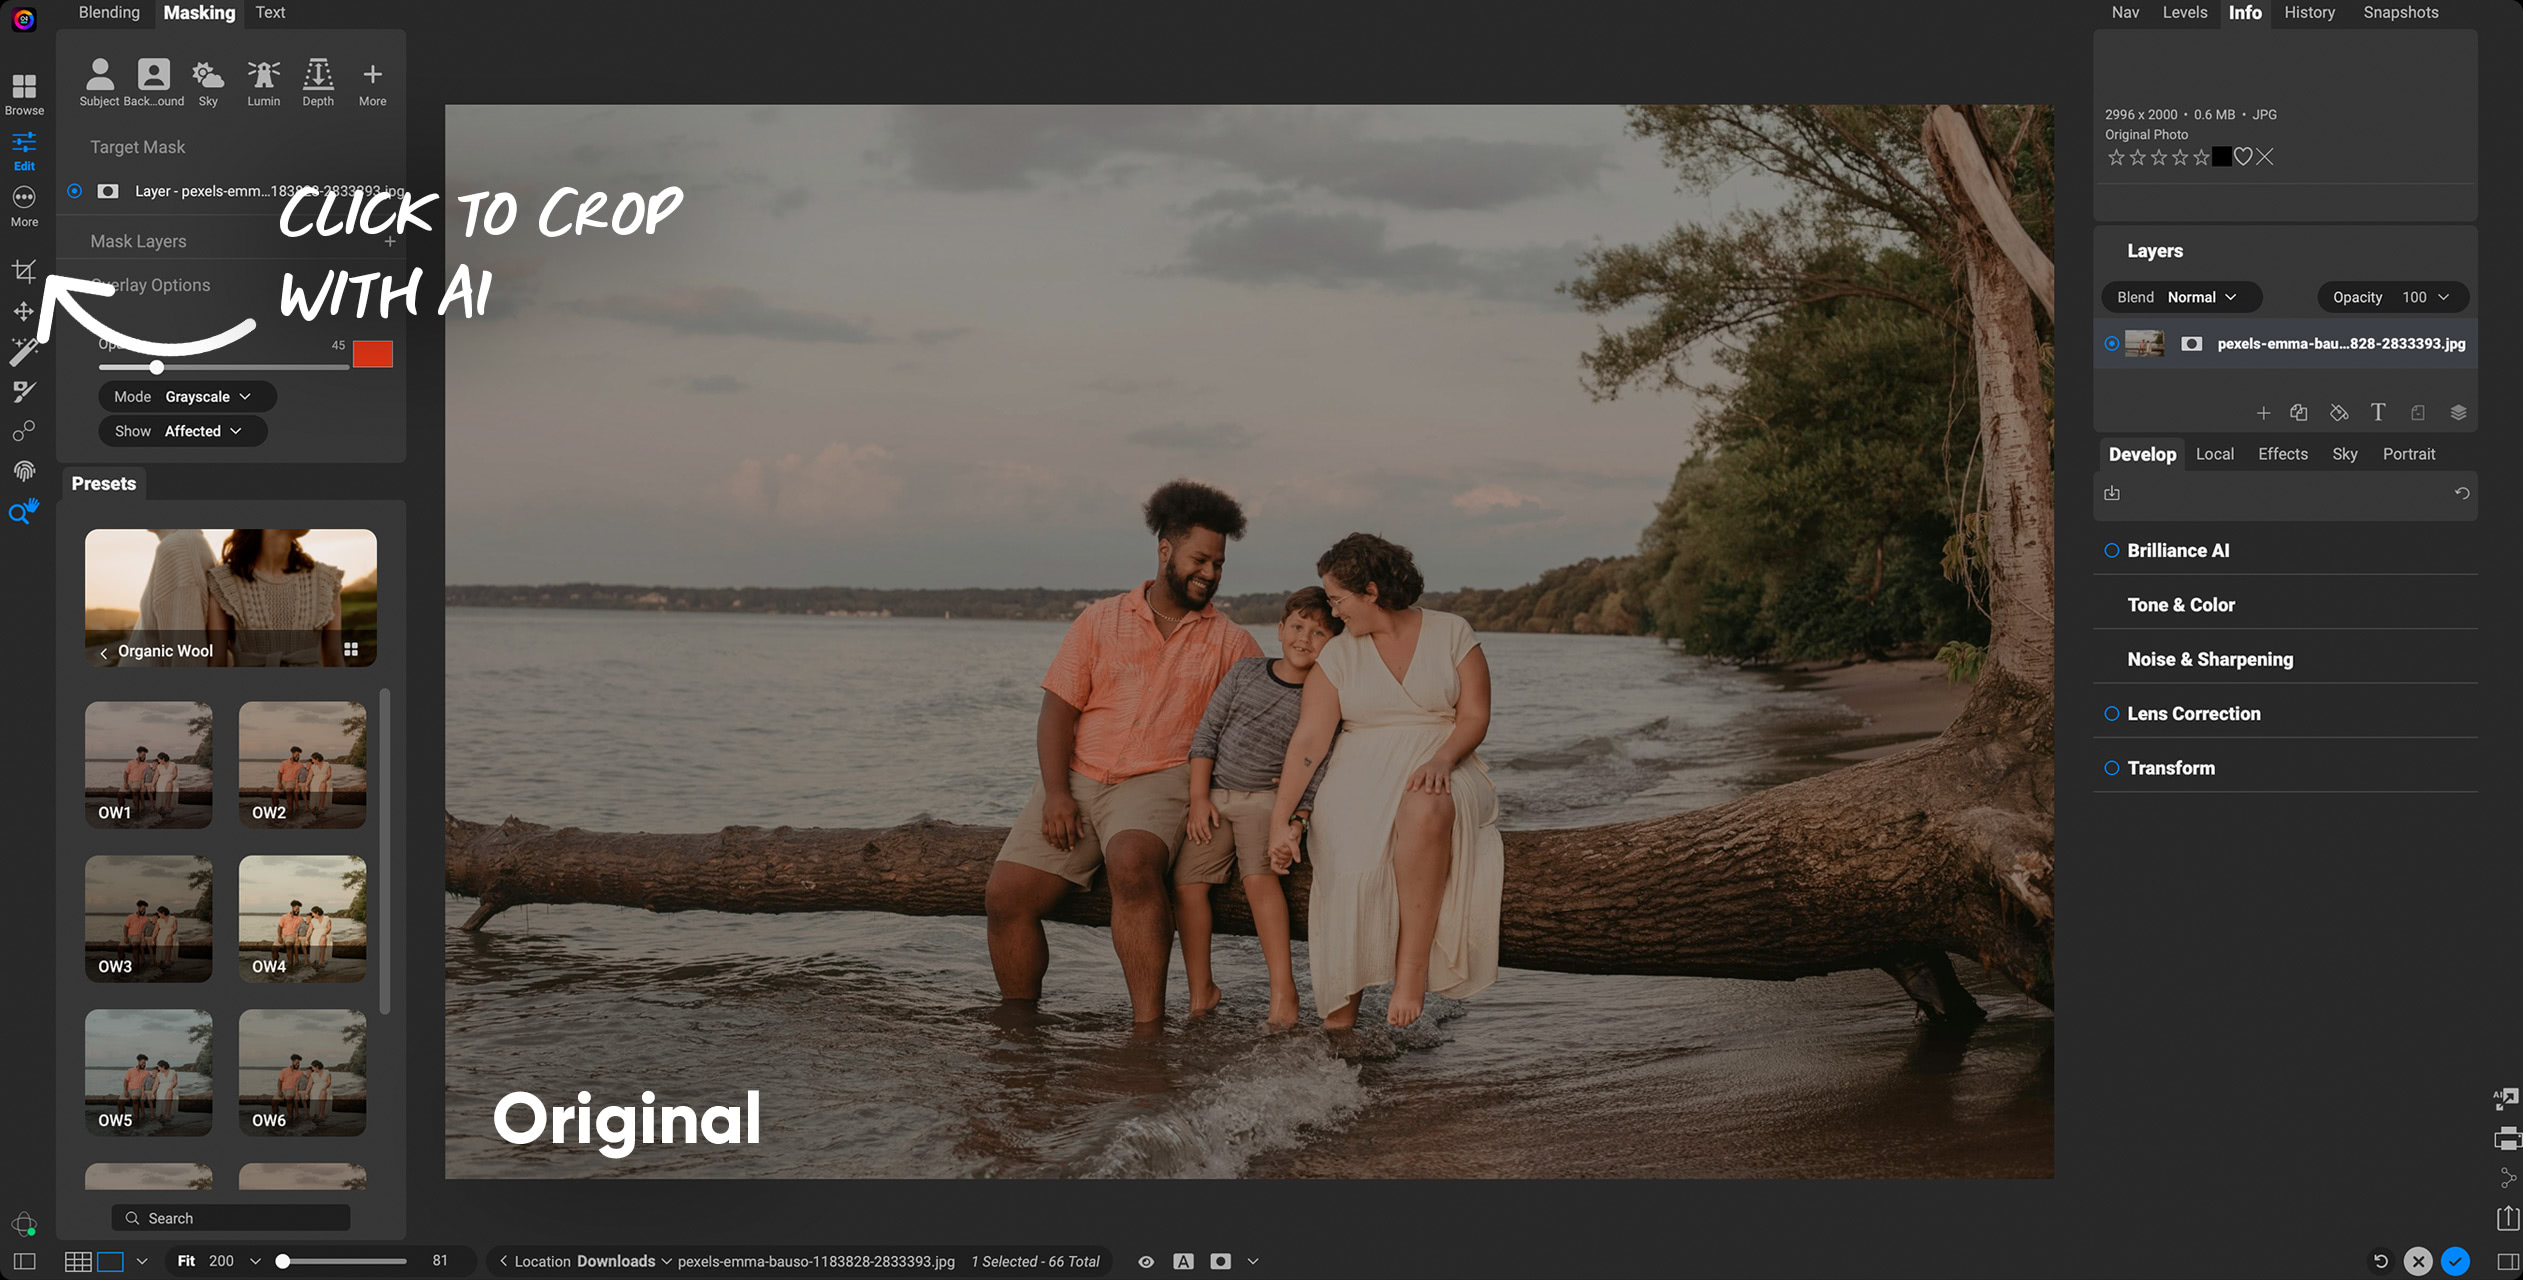
Smarter Masking & Selections
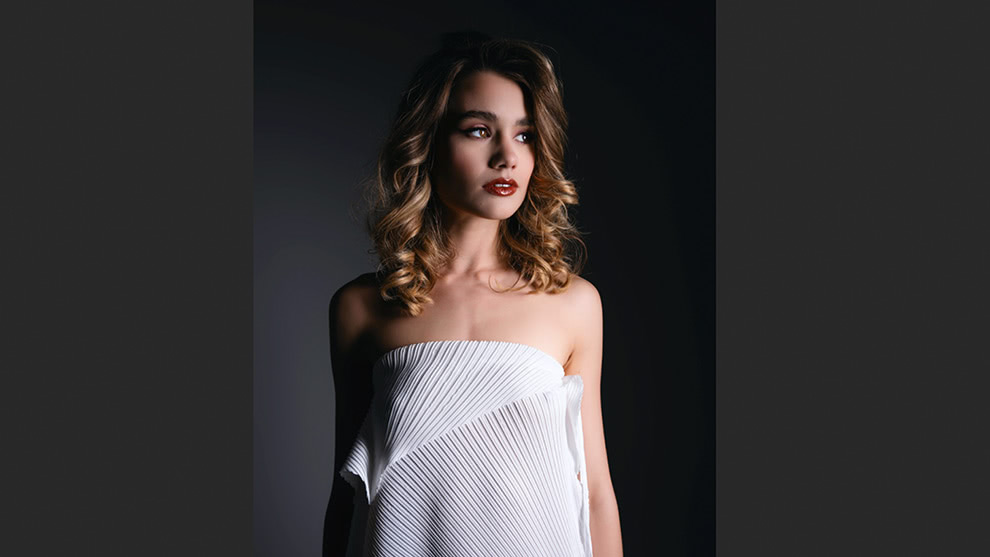
Masking in Photo RAW is a standout. With AI-driven selections (like depth masks, subject/background masks, and Super Select AI), you can target specific parts of an image—such as skies, people, or backgrounds—faster and more precisely than manual methods.
Endless Creative Looks
The Effects module gives photographers hundreds of professional-grade filters, presets, LUTs, textures, and borders. You can stack, combine, and apply them selectively with masks, turning simple shots into polished, creative images.

Photo Management Made Simple
Photo RAW isn't just about editing—it's also a fast photo browser with built-in cataloging. You can tag photos with keywords (even using AI Keyword AI), create albums, stack similar shots, and manage large libraries without a slow import step.
Flexible Workflow Options
Photo RAW works as a powerful all-in-one standalone photo editor designed to fit the way you work. Whether you prefer a streamlined start-to-finish workflow in one app or want the freedom to move between tools, Photo RAW adapts to your creative process—making it a flexible and complete solution for your photography.
Take it to the MAX!
Everything in Photo RAW — plus exclusive tools that expand your workflow and editing power.
![]()
Use Photo RAW as a Plugin
Work inside Photoshop, Lightroom Classic, Apple Photos, Capture One, and Affinity Photo.
![]()
Restore AI Included
Repair old or damaged photos with powerful AI restoration tools.
NEW!
Cloud Processing
Offload heavy AI tasks for faster performance (currently for Restore AI)
![]()
Cloud Sync (with Subscription)
Sync edits and photos across devices with up to 1TB of storage.
Photographers ON1
Join Thousands of Photographers Using ON1
![]()
Your Ultimate All-In-One Editor
No Subscription Required
ON1 Photo RAW 2026.4 has arrived, pushing the all-in-one editing experience photographers love even further. With a redesigned Home experience to get you started and faster performance across the app, version 2026.4 is our fastest and most refined release in our 20-year history. It's everything a photographer needs in a single app, with no subscription required.
The MAX Edition takes things even further with the brand new Restore AI module. Restore AI can bring damaged, faded, and forgotten photos back to life in just a few clicks. MAX also includes full plugin support for Adobe and other apps.
Offer Ends In:
Days
Hours
Minutes
Seconds
![]()
![]()
Photo RAW 2026.4
Photo RAW MAX 2026.4
Use as a standalone app on 2 computersUse as a standalone app on 3 computers
Use as a Plugin
Restore AI
200 GB Cloud Sync
Future Upgrades
![]()
![]()
Photo RAW MAX
Photo Studio
1st year
1st year
Use as a standalone app on 3 computersUse as a standalone app on 5 computers
Use as a Plugin
Restore AI
200 GB Cloud Sync1 TB Cloud Sync
Future Upgrades
Subscribers always have access to the latest version of Photo RAW MAX!
Offer Expires May 31st! • 30-Day Money-Back Guarantee
Trusted Innovation, Built for Photographers
ON1 Photo RAW customers get free updates more often, so enhancements, improvements and fixes reach you sooner. As we add more tools, our goal stays the same: give you outstanding results while keeping you in control, so Photo RAW remains a tool you can trust and rely on for your work. If you purchase a license, all 2026 updates are free. Subscribers always get the latest updates and major releases.
![]()
More Free Updates Coming in 2026
We're constantly improving Photo RAW!
Just Point, Click, and Create
ON1 Photo RAW 2026 makes it incredibly easy to take a dull photo and make it pop with just a few clicks. Then style and finish your photo quickly.
AI Photo Editing Software That Works Smarter, Not Harder
ON1 Photo RAW 2026.4 is packed with powerful AI features designed to save you time and deliver stunning results. From Resize AI 2026 for super resolution, to Brilliance AI for intelligent color and tone adjustments, to Super Select AI and Mask Layers for precise selections, every tool is built to make editing faster, easier, and more creative.
Editing & Enhancement AI
![]()
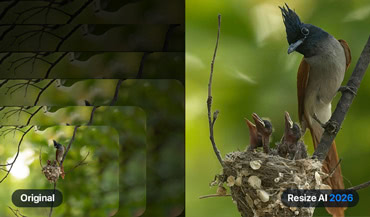
Resize AI 2026New in 2026
Fully integrated into Photo RAW; new diffusion-based models deliver the sharpest enlargements and detail recovery yet.
![]()
NoNoise AI
Removes noise while preserving sharp detail; essential for high ISO or low-light shots.
![]()
Tack Sharp AI
Restores crisp detail to slightly soft or blurred images, often paired with NoNoise AI.
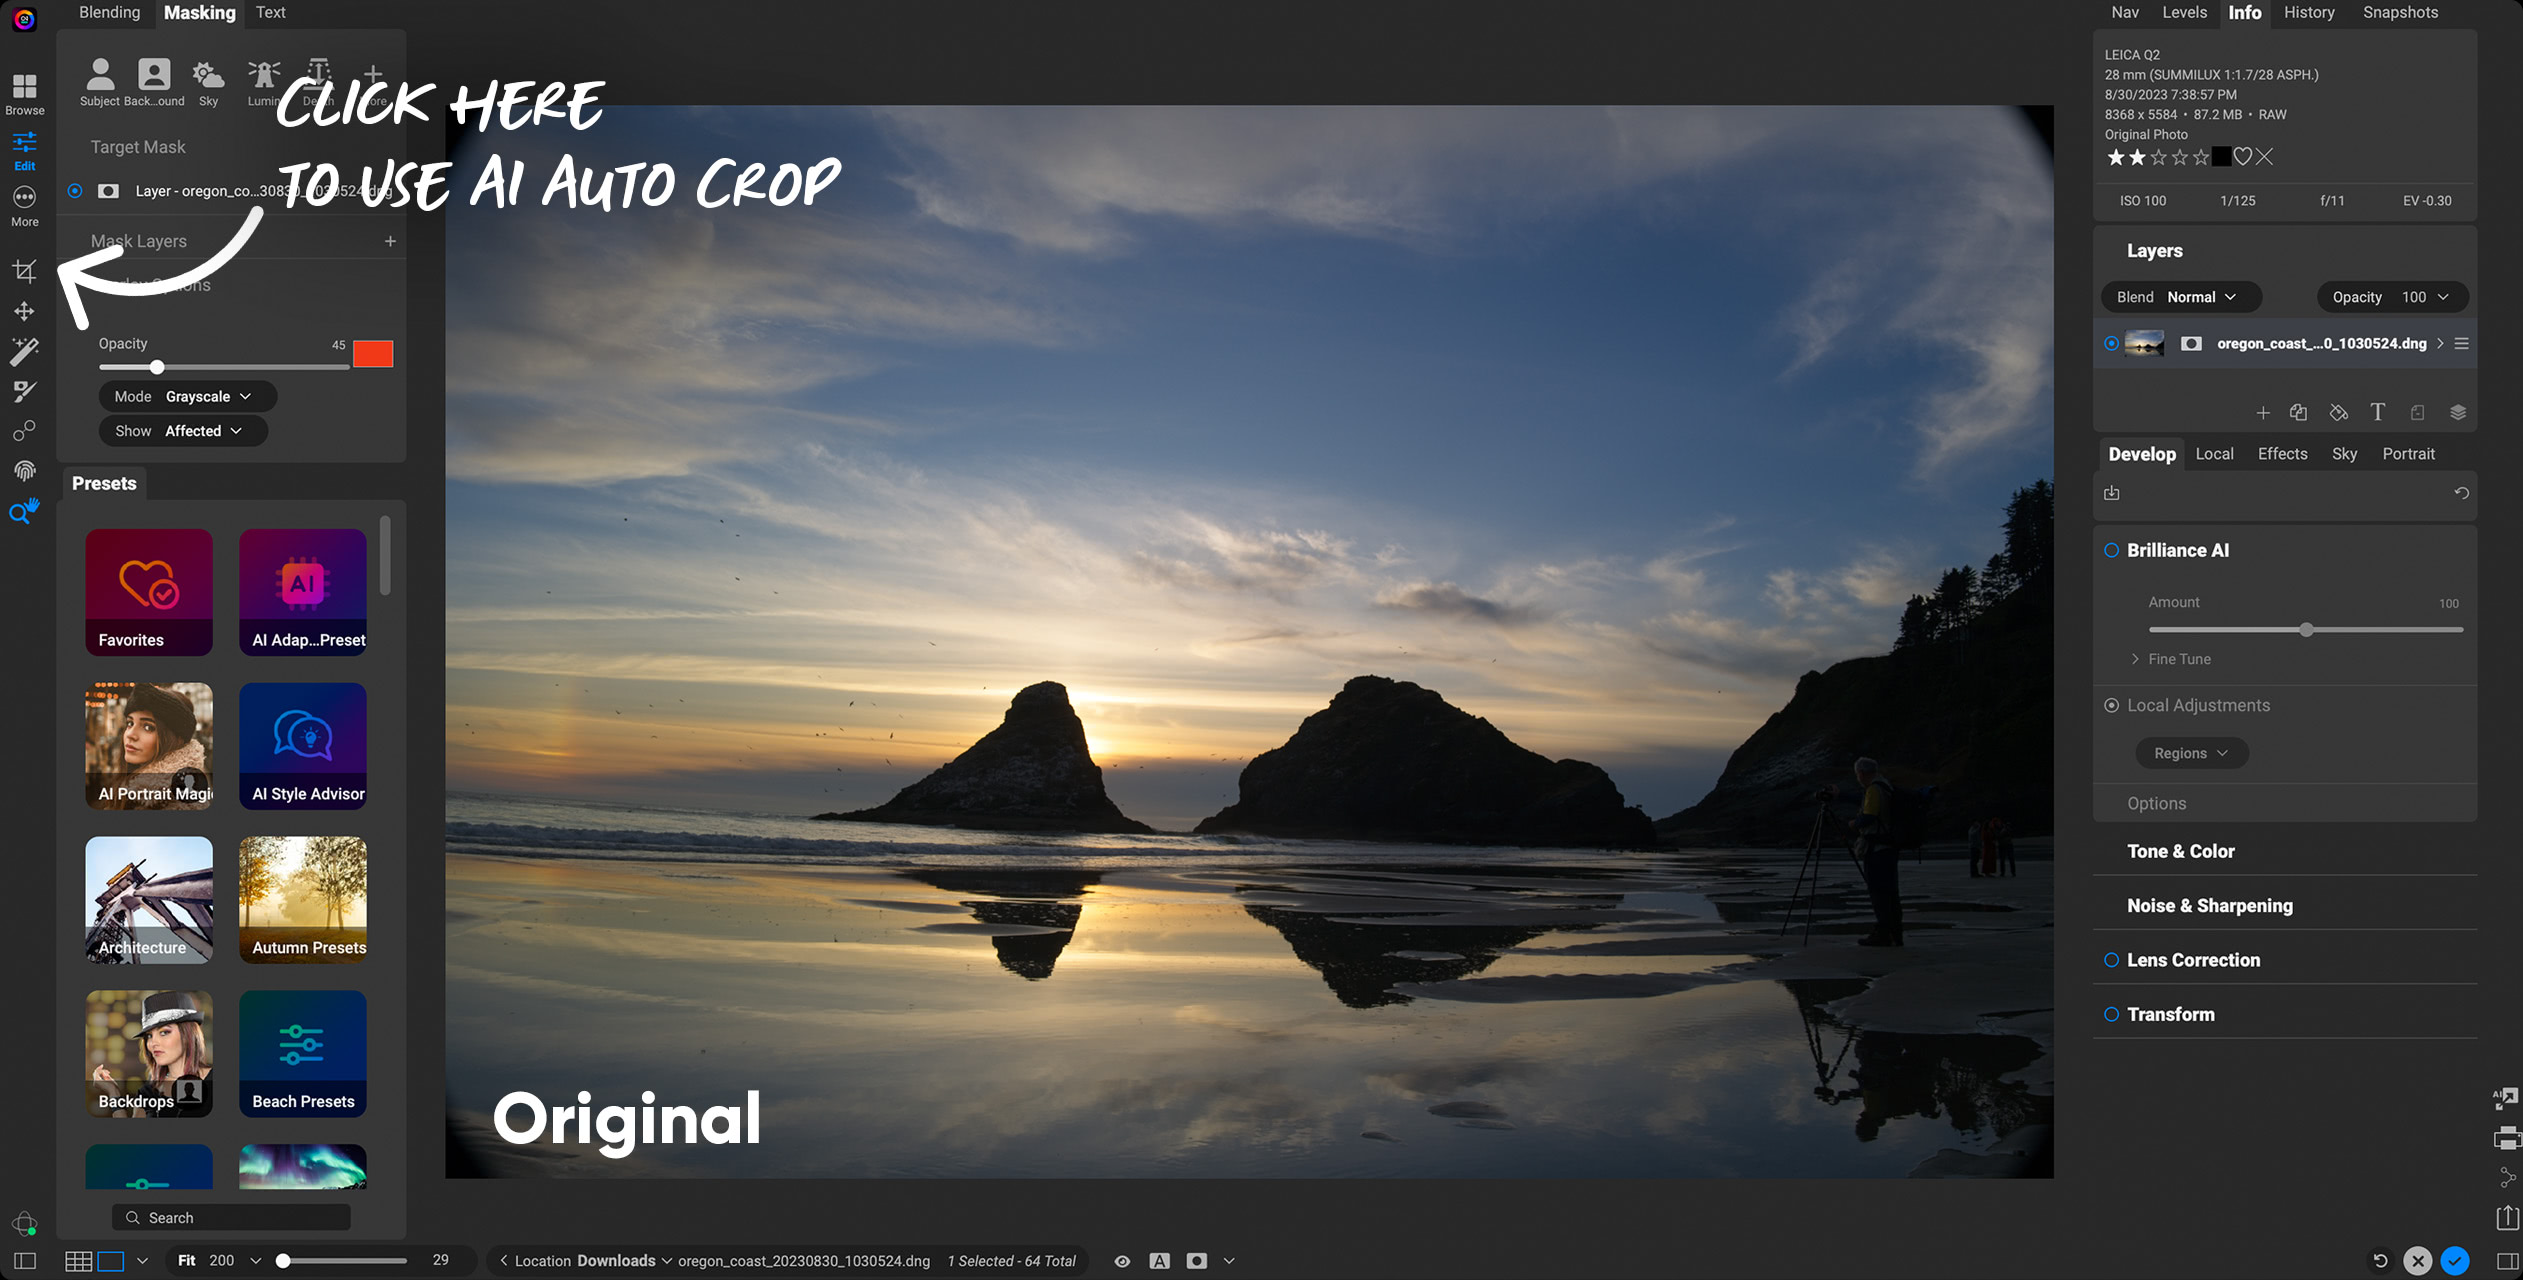
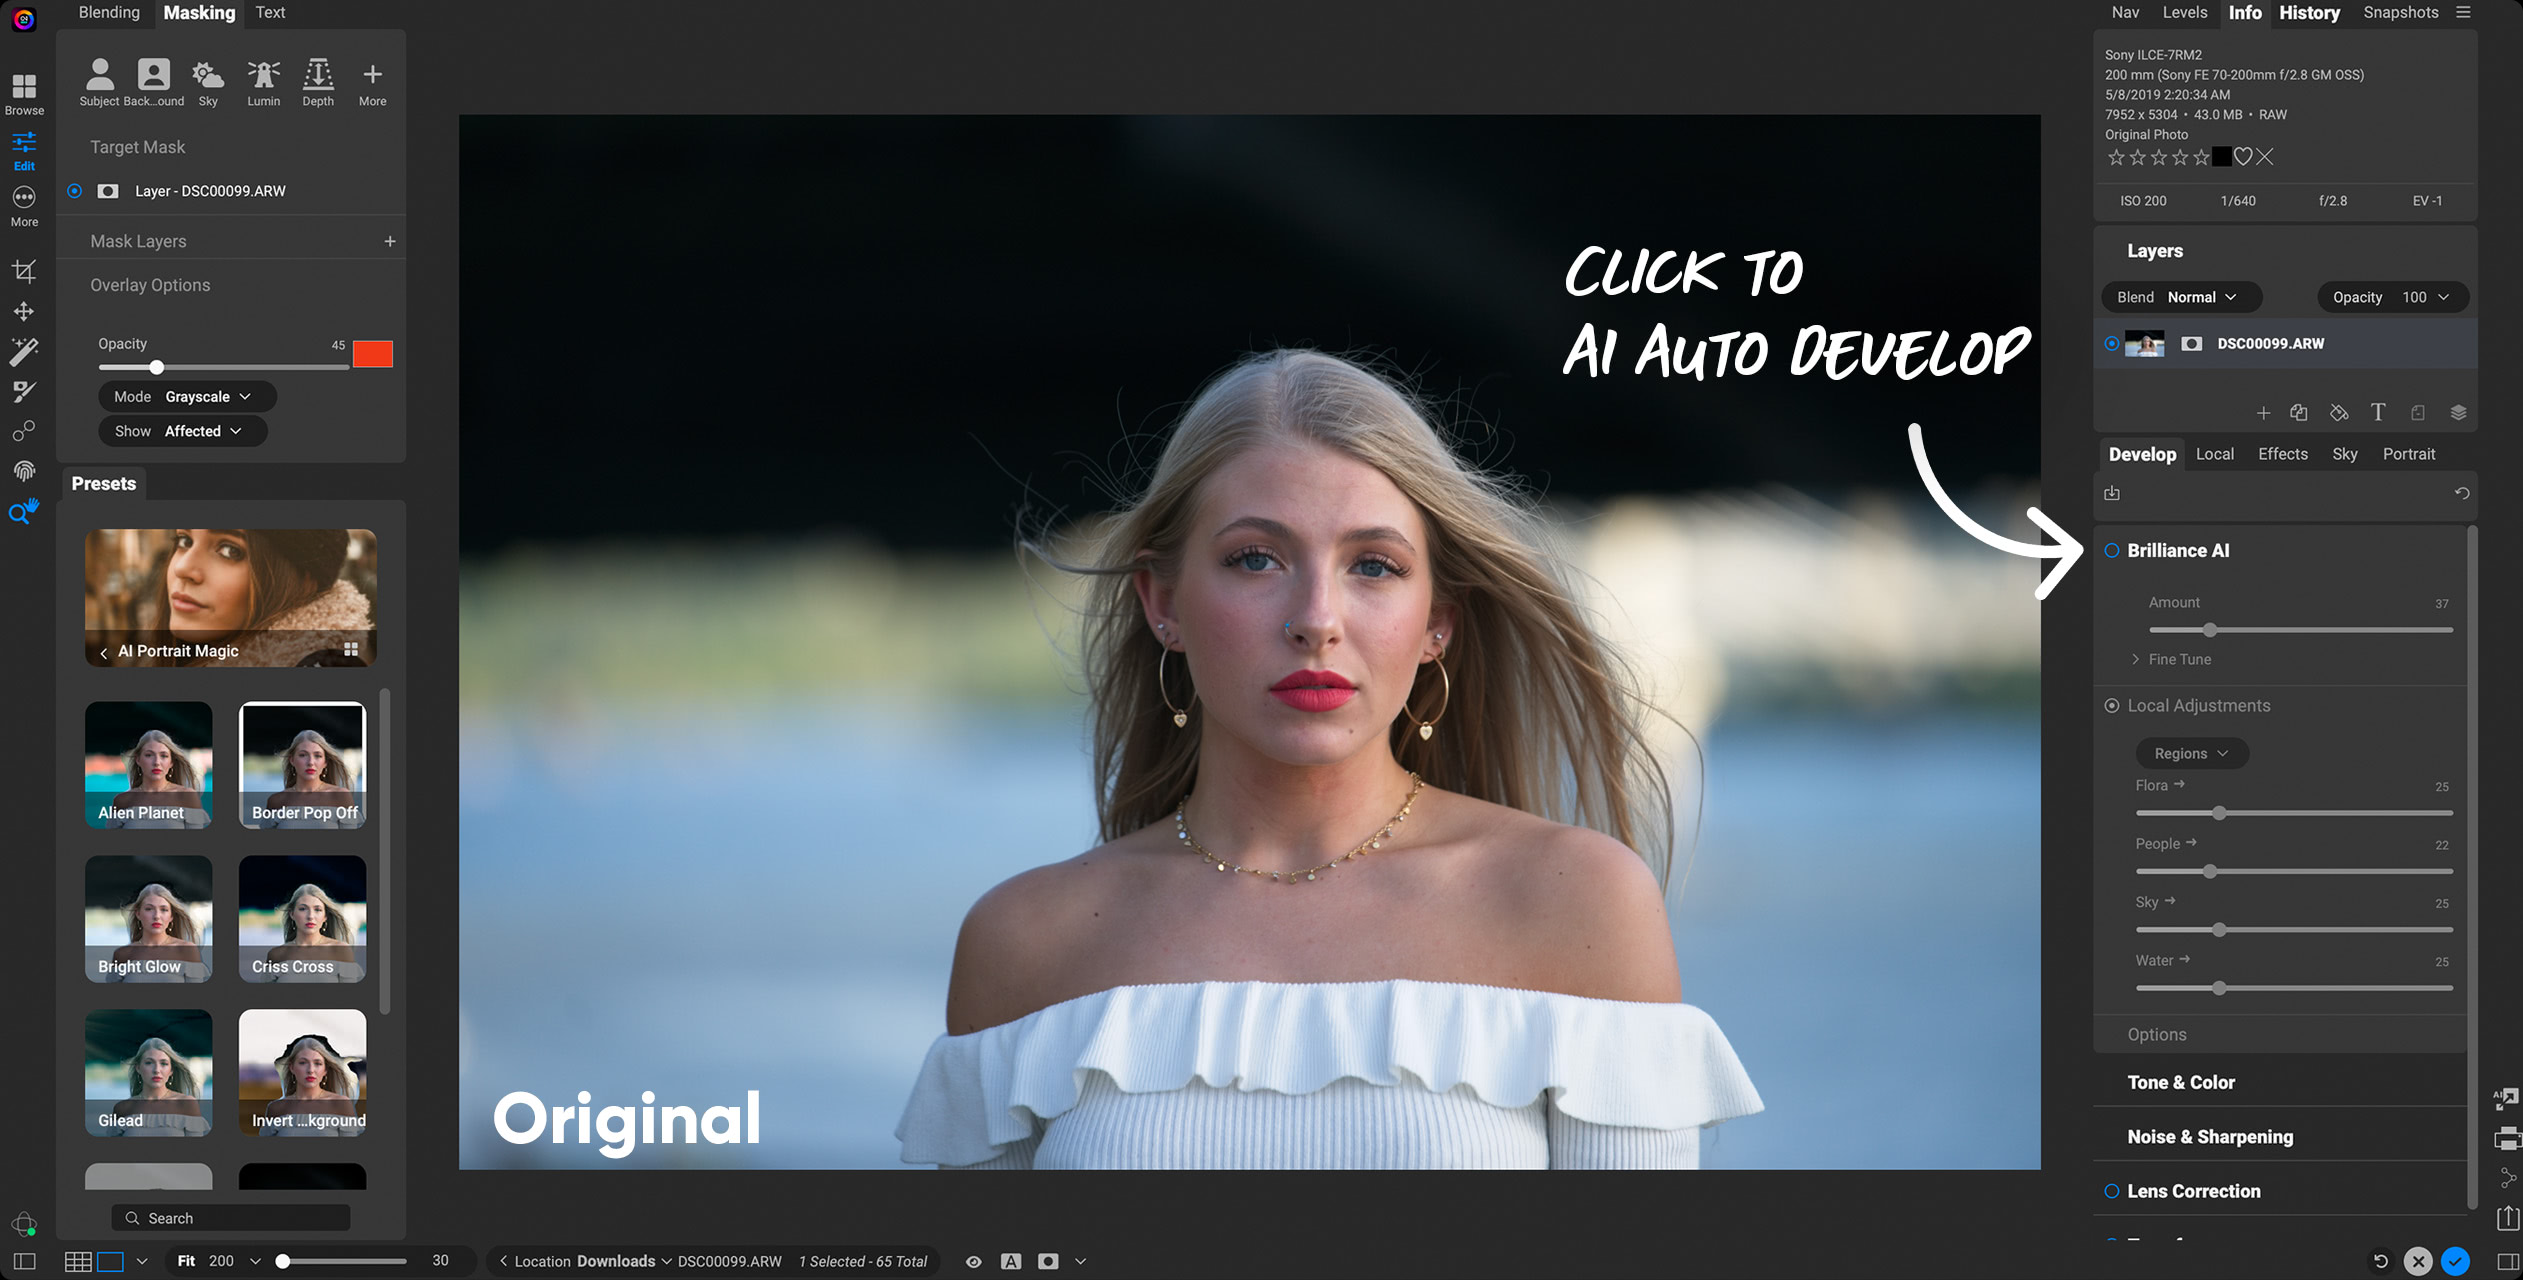
![]()
Brilliance AI
Automatically balances exposure, color, and tone while intelligently enhancing faces, skies, and key details.

Masking & Selection AI


![]()
Super Select AIImproved in 2026
Point-and-click anywhere in your photo to apply adjustments with more accurate selections than ever.
![]()
Subject & Background MasksNew in 2026
Create precise subject or background masks in one click.
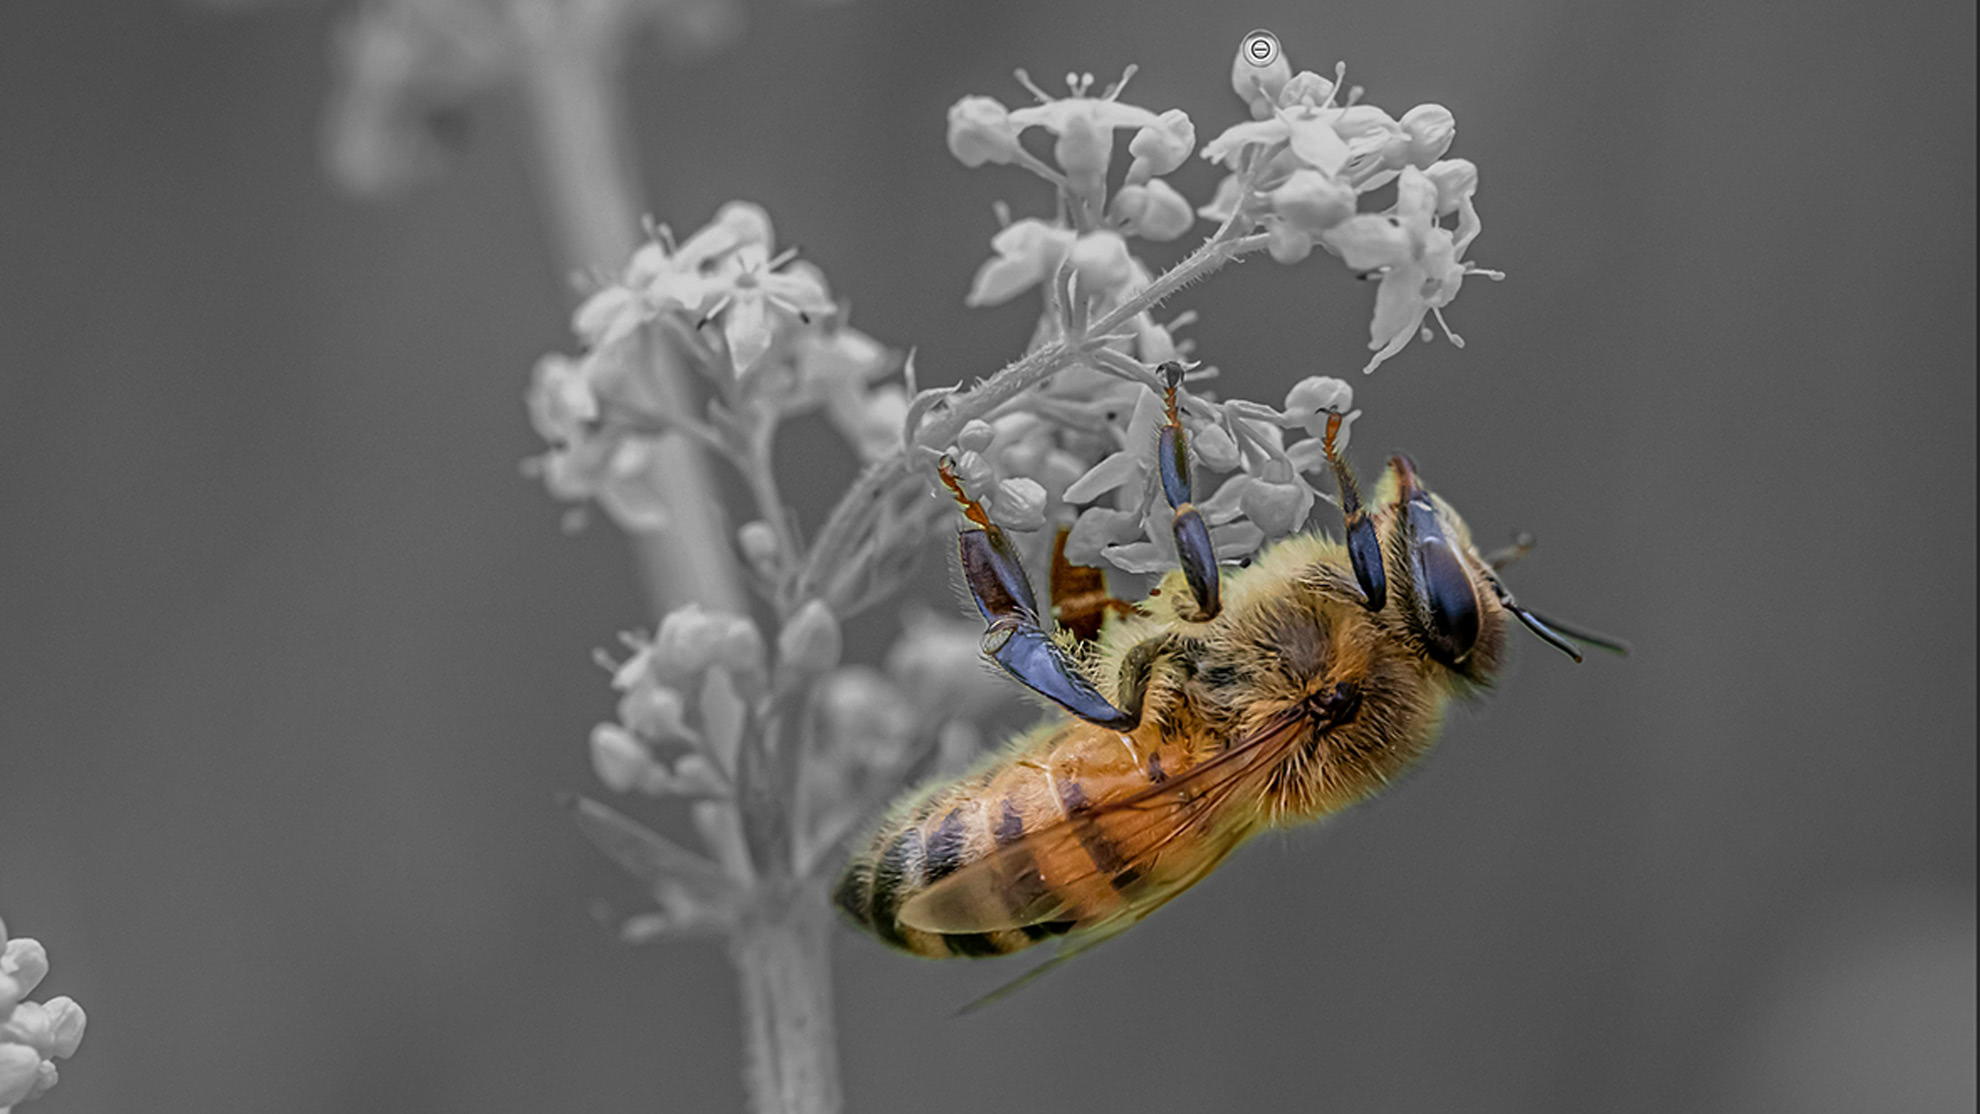
![]()
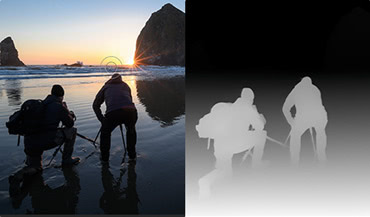
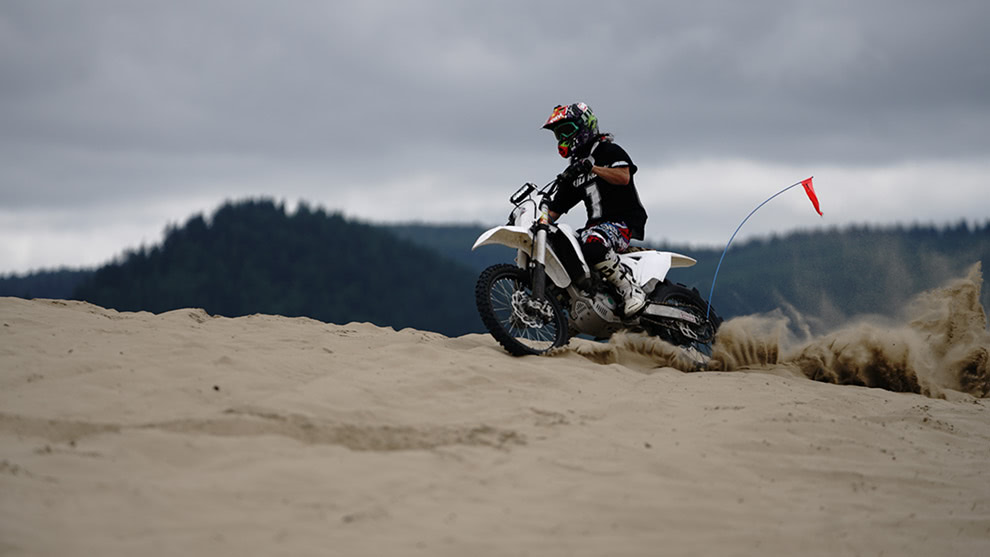
AI Depth Masks
Apply effects to different depth areas (foreground, midground, background) automatically.
Creative & Generative AI
![]()
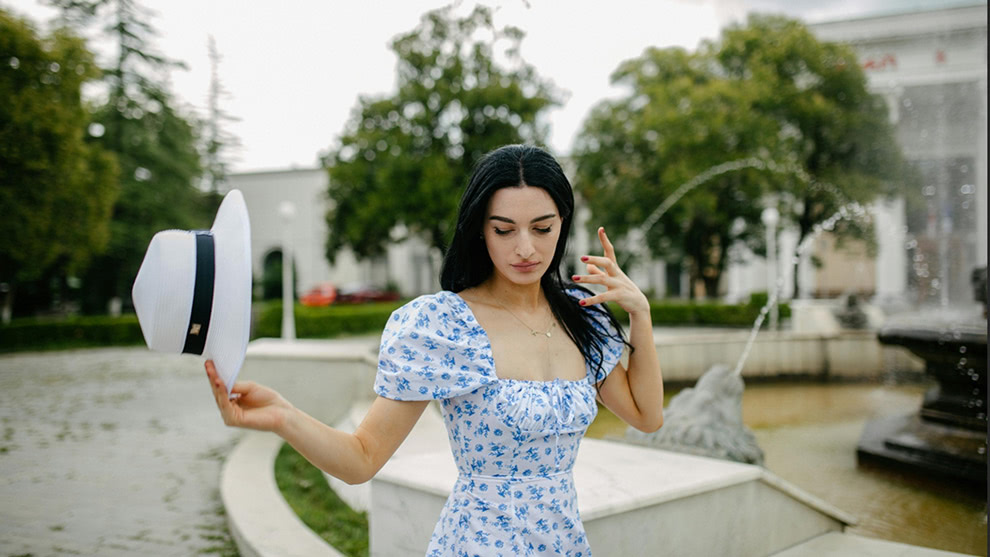
Generative Erase
Remove distractions and objects, with AI filling in naturally.
![]()
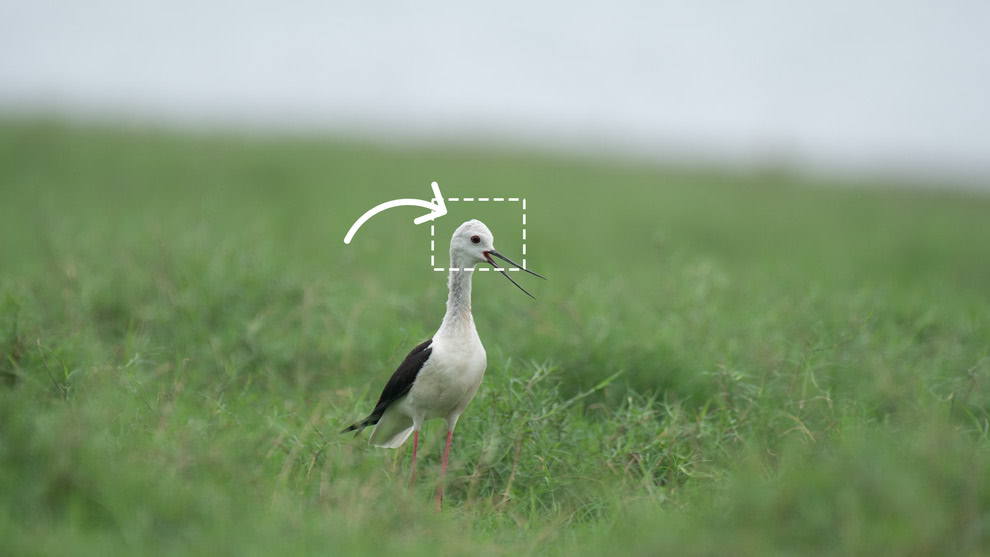
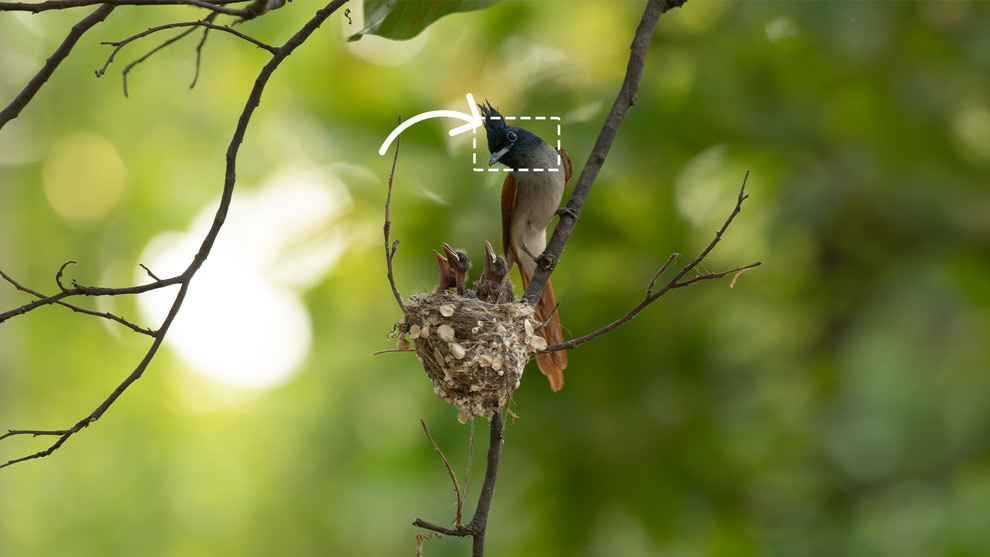
Generative Crop & Expand
Extend your canvas and fill new areas with realistic AI content.
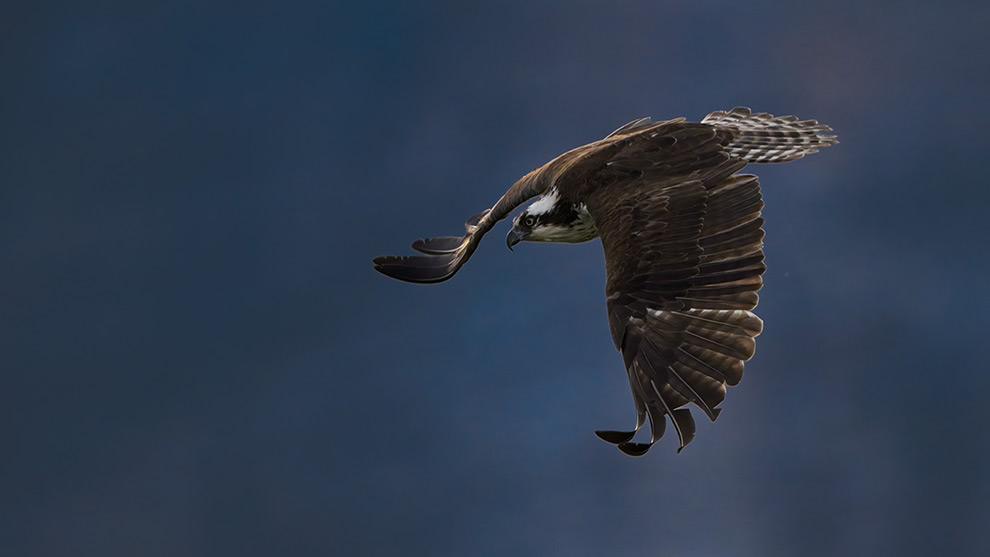
![]()
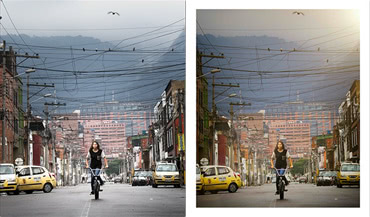
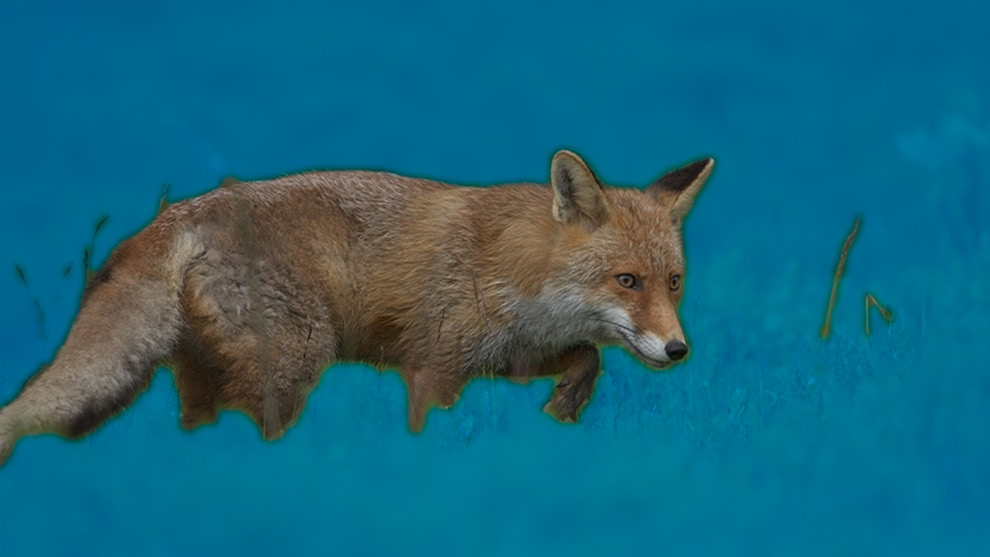
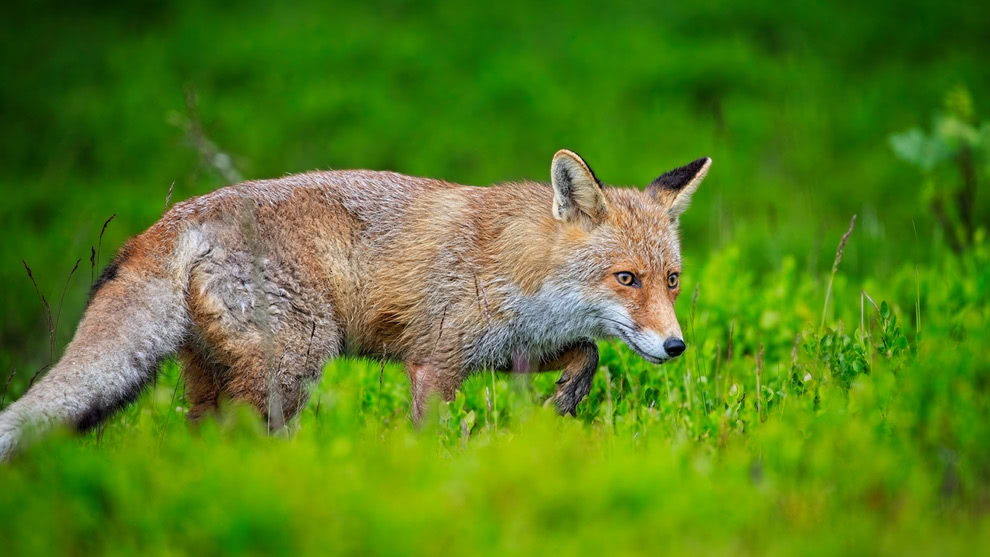
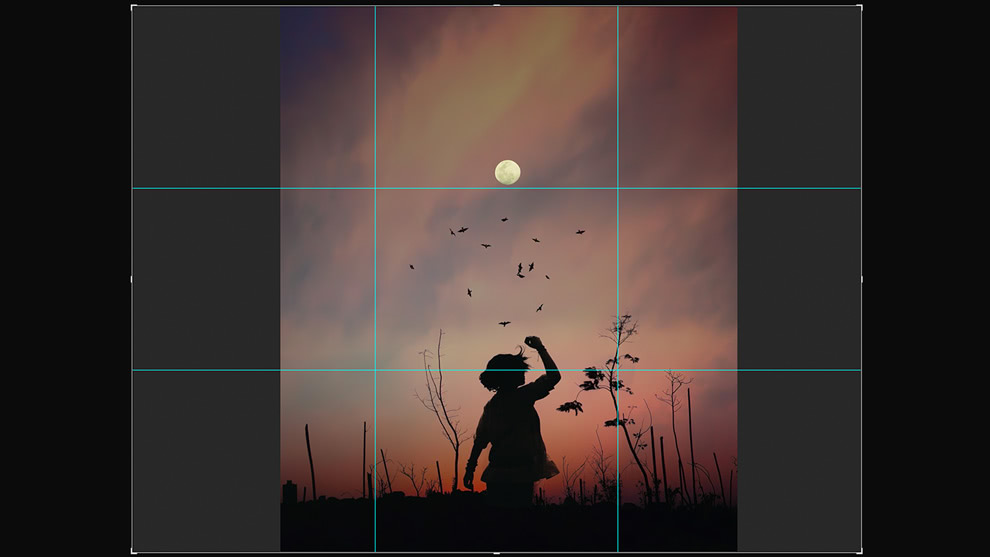
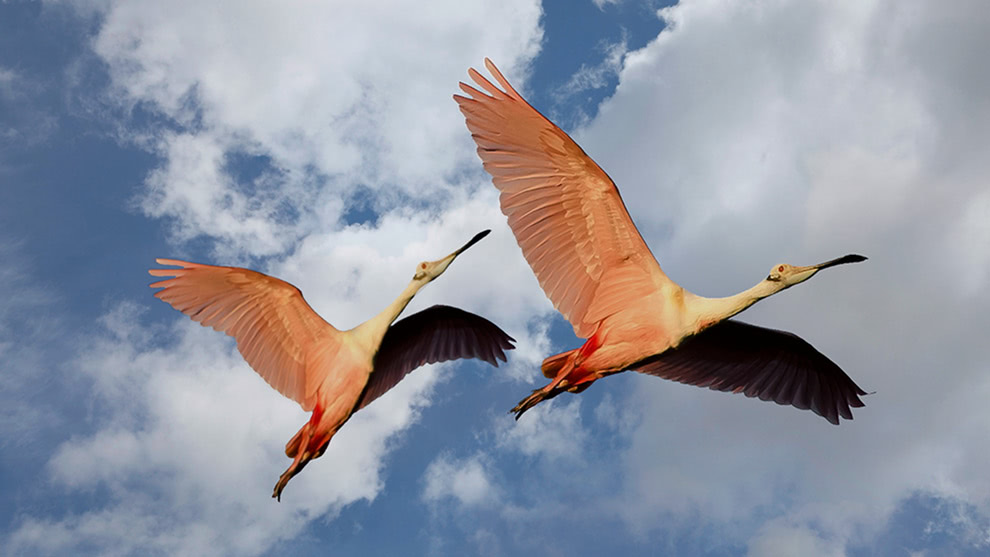
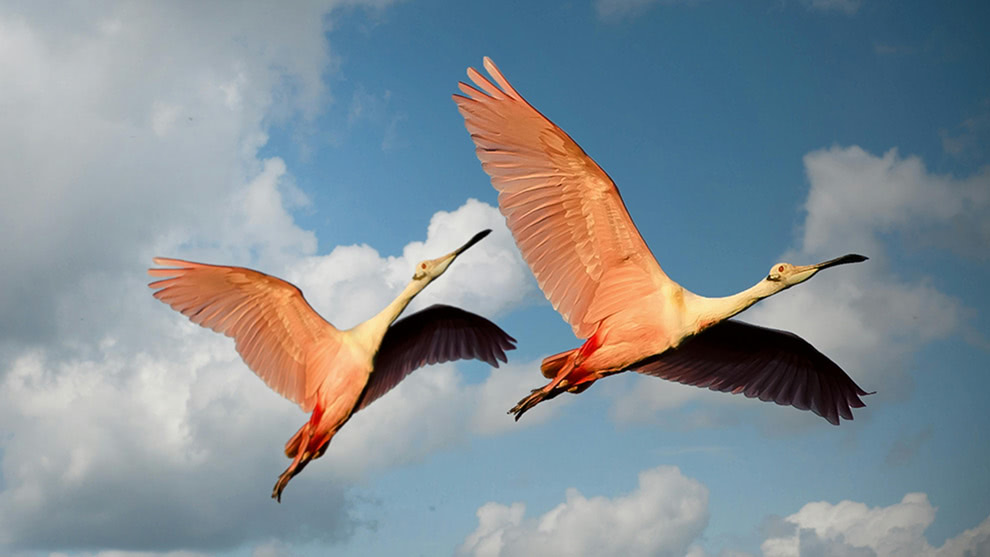
Sky Swap AI
Swap in dramatic skies while automatically adjusting the rest of the scene for realism.
![]()
AI Adaptive Presets
Save presets with AI-generated masks, so effects like sky swaps or local adjustments automatically adapt to the right regions in new photos.


The ON1 Difference
Unlike many brands, ON1 Photo RAW is built by listening to photographers. Backed by our 20+ year track record, we offer both perpetual licenses and subscriptions, so photographers can choose how they want to buy and always stay in control.
Frequently Asked Questions & System Requirements
What is ON1 Photo RAW?
ON1 Photo RAW is the best alternative to Adobe Photoshop and Lightroom, all in a single editor for Mac or Windows. With powerful yet easy-to-use AI editing tools and features, it's everything a photographer needs to create professional-quality photos.
Questions about Restore AI?
What is ON1 Restore AI?
Restore AI is a new AI-powered photo restoration module built into ON1 Photo RAW MAX. It automatically repairs common image problems found in any digital photo, including dust, scratches, wrinkles, tears, fading color, heavy grain, and loss of detail. Whether you're working with scanned prints, early digital files from older phones and cameras, or modern shots that didn't turn out as sharp or clean as you'd like, Restore AI analyzes each image and applies intelligent corrections with minimal manual editing.
It can also refocus soft images and colorize black-and-white photos, giving you a complete set of restoration tools in one place.
Who is Restore AI designed for?
Restore AI is built for anyone who wants to get more out of their photos, regardless of age or condition. That includes family members bringing old albums back to life, photographers digitizing personal or client archives, professionals working with historical collections, and anyone dealing with early digital files that never quite lived up to what the moment deserved.
The goal is simple: professional-quality restoration without hours of manual retouching.
How does Restore AI work?
Restore AI uses advanced AI models that analyze each photo to identify damage, noise, color fading, and missing detail.
Once the image is analyzed, the AI reconstructs the photo by repairing damage, restoring tonal balance, rebuilding lost texture and facial detail, and optionally colorizing black-and-white photos. Users can then fine-tune color, tone, and sharpening to preserve the photograph's original character.
Why does Restore AI process images in the cloud?
Restore AI uses very large AI models that require significant memory and compute power. These models are too large to run efficiently on desktop GPUs.
By processing images in the cloud, Restore AI can access far more VRAM and compute resources than a typical desktop computer. This allows the system to analyze each photo more deeply and reconstruct detail while repairing damage.
Cloud processing also means users do not need to download large AI model files or wait for slow local processing.
Will Restore AI ever run locally on desktop computers?
We are currently exploring options to allow the restoration AI models to run locally on desktop hardware in the future. However, there is no confirmed timeline yet.
For now, Restore AI uses cloud processing to ensure the highest quality results and performance.
Are the photos processed with Restore AI private and secure?
Yes. Photos processed through Restore AI are handled securely and are never used to train AI models or improve datasets. Images are processed only for the restoration task requested by the user and remain private.
Is Restore AI included with ON1 Photo RAW?
Restore AI is included exclusively with ON1 Photo RAW MAX 2026.4.
Existing ON1 Photo RAW users can upgrade to Photo RAW MAX to access the Restore AI module.
How does licensing work for Restore AI?
Perpetual License
Perpetual license owners of ON1 Photo RAW MAX receive unlimited restorations for one full year to cloud-powered restoration processing
Subscription
Subscribers to ON1 Photo RAW MAX or ON1 Photo Studio receive unlimited restorations and continuous access as long as their subscription remains active
Does Restore AI require credits or tokens?
No. Restore AI does not require credits, tokens, or per-image fees. Users receive unlimited restorations based on their license or subscription access.
Can Restore AI process large batches of photos?
Yes. ON1 Photo RAW MAX's batch processing supports Restore AI, so you can process an entire album or archive in one pass without touching each photo individually. It's a fast, efficient way to work through large collections of scanned prints, old digital files, or any set of images that need consistent restoration.
What types of damage can Restore AI fix?
Restore AI can repair many common issues found in digital photos, scans and more, including:
- Dust and scratches
- Wrinkles and tears
- Faded colors
- Grain and noise
- Soft or blurry scans
- Loss of detail
- Damage from textured photo paper
It can also reconstruct facial detail and optionally colorize black-and-white photos.
How is Restore AI different from other restoration tools?
Many restoration tools rely on filters or limited AI models. Restore AI uses larger, cloud-based AI models capable of analyzing images more deeply and reconstructing missing detail.
It is also fully integrated into ON1 Photo RAW MAX, allowing users to restore, organize, edit, and export photos within a single workflow.
What's new in Photo RAW 2026.4 compared to version 2025?
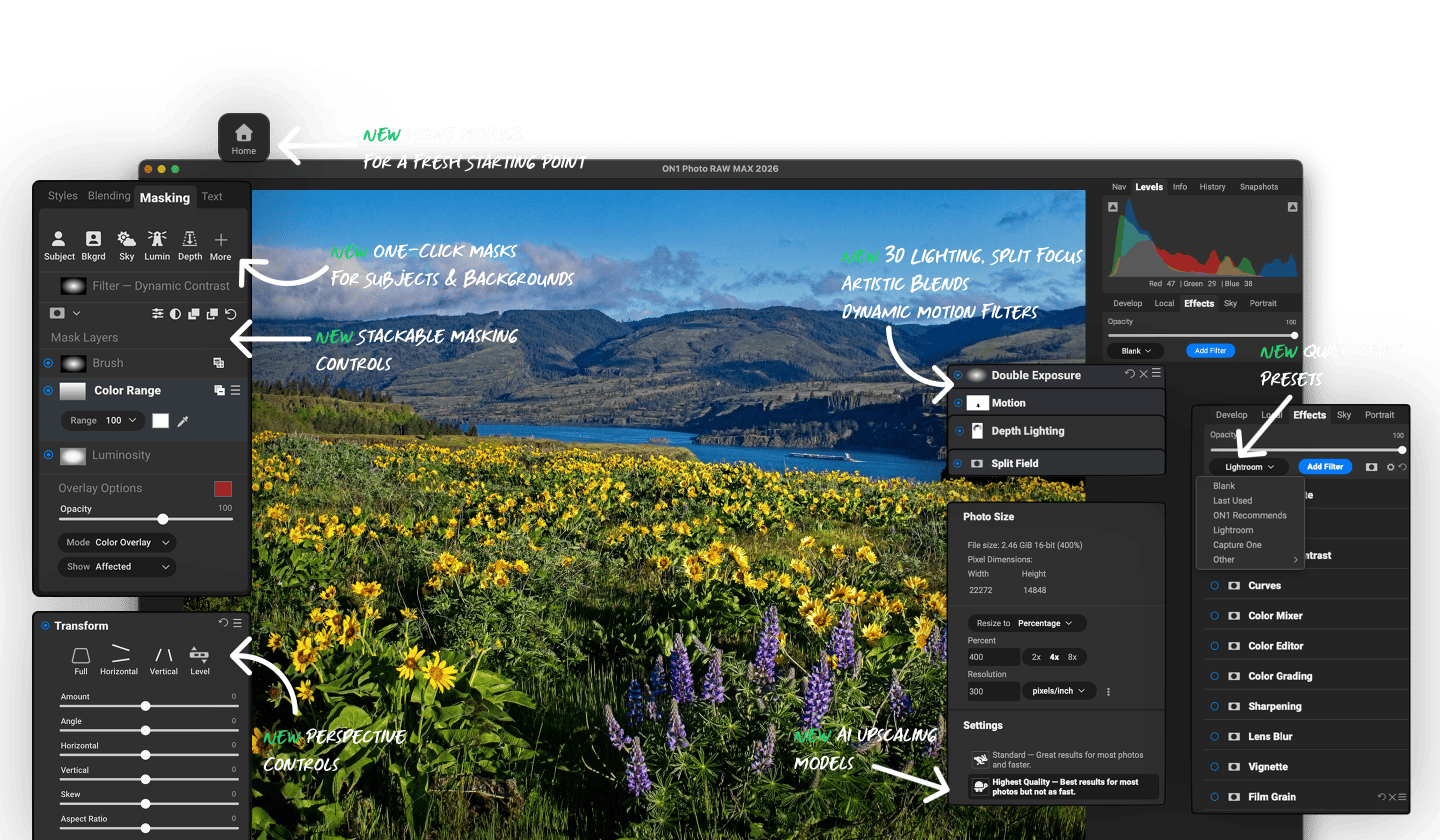
Version 2026.4 introduces powerful new features to make your editing workflow easier, faster, and better!
- Cinematic Depth Lighting: Use the new Depth Lighting filter with AI depth masks to add cinematic effects quickly.
- 1-Click Subject and Background Masking: Automatically create precise masks for subjects and backgrounds with ease.
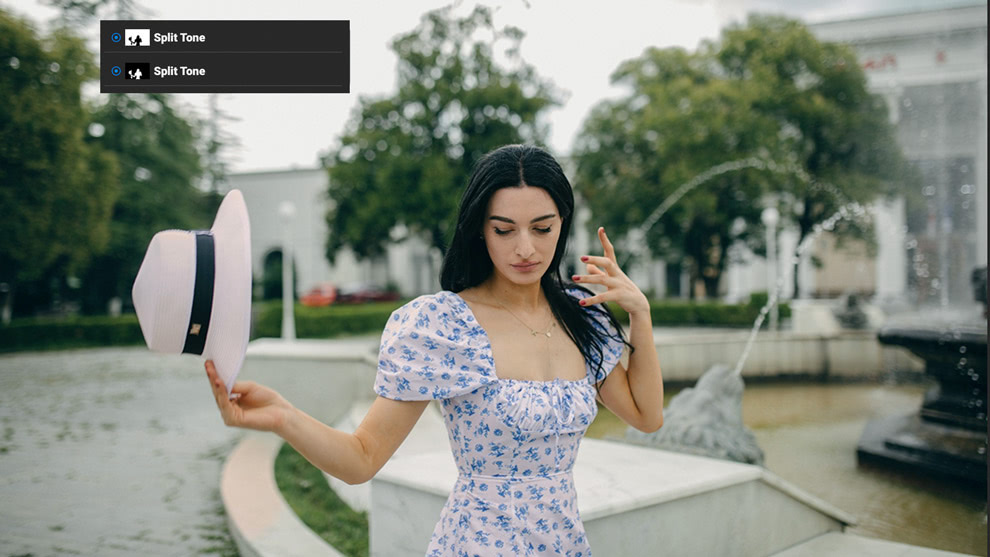
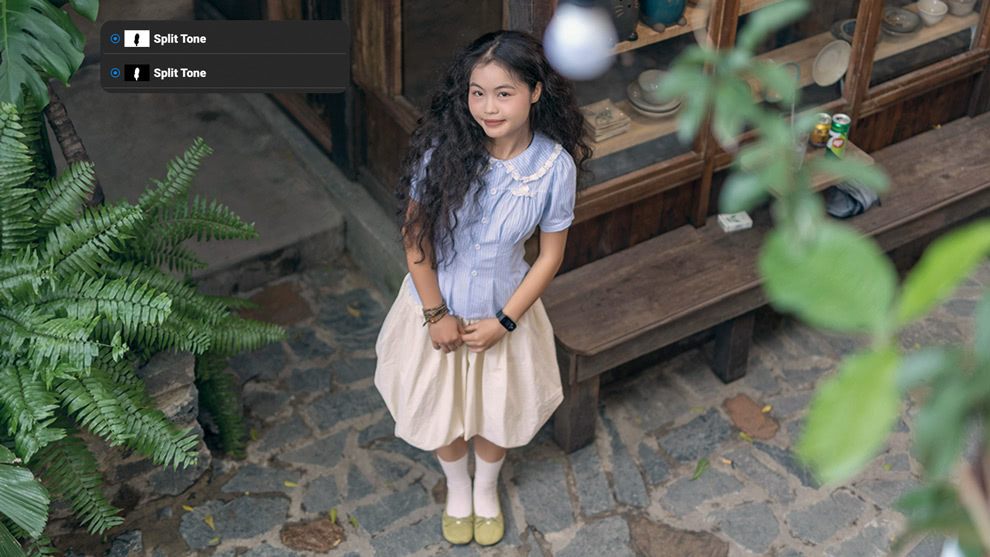
- Starting Points in ON1 Effects: Simplify edits by selecting your favorite filters with a single click.
- Split Field Filter: Expand landscape backgrounds without losing foreground detail.
- Built-in Resize AI 2026: Achieve sharp, super-resolution enlargements from small or noisy images.
- Improved Masking: Enjoy cleaner edges and reduced need for manual touch-ups.
- Perspective Correction: Fix crooked buildings without losing image edges or introducing black corners.
- Advanced Masking: Stack and combine masks for unlimited creative control.
- Workspace Customization: Float or dock panes to maximize your editing space.
- Filter Favorites & Search: Quickly find and apply your favorite filters.
- Double Exposure Filter: Create artistic double exposures effortlessly.
- Film Negative Inversion: Easily invert and color-correct film negatives.
- Motion Filter: Add realistic motion blur effects to still photos.
- New Creative Filters: Transform your photos with Depth Lighting, Split Field, Double Exposure, and Motion filters.
- Super Resolution Models: Includes new Highest Quality and Standard AI models for sharper, cleaner enlargements.
- Negative Mode: Automate inversion and color correction for digitized film negatives.
- Grayscale Support: Native editing for grayscale images.
- UI Improvements: Enhanced customization with dockable panels and floatable tool panes.
- More Camera Support: Compatibility with the latest camera models.
- Windows ARM Support: Optimized performance on Windows ARM devices.
What's the difference between Photo RAW 2026.4 and Photo RAW MAX 2026.4?
Both editions run as full standalone apps on Mac and Windows with access to the same core editing, AI, and organizational tools. The MAX edition adds two things: plugin support for Adobe Photoshop, Lightroom, and other editors, and Restore AI. If photo restoration is part of your workflow, MAX is the edition you need.
Does Photo RAW require a subscription?
No. You can own Photo RAW or Photo RAW MAX for a one-time purchase. The license for Photo RAW 2026.4 includes free updates to version 2026, but it does not include major upgrades in future years. Choose a subscription and you'll always have the latest version of Photo RAW MAX.
What are the benefits of subscribing instead of purchasing a license?
A subscription gives you access to ON1 Photo RAW MAX, including Restore AI, at a significantly lower upfront cost than a perpetual license. It also includes 200 GB of ON1 Cloud Sync for keeping your photos in sync across devices, plus automatic access to future versions as they're released.
For the most complete option, ON1 Photo Studio includes everything in Photo RAW MAX, all individual plugin and standalone titles, any new software released in the future, installs on up to five computers, 1 TB of Cloud Sync storage, and unlimited access to ON1 Plus training.
How many computers can I install Photo RAW on?
The MAX Edition can be installed on up to 3 computers. The standard version of Photo RAW can be installed on up to 2 computers. Subscribe to get up to 5 installations.
What are the system requirements for Photo RAW 2026.4?
| Operating System | macOS 13 and above Windows 11 x86 or ARM (Current maintenance releases, 64 bit only) | |
| Processor | macOS:
Windows:
| |
| RAM | 8 GB (16 GB if shared with the GPU) | |
| Hard Drive | 6 GB for installation | |
| Graphics | macOS:
Windows:
| |
| Optional Integration | Photoshop CC, Photoshop Elements, Photoshop Lightroom Classic, Apple Photos, Affinity Photo, Capture One (Current versions for all) | |
| Internet | A high-speed internet connection and active account for installation, ON1 Cloud Sync, activation, auto-update checking, content downloads, and tutorials. | |
| Supported Options |
| |
| Supported Languages | English, German, Spanish, French, Japanese, Korean, Simplified Chinese, Russian, Portuguese, Italian, Dutch | |


