
Everything You Need to Master ON1
Get unlimited access to premium video training, webinars, presets, textures, training courses, creative assets, and member-only perks all designed to help you edit faster and create better results in ON1 Photo RAW.
Over $500+ in creative content and training — included.
What is ON1 Plus?
Expert Training to Master Your ON1 Workflow
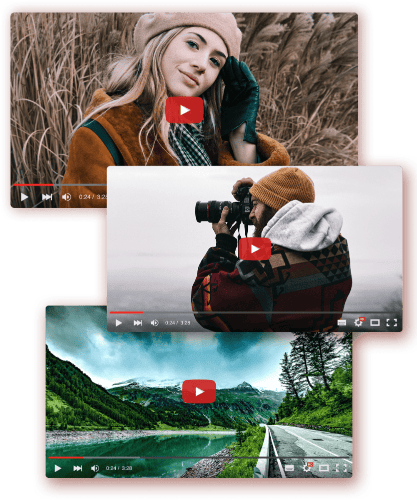
Build confidence with in-depth Photo RAW training, step-by-step editing videos, full courses, and quick tips designed to sharpen your skills.
- In-depth Photo RAW Training
- Step-by-step Editing Videos
- Full Video Courses & Quick Tips
- Free Course Preview: ON1 Photo RAW Editing Essentials
Creative Assets to Elevate Your Editing
Unlock premium ON1 presets, exclusive textures, and our most popular creative assets—plus new downloadable content added every month.
- Premium ON1 Presets
- Exclusive Textures
- Most Popular Creative Assets
- Downloadable Monthly Content
- Browse & Save Favorites
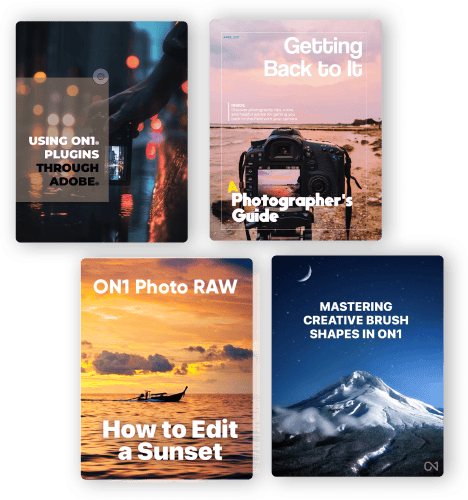
Learn, Reference, and Grow at Your Own Pace
The ON1 Bookshelf helps you master ON1 with clear guides and step-by-step editing walkthroughs—so you can build confidence, refine your workflow, and get more from every tool.
- ON1 Product User Guides
- Step-by-Step Editing Guides
- Workflow & Technique References
- Creative Inspiration Resources
- Instant Access, Anytime
Exclusive Benefits for ON1 Plus Members
Enjoy member-only perks, loyalty rewards, community access, and priority support—so you always feel supported and ahead.

More Monthly Loyalty Rewards

Community Forums

Member Photo Gallery

Access to Early ON1 Releases

Priority Support
What ON1 Photographers Are Saying
Excellent value and will be a very useful asset!
M. Morrell
I was a ON1 Plus member before and all the information, training available in this membership is amazing! I recommend it to anyone who wants to improve and learn.
M. Tremblay
ON1 Plus is amazingly easy for everything you don't know yet but would love to learn. It is clearly explained, and you can always watch again if needed. So yes, definitely go for ON1 Plus.
Jannie
Very helpful learning new tools to use. I like the presets plus offers.
Kevin
Great resource, loads of tutorials and extras. You can go through the tutorials at your own pace or just dip in as and when you want to.
R. Marshall
![]()
ON1 Photo RAW 2026.5
Already Own Photo RAW? Now Master ON1 Photo RAW Faster
ON1 Plus helps you get more from the software you already own.
- Learn New Tools Faster
- Discover Hidden Features
- Access Presets Designed for Photo RAW
- Stay Inspired with New Content Every Month
Meet Dylan, Your ON1 Plus Coach
Dylan will show you how to get the most out of your ON1 Plus membership and help answer any of your questions!
![]()
Become A Master of ON1 Photo RAW
Get Access to ON1 Plus Today!
Join ON1 Plus today and get access to hundreds of premium ON1 raw photo editing videos, full-length courses, exclusive eBooks, bonus loyalty rewards, and full access to the Creative Library!
![]()
ON1 Plus
1 year membership, not a subscription
No automatic renewal
Membership ends after 1 year
![]()
ON1 Photo Studio
/year
1 year subscription, renews yearly
Includes ON1 Plus membership
Includes all ON1 apps & future upgrades
Or subscribe monthly for
30-Day Money-Back Guarantee
Frequently Asked Questions
What is ON1 Plus?
ON1 Plus is a premium membership designed to help you get more out of ON1 Photo RAW. It includes in-depth training, step-by-step tutorials, creative tools, and exclusive content added regularly to help you improve your editing skills and workflow.
How often is new content added?
New content is added regularly, typically every week. This includes tutorials, courses, creative assets, and educational resources so you always have something new to learn or use.
Is ON1 Plus only for beginners?
No. ON1 Plus is designed for all skill levels. Whether you're just getting started or a professional photographer, the content ranges from foundational workflows to advanced techniques and creative edits.
Do I need ON1 Photo RAW to use ON1 Plus?
Yes, for the most part. ON1 Plus is designed to work alongside ON1 Photo RAW. The training, tutorials, and creative tools are built specifically to help you get the most out of the software.
Is ON1 Plus included with ON1 Photo RAW?
No. ON1 Plus is a separate membership. However, it’s included with ON1 Photo Studio (subscription), which bundles everything together.
Can I download the content?
Yes. Many ON1 Plus resources like videos, presets, LUTs, and guides are downloadable so you can use them directly in your workflow. Video content is also streamed for the best experience.
Will ON1 Plus help me edit faster?
Yes. ON1 Plus is built to improve both your skills and efficiency. You’ll learn proven workflows, shortcuts, and techniques that help you edit faster and more consistently.
Can I cancel ON1 Plus anytime?
Yes. You can cancel your membership at any time. If you cancel, you’ll continue to have access until the end of your billing period.
Does ON1 Plus include customer support?
ON1 Plus does include priority support vs. standard product support for all users.

