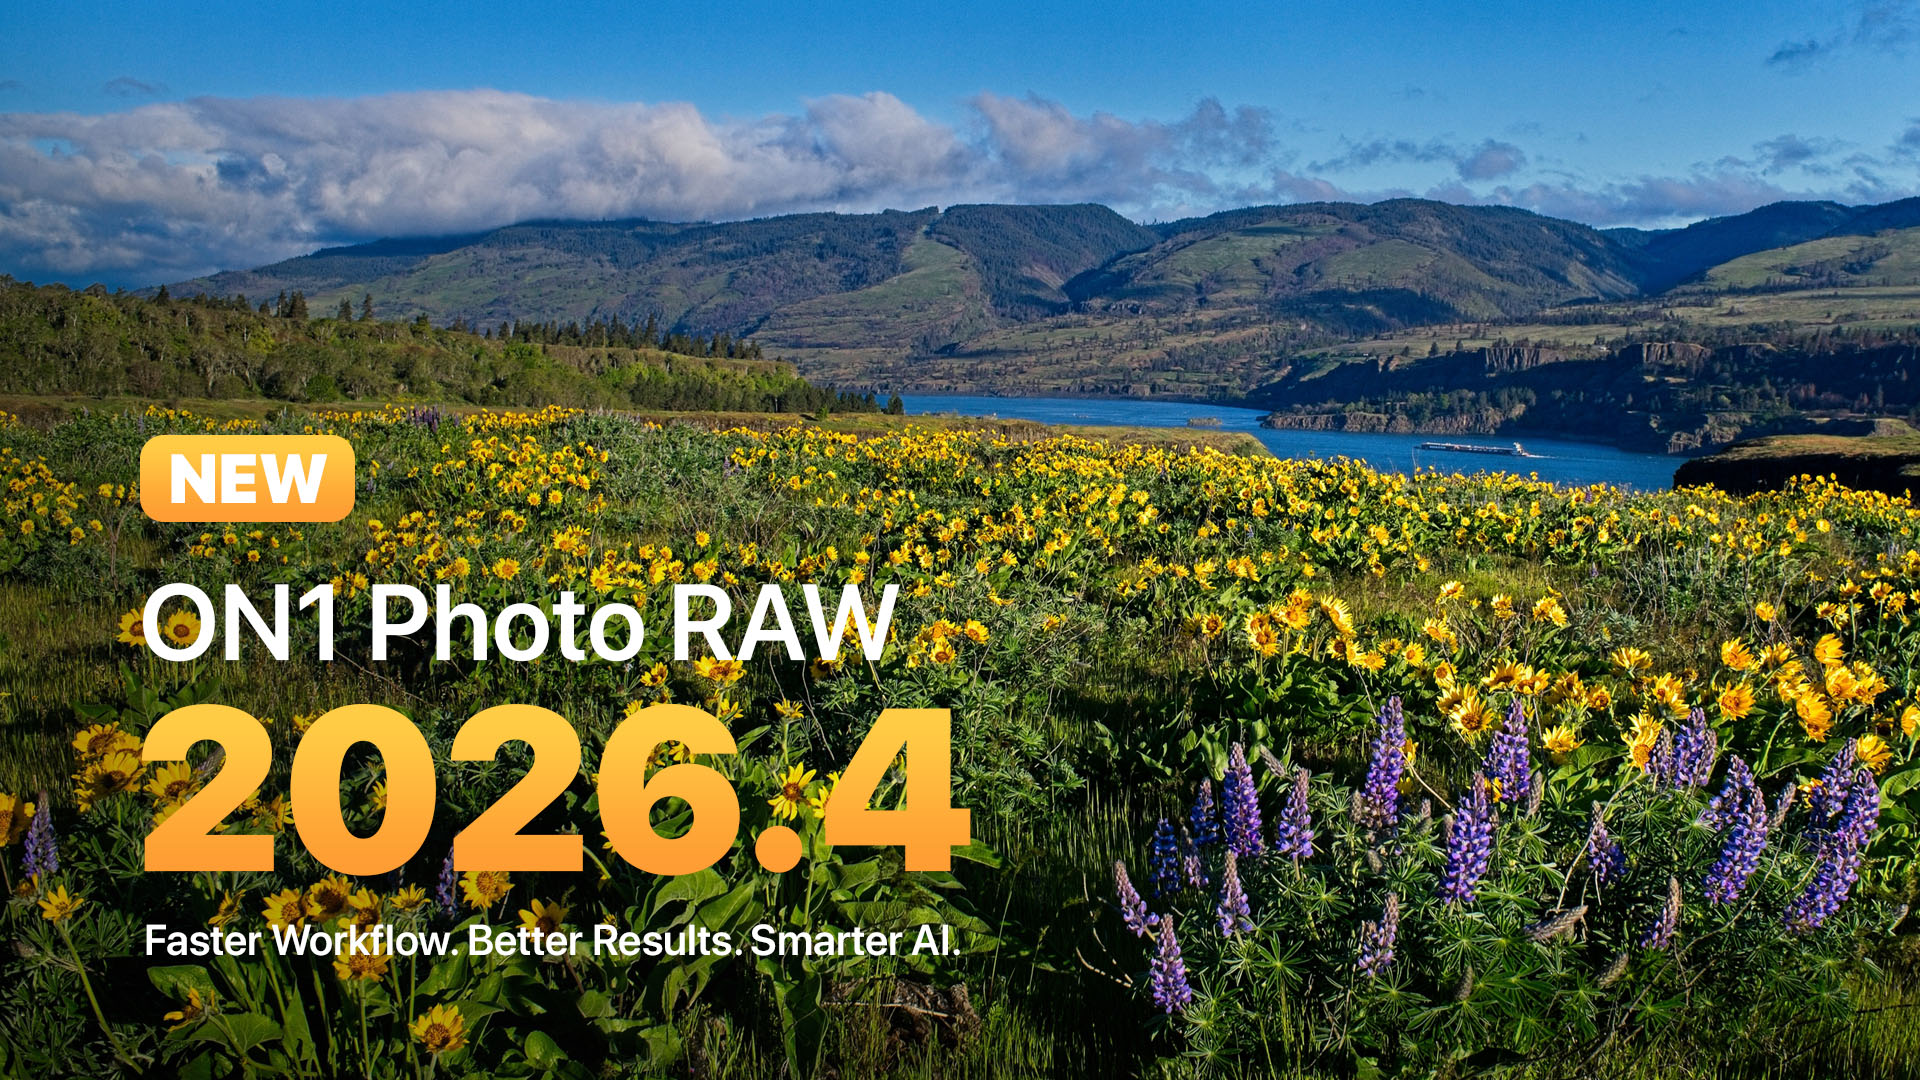
May 12, 2017 | 12649 Views | By Whitney Stevens

Before & After Magic

Sometimes a great photograph can come from seeing the potential of a not so great photograph. This is not always an easy task. We take so many photographs that it can be easy to skip over images without a second thought. Today, I wanted to share a before and after from of our ON1 team members. You may have already seen my blog post with our in house photo competition we had last month themed, Spring/Floral. This photograph was one of our contest winners and belongs to, Jim (an engineer at ON1).  After we announced the winners he was kind enough to share the original image with a little back story on how he got to the fabulous end result.

The day Jim took this photo he was out scouting for a great shot. He hadn’t had a lot of luck when he finally decided to give this location a chance.

Before photo:

After Photo:

Here is a quick interview I had with Jim.

W: Where was this photo taken?

J: The photo was taken roadside near Mulino shot through a chain link fence. I drove past this spot back-and-forth two times along busy highway 213 about 20 min before sunset, debating whether to take the trouble to find a place to park and shoot it.

W: Tell me what led to this photograph?

J: The scene didn’t look encouraging because the field was messy and it was through a chain link fence, but I said, ‘Hey, you’ve been out all day and haven’t tried that new camera’. I had recently watched a Creative Live course by Ben Willmore where he discussed shooting in difficult situations, like through chain link fences, so I parked along side the road and gave it a shot (actually about 30 shots).

W: It looks like you made some awesome improvements in ON1 Photo. Can you share what filters and adjustments you used?

J: I took (3) bracketed photos for this. In Layers: I merged the layers, cropped, used the Perfect eraser and clone stamp for clean up as well as copying one flower bunch for better balance. In Effects: I used Tone Enhancer, Color Enhancer, Photo Filter gradient for purple sky, Glow reflected gradient, Lens flare Central gradient and a Vignette. Local Adjustments: I used for tone balancing.

In his bag:

  • Nikon D610
  • Nikon AF Nikkor 28mm f/2.8D

Thanks to Jim for sharing this image with us! It is always inspiring to see the magic and hear the story of how an image was finished.


3 comments on “Before & After Magic”

  1. On May 13, 2017 at 5:35 am TwoRails wrote:

    TwoRails

    Hi Whitney. This is for you and Jim:
    Nice work, Jim. This would make an excellent video/tutorial, similar to an “In Post” by Scott Davenport. Perhaps you could recreate and record the process and post it for our learning enhancement.

  2. On May 14, 2017 at 8:42 am Roger Maillette wrote:

    Roger Maillette

    Nice work!!
    A video would be greatly appreciated.
    Thank you in advance… 😉

  3. On May 22, 2017 at 9:36 am C Vandenberg wrote:

    C Vandenberg

    Agree about the tutorial ….. but please consider adding a written one also – the stop/start and back/forth on a video makes them a less than desirable format for learning. They are easy to make, but not always easy for some of us to use as a leaning tool. Thanks.

Leave a Comment