

There’s a particular art to maximizing the potential of a photo to ensure you aren’t over-editing photos. Some people like to go to great lengths to process their photos using premium photo editing plugins, while others stick with more simple editing styles and free photo editing software. With anything today, there are great edits and not-so-great edits – or, to put it bluntly, bad photo editing. I want to give you my list of five photo-editing mistakes you should avoid when editing your next photos.
- Over-Saturation
- Staying in Color
- Overdoing the Details
- Overexposing or Underexposing
- Replacing Backgrounds
Photo-Editing Mistake #1: Over-Saturation
The first of many editing mistakes you should avoid when editing is to over-saturate. Over-saturating a photo can cause a lot of color distractions and make photos seem overly processed and fake. Too much color in a photo can distract your viewer, so it’s always smart to keep an eye on your saturation. Saturation can either make or break a photo. Take a sunset photo, for example. There’s a huge difference when increasing the saturation to bring back some cloud color and make your beautiful scene look like it was processed in Microsoft® Paint. People often have a decent saturation of color in their photos straight from the camera, but they turn it up because everyone likes a little color boost. I know I do, I tend to increase the saturation most of the time I’m editing a photo. However, I lower it to 0 when I’m dealing with saturation. Next time you want to modify the color saturation in your photo try dragging the slider to 0 and pause for a second. Look how beautiful it looks in black and white. Maybe it would look better that way, it doesn’t hurt to try. Right? Are you fiending for some color? Now grab that slider and stare at the photo itself, not the saturation control. Drag the slider back until you find the saturation adjustment you are looking for. I think you’ll be surprised at how little you need to make a big difference.
Too Much Saturation:

Zero Saturation:

The Right Amount of Saturation:

Photo-Editing Mistake #2: Staying in Color
Another thing about over-editing photos is that people don’t have to have color in their photos at all. The absence of color in photos can be remarkably helpful in increasing your photo’s contrast and tonality. Color can be distracting so desaturating it can remove distractions around your photo that may not be appealing to the viewer. Also, there is something so genuine and timeless about a black-and-white look on a photo. A lot of the times when I convert my photo to black and white it’s when I can’t get the look I’m going for with color. Sometimes it takes me a while to figure out that I need to go monochromatic. Often I wish I had made it black and white in the beginning to see how it looked. Generally speaking, if your photo looks good in color, it will also look good in black and white.

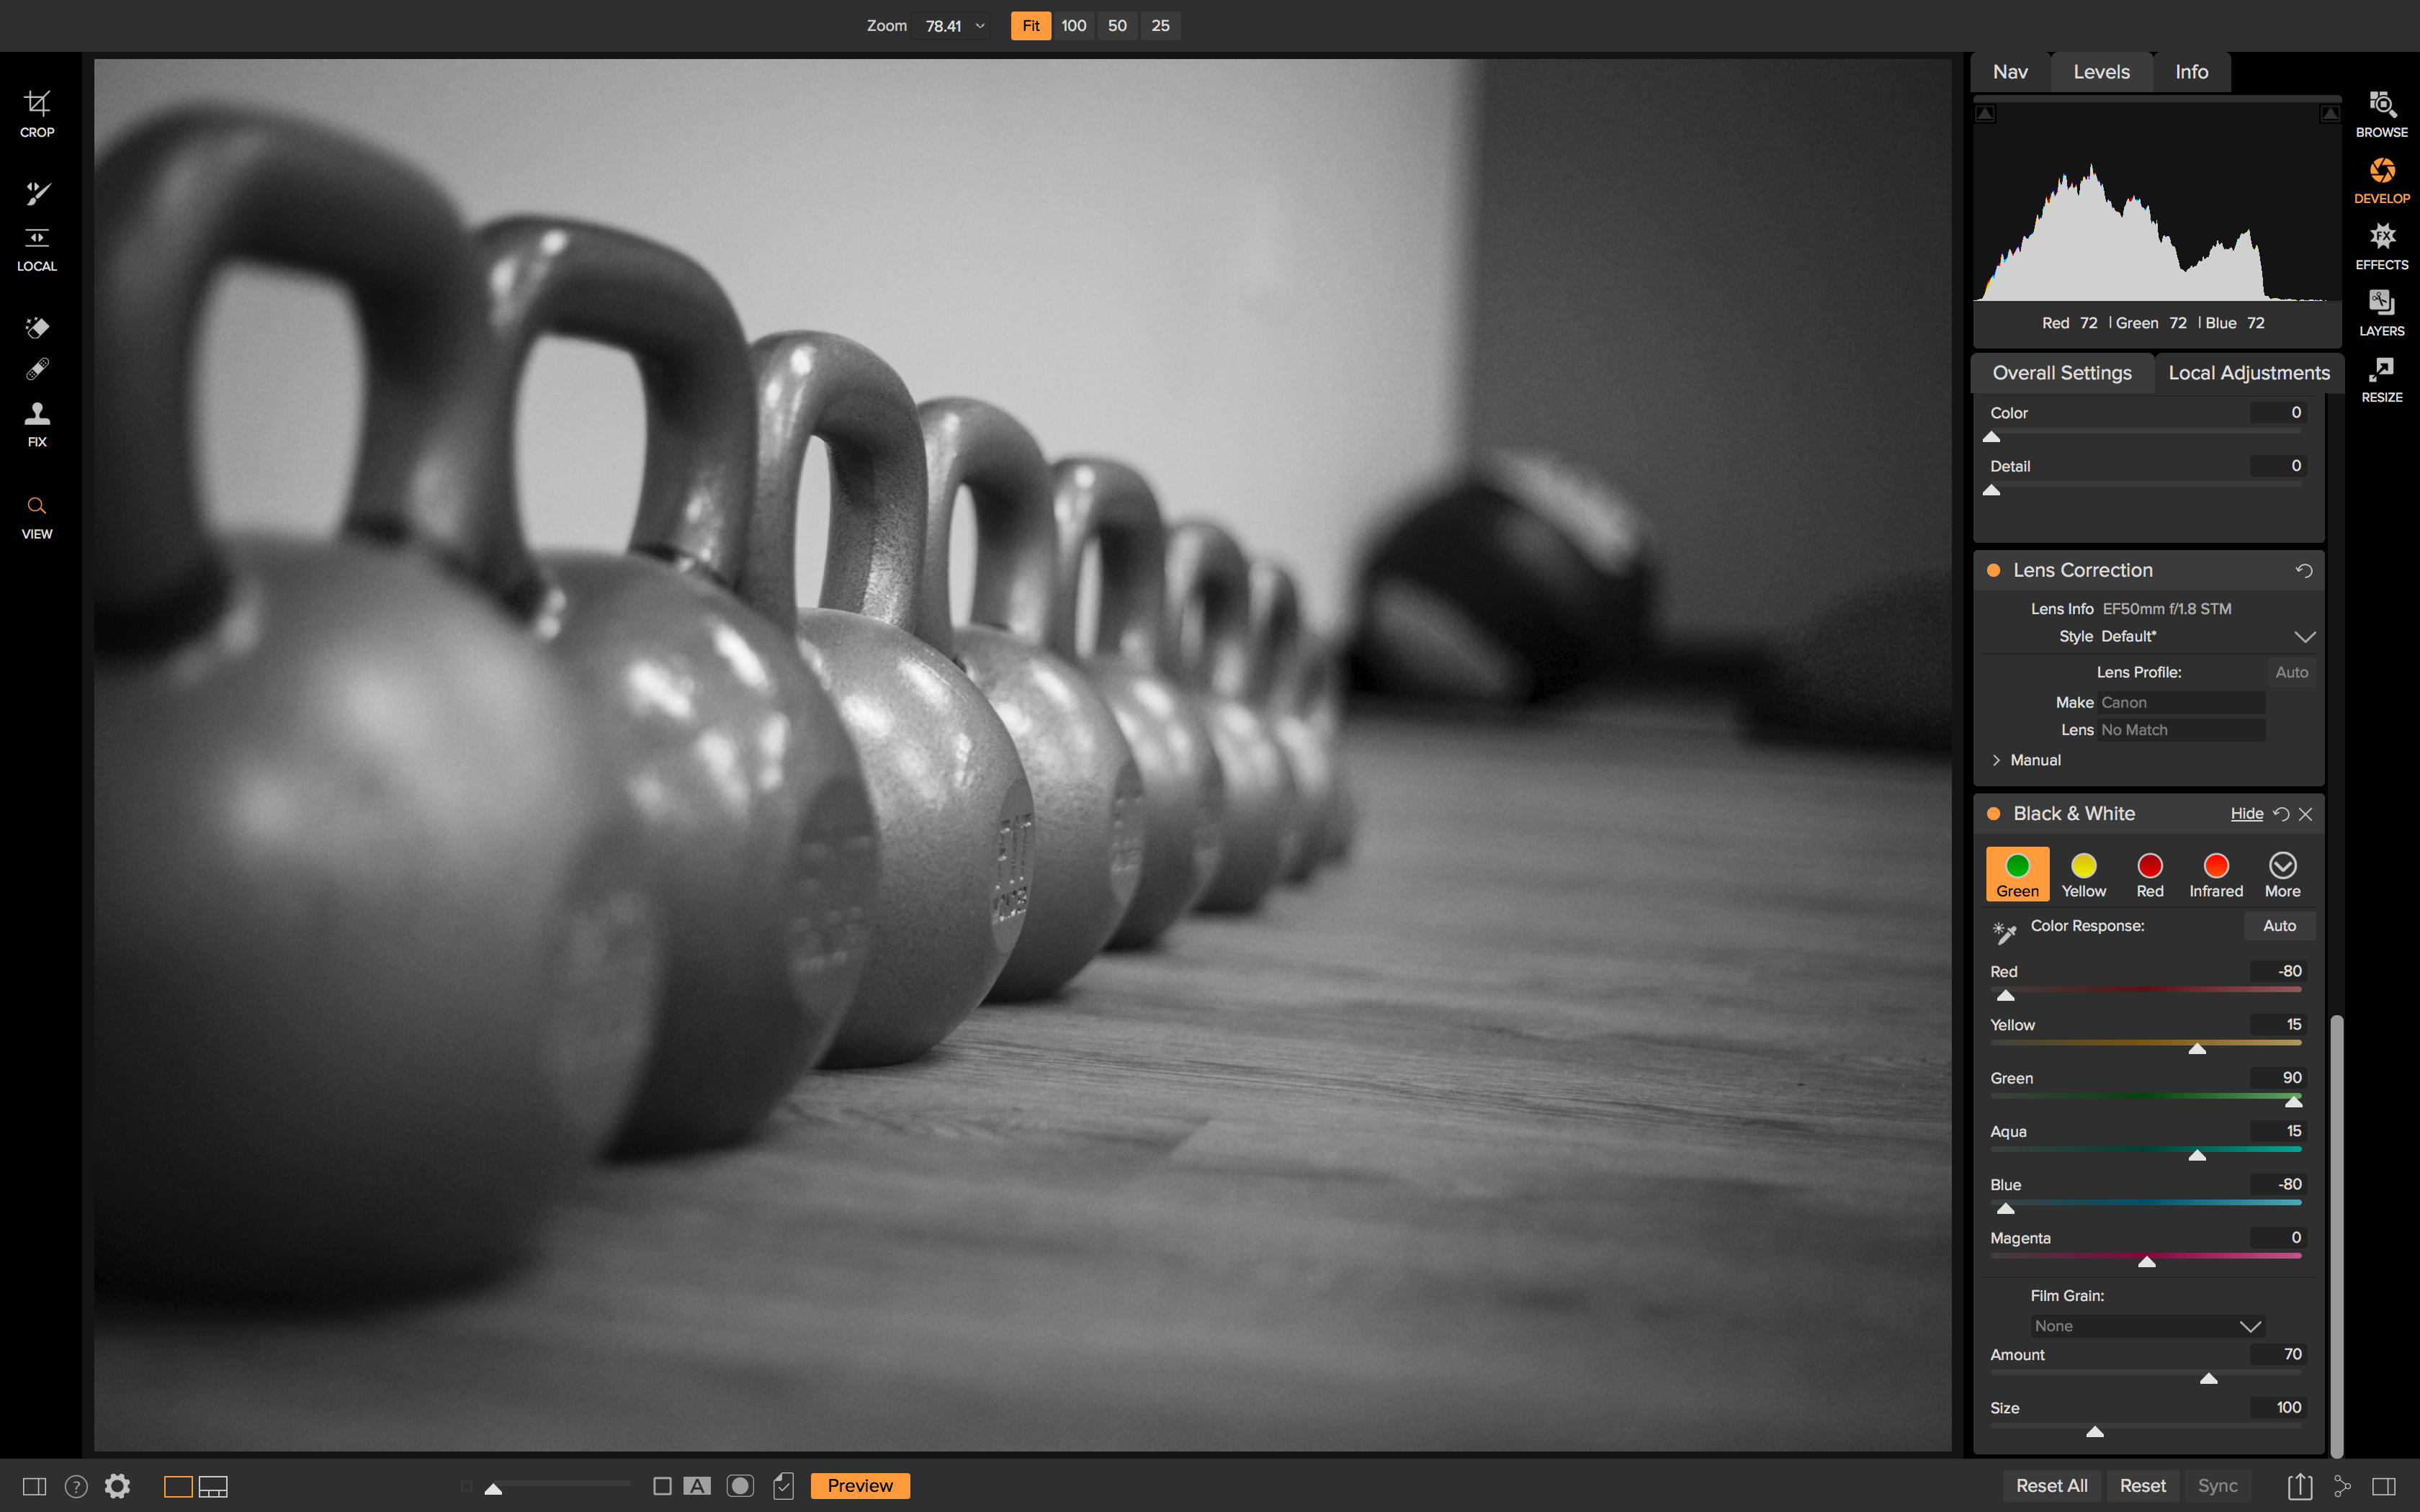
Photo-Editing Mistake #3: Overdoing the Details
The third bad photo editing mistake I see a lot in post-processing is the overuse of the structure slider and Dynamic Contrast. Don’t get me wrong, I love adding some micro-contrast to make my photo pop, but overusing them can cause subject haloing and distracting detail and make your photo seem unnatural. I know a lot of people that won’t even start with the tone of their photo, they will begin by adjusting the structure to add detail. This is completely fine, but if your photo lacks tone and composition, no detail can help your photo become more interesting. If you take one piece of advice for modifying detail in your photo, please let it be this: start small. What I like to do when using the structure slider especially is to do the same as I did with saturation and drop it down to 0 and then bring it back to the amount I want. If you prefer a different way, at least take a moment to inspect your photo’s detail to see if it needs any amount of micro-contrast added onto it. When adding Dynamic Contrast, I like to start with the Natural style first and then move onto Soft if Natural seems too heavy with detail. You could also reset all the sliders back to 0 and save that as a Reset style so you can start fresh with the sliders the next time you add Dynamic Contrast as a filter. Micro-contrast is a great tool to add detail to your photo, but a little goes a long way.
Too Much Structure Added:

The Right Amount of Structure Added:

Too Much Dynamic Contrast Added:

The Right Amount of Dynamic Contrast Added:

Photo-Editing Mistake #4: Overexposing or Underexposing
The fourth photo-editing mistake that is an editing no-no is to under or overexpose your photo in post-processing. The exposure slider might be the most basic adjustment control in the software world, and besides the saturation and structure slider, it may also be the most overused. The exposure slider is used to increase or decrease the exposure of your images, which in turn will brighten or darken your image. It’s a great tool to use, and it does a great job bringing up the exposure of your photo, but when done incorrectly, you can have blown-out photos or dark subjects that your viewer can’t even see. Many times, people think to increase the exposure when dealing with shadowy areas in the foreground or background and end up with blown-out areas because the exposure will increase across the entire photo and not just the shadowy areas. If you find yourself in this position, say you have a foreground subject that is dark and have some clouds in the background that are a little blown out, turning up the exposure to reveal the dark subject is just going to blow your clouds out more. The best thing to do when you have two different tonalities for your subject and background is to adjust your exposure to tone down the blown-out areas. Then use the incredibly powerful shadow slider to bring back some shadow detail and reveal your dark subject. Vice versa if you have a blown-out subject. However, it’s tough to recover detail from a blown-out subject because that usually means your background is also blown out.
Bad Exposure Edit:

Good Exposure Edit:

Photo-Editing Mistake #5: Replacing Backgrounds
The last mistake in bad photo editing I see a lot of photo editing is landscape composites that don’t work. For example, a sky replacement was done so poorly that it seems out of place and unnatural. Replacing skies in photos can be a great way to add an impressive background if the sky is a little flat, dull, or blown out. However, replacing the sky in photo editing is most often not necessary. If you do choose to take on this seemingly easy editing task, know this, realistic ones will take some time to do correctly. This also goes for any method that involves removing or replacing objects in your photos, such as removing the ex-boyfriend or ex-girlfriend from the family picnic photo. It will require some time.
Hope is not lost if you’ve committed these photo-editing mistakes. Consider the steps it will take to replace a sky in a photo. First, you must have a basic understanding of masking. From there, you must know how to blend the mask into the original photo so that your result photo looks realistic. It’s easy to spot terrible landscape composites, so if you want to be good at it, know how to use these tools to their fullest. Also, consider a much more natural-looking and less time-consuming route. There are plenty of other ways you can enhance a dull sky in photo editing. For example, you could use the Textures filter in Effects to subtly blend in some cloud textures or import your own to make your sky pop without using separate layers. Try dodging and burning using the Local Adjustment brushes as well. You will add drama to an otherwise dull sky in just a few clicks. Start in small steps if you go for the more editing-intensive new sky swap. Use a lower opacity on your masking brush to see how little or how much of the new sky you need to blend in. I recommend brushing in your replacement sky at lower opacities until you reach a natural look. Subtlety is key with most landscape composites if they are overdone, it will be very apparent.
Bad Composite:

Good Composite:

If you’re in the market for next-gen photo editing software, check out our ON1 Photo RAW editor. You can also try it out for free!
27 comments on “Over-Editing Photos: The Top 5 Bad Photo Editing Mistakes You Should Avoid”
On July 5, 2018 at 7:39 am Shannon Kaye wrote:
This was incredibley helpful, can’t wait to apply these tips.
On July 10, 2018 at 7:24 pm jsulester1 replied:
Oh so right on. I believe in brushing in a little selective microstructure to make a photo pop
On July 11, 2018 at 3:19 pm Dylan Kotecki replied:
I agree! A little goes a long way!
On July 11, 2018 at 3:14 pm Dylan Kotecki replied:
I’m glad! Thank you for reading!
On July 5, 2018 at 3:51 pm richard lemanquais wrote:
This is my biggest problem with “experts” telling me what I’m doing “wrong”. I edit a photo to an extent which pleases me. Not the expert. If I want incredible structure I’ll add it because that’s the story I’m trying to tell. Exposure, saturation? Again I’ll do it depending on what I want to reflect in the image I see in my minds eye. Will I ever win a prize for my my photos? Probably not. But have I sold a few that made some people very happy? Yep.
On July 10, 2018 at 12:18 pm Wayne Rhodes replied:
Richard
Thanks for your comment. I have a similar problem with photo critiques, the critiques are always about being natural looking. Sometimes I edit for the natural look and sometimes I edit for what I call a “painting look”. My wife is a professional writer and poet. She said a critique should reflect what the artist, in this case the photographer, is trying to say. This requires the one who critiques make an effort to understand the artist viewpoint. As you said I sale the most photos and get the most favorable comments from my quote “over processed” ones.
On July 11, 2018 at 10:24 am guimondlp@videotron.ca replied:
All the above tips are very helpful for those who want quality edits, if your look is over the top that is your choice, but do not get on the experts case as they are targeting great balanced edits!
Cheers
On September 6, 2018 at 3:23 am MICHAEL LOEW replied:
I see it exactly the same way you say : I simply like white clouds on a blue CPL saturated sky – sometimes in color sometimes in bw – and seeing my pictures in this way gives me more satisfaction than seeing a high “like” number with a flat sky.
There is no Truth in liking – or better say : in the emotional realm, in taste – the fact that the experts (pardon me Dylan no sarcasm intended) say “don’t oversaturate” and ten thousand *feel* like them does not mean that they are “right” – they simply express the feelings of much more people who feel like them. And the tips they give in this realm maybe earn you more attention or more money and if it is that what you seek you should listen to them. But if you don’t care for those numbers but like to see your pictures oversaturated go forward and push the saturation slider a little bit more to the right.
Again – I speak about the artistic emotional realm – in the technical area one should listen to the experts because if they say “don’t overheat the engine” and you nevertheless push the gas pedal …
On July 7, 2018 at 5:57 am barbswebsites wrote:
Thank you Dylan for this article. I’m brand new to post-processing software and really dislike the over processed look that I’ve seen in so many photos lately. As someone who learned photography in the “olden days” when we used darkrooms and basically just cropped, and dodged and burned for exposure adjustments I need all the guidance I can get with this software and will certainly implement these tips in my workflow.
Regards, Barb Straley
On July 11, 2018 at 3:15 pm Dylan Kotecki replied:
You’re welcome! I’m glad you’re a fan of natural, simple edits as well
On July 7, 2018 at 8:43 am tbbarberz10@yahoo.com wrote:
Dylan,
All five suggested recommendations are excellent. They remind me how to expose properly, avoid a contrived look, and to create more compelling images. Thank you.
Terry B.
On July 11, 2018 at 3:17 pm Dylan Kotecki replied:
You’re welcome, Terry! Thank you for reading and happy editing
On July 10, 2018 at 1:05 pm Jack Blanke wrote:
Good stuff, Dylan! I had to look over my shoulder to make certain you weren’t watching my landscape edits. Seems like I have done them all. I noticed some weeks back that I was not satisfied with my edited photos……..stepped away from the screen for a while…..and realized that I was guilty of just about all 5 of your No-No’s. Not necessarily all at once……but to some degree, overdoing at least 2-3 of them in every photo I processed.
It is so easy to lose sight of just how powerful On1 Software really is…..and it takes discipline to focus on the image as a whole while processing, rather than to bear down on any individual localized adjustment. A little too much here…..a little too much there…….and before you know it, you are looking at a surreal version of a 1950’s comic book page rather than a well composed and exposed landscape that truly depicts the subtleties you sought to begin with. It takes a walk-away break from the screen sometimes to reorient your vision to the mood of the shot when you took it.
All good stuff, Dylan. Thanks for clarifying and correcting some of my most flagrant processing faults so that I really can enjoy the best of On1 Photo Raw.
Jack Blanke
Metairie, LA
On July 11, 2018 at 3:19 pm Dylan Kotecki replied:
You’re very welcome Jack, thank you for reading and commenting. I totally agree with walking away for a few to come back and rethink. Great process
On July 10, 2018 at 1:55 pm Alan Brown wrote:
I understand what the 5 things are saying and also the replies regarding what sells.
I spoke to a person in a large Electronics store about the TV’s seem to be set highly saturated. He said people always go for the ones with the highest contrast and most saturated. I said the screens don’t look realistic. He said they are considered to be lifeless so we adjust them to saturated.
Many non photographers see firstly the subject.. person/baby/bride and if they are smiling they could care less about much else!
I know.. it’s depressing. 🙁
On July 11, 2018 at 3:14 am prof@hitchins.net wrote:
Dylan,
Excellent guidance! Thanks. If only someone had told me that years ago! Now I have a ton of revision to do!
Derek Hitchins
On July 11, 2018 at 3:21 pm Dylan Kotecki replied:
Thanks Derek! I wish the same, I’ve had plenty of over-processed looks that could have been avoided with some guidance. Happy editing!
On July 11, 2018 at 3:24 am Guillermo Fernandez Porto wrote:
I did read all the comments. In my opinion the article is spot on how to help an individual to get the best from the picture to make it more real and fix issues of the camera setting at the time of the shooting or some limitations of your gear too by using this really good software.
The software can easily destroy a picture or make it beautiful.
You can fix a bit the composition cropping the picture but if you don’t have an eye for composition you need to learn a lot and see a lot of pictures to master that. Some pictures are great for the timing and how spontaneous are and other for the preparation to the waiting for the right moment. The software will not help with that
Taste and people’s perception is another matter…
I take pictures to remember a moment and to share those moment with people I love. I do like to transmit the feeling I have when I was there. I expect to see any of those pictures in the future and travel in time to get the same feeling.
Dylan Kotecki, Very good article, well presented and straight forward.
On July 11, 2018 at 3:22 pm Dylan Kotecki replied:
Thank you Guillermo! I totally agree with “the software can make or break a photo”.
On July 11, 2018 at 4:04 am leon.flack wrote:
Thank you for some good advice. I was taught to always crop first then edit so you are only working on the photo sizing you want, then to adjust your levels starting with the pointers directly underneath the Histogram pulling them both out (with Alt key held down on keyboard) for max black / white avoiding clipping on either end (this was applicable to Photoshop Elements). Have only just started with ON1 so not sure if this specific option is available here but it is brilliant for initially bringing some life into a dull picture pulled straight out of the camera before you really get into the editing phase.
On July 11, 2018 at 3:24 pm Dylan Kotecki replied:
You’re welcome Leon! I’m not sure I follow about the histogram though. I use the J key to see the black and white clipping warnings and adjust exposure from there.
On July 12, 2018 at 11:06 am Carmen K wrote:
Hi Dylan – I appreciate your advice, because it doesn’t take away from my own creative vision, instead it enhances it. I always have the freedom to change the image into whatever I wish, even to over-process it, if I wanted to. I also enjoy processing some of my images with a painterly look and the core of your advice also applies to that type of processing. Thanks.
On July 18, 2018 at 8:23 am Dylan Kotecki replied:
Hi Carmen, you’re welcome and thank you for reading. My thoughts exactly. At the end of the day it’s the photographer’s photo and they can do whatever they choose.
On July 17, 2018 at 9:14 am james.tibbel@outlook.com wrote:
This is very refreshing. Processing is not my strong point and I appreciate any help I can get. Thanks very much for this.
On July 18, 2018 at 8:22 am Dylan Kotecki replied:
You’re welcome, James. Thank you for reading. Just have fun and you’ll get the hang of it in no time.
On July 21, 2018 at 7:14 am David Hall wrote:
The two areas that I can struggle with are Dynamic Contrast and Exposure. I am trying to develop a few of my own Dynamic Contrast presets that do not make it look so harsh. As to exposure in addition to the Adjustment Brush I often will use a Gradient Filter to achieve the look I want.
When I teach an intro editing class the repeated point is less may be better and start out zeroing out and maximizing a slider are good starting points.
Last thing, as the photographer/artist —- you need to please yourself.
On September 18, 2019 at 2:23 am Ladainan Las wrote:
Howdy– I value your recommendation, since it doesn’t detract from my own inventive vision, rather it improves it. I generally have the opportunity to change the picture into whatever I wish, even to over-process it, on the off chance that I needed to. This is exceptionally reviving. Preparing isn’t my solid point and I value any assistance I can get. Much appreciated especially for this. clipping vs masking
Please review our our privacy policy for information about how we use the data we collect.