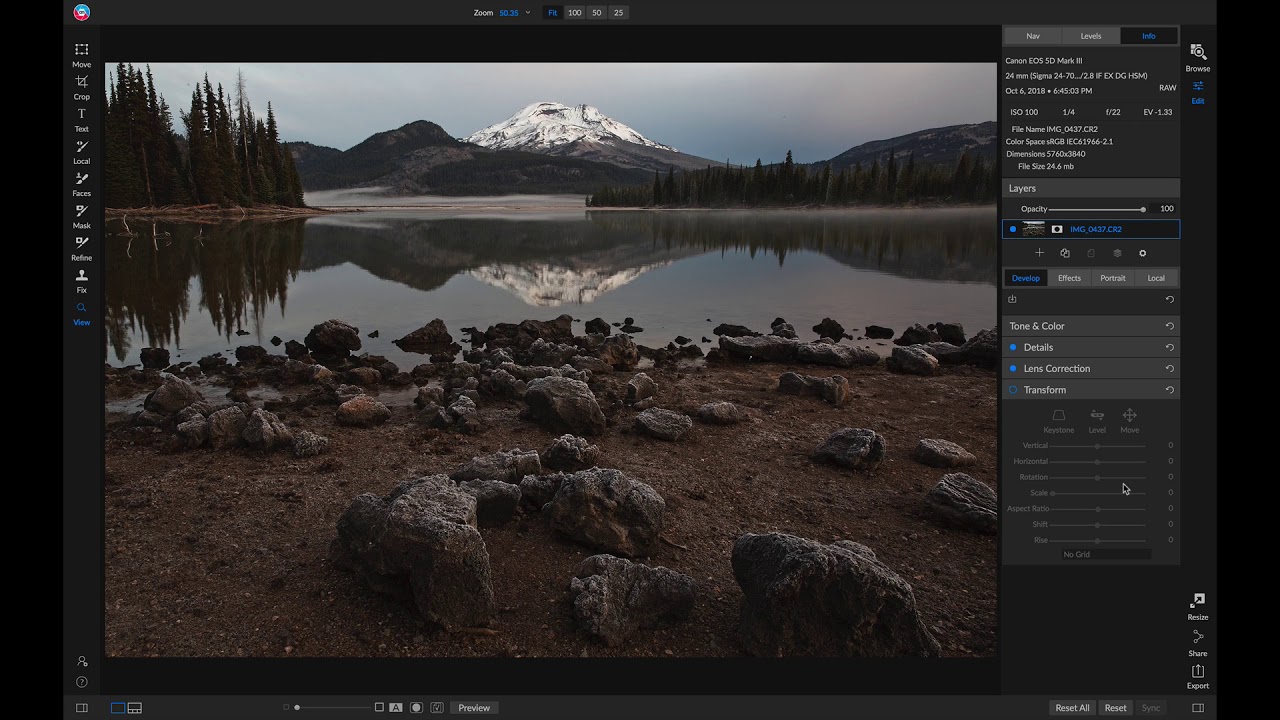
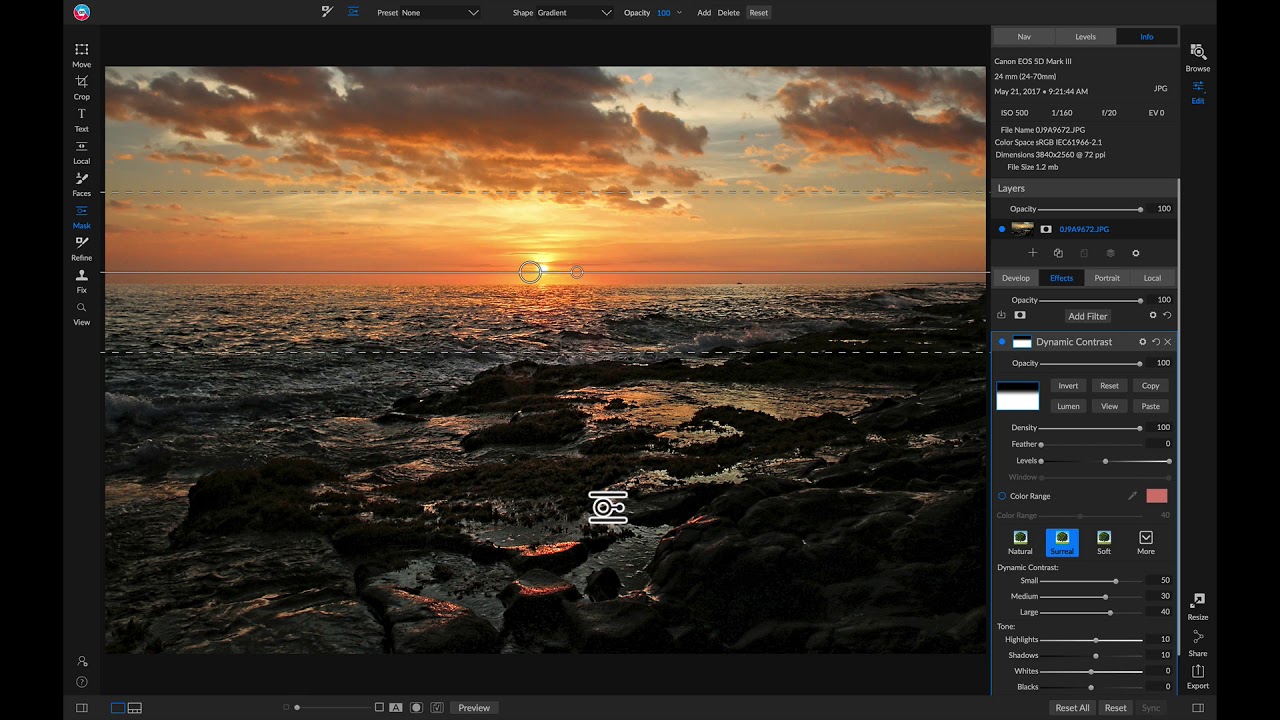
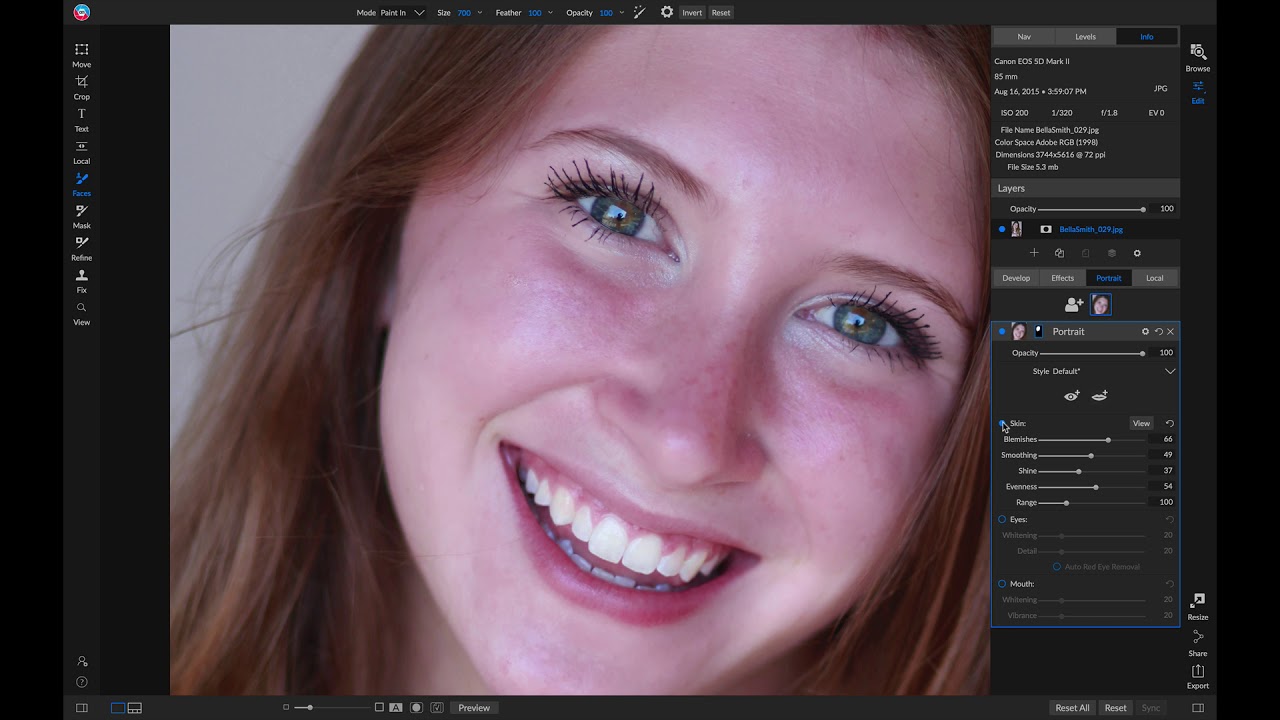
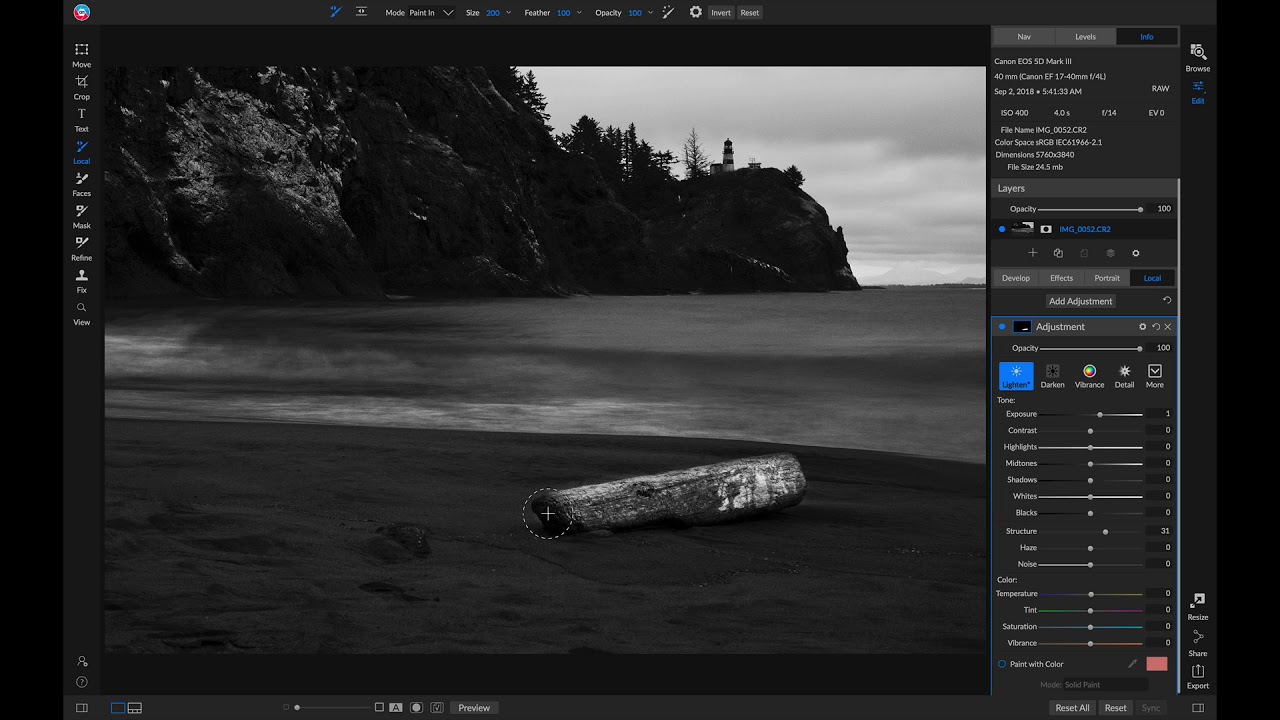
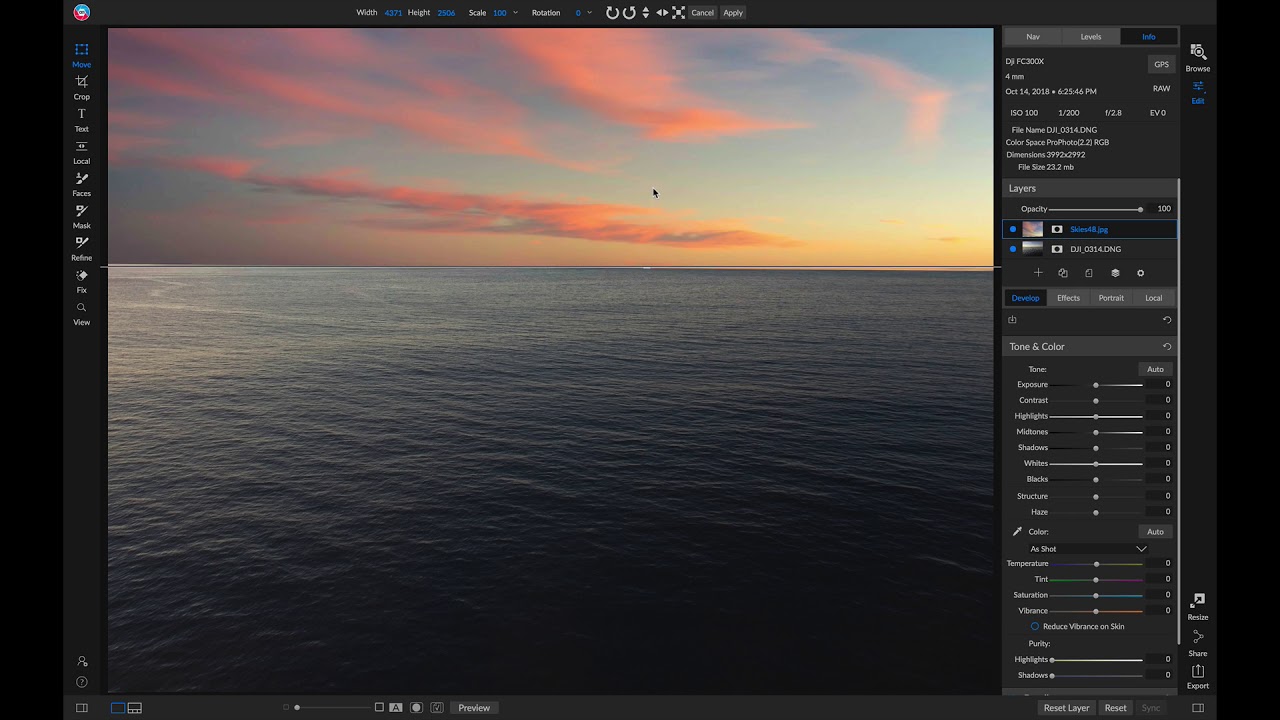
In this video, you are going to learn about the various retouching tools available in ON1 Photo RAW 2019. Each retouching tool has a specific purpose and use-case. The Perfect Eraser can be used to remove larger distracting elements and blemishes from your image with content-aware technology. Use the Retouch Brush to remove small imperfections like dust or blemishes. The Clone Stamp tool is perfect for replacing an area of the image with a sample area from a different part of the image.
Using the Retouching Tools
Published: Nov 1 2018 13541 Views
Getting Set Up with ON1 Photo RAW 2019
By Dylan Kotecki
22830 Views 00:07:05
Get started with ON1 Photo RAW 2019. In this video, you will learn how to find and view your photos quickly. Learn about the modules buttons, and how to navigate and personalize the user interface. In the preferences menu, you will see how you can show/hide labels, change the accent color, preview background color, and...
Editing Your First Photo with ON1 Photo RAW 2019
By Dylan Kotecki
18155 Views 00:06:56
In this video, you are going to see how to edit your first photo and what it means to work on images non destructively. Learn how to crop and navigate the preview area, the Develop tab is the starting point for correcting color and tone, apply sharpening and noise reduction, and lens correction. In the...
Editing Your First Portrait Photo with ON1 Photo RAW 2019
By Dylan Kotecki
7528 Views 00:08:53
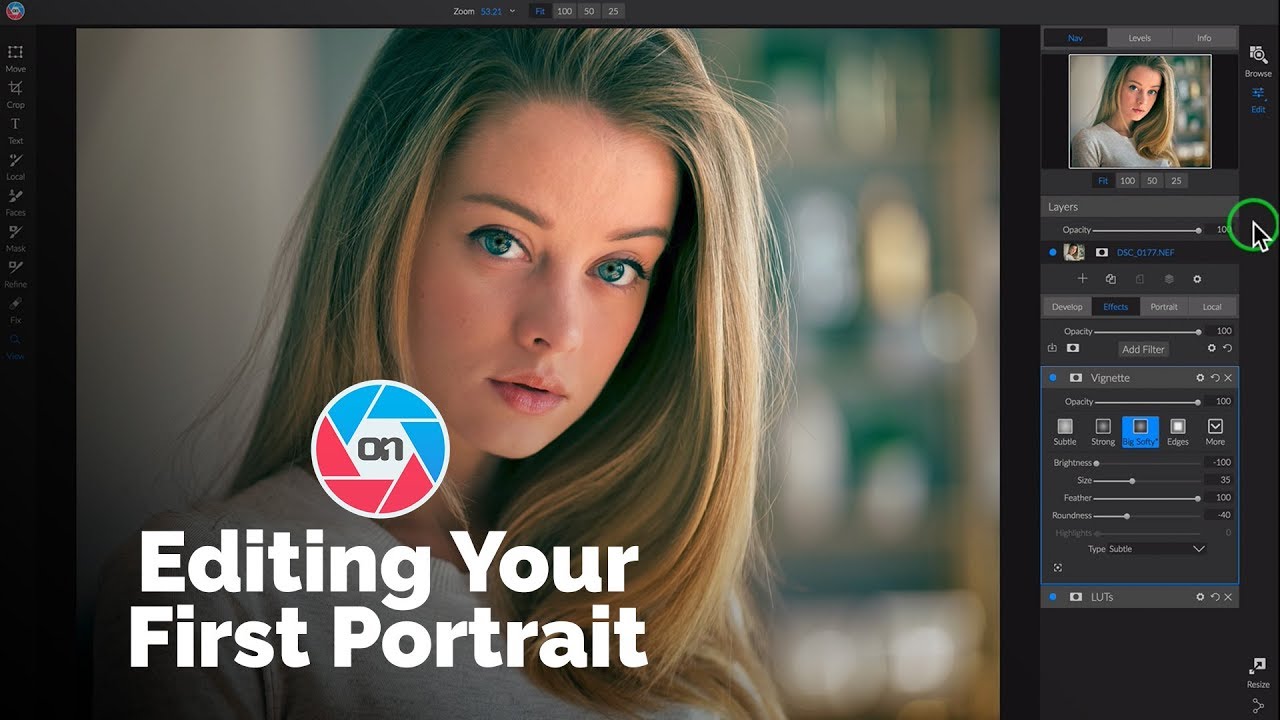
Get started editing your first portrait inside ON1 Photo RAW 2019. Start by learning where your tools and develop sections are. Then we will modify our base look by adjusting Tone & Color sliders. After setting our base look, we will retouch to remove any major blemishes or imperfections. Next we will head into the...
Migrating from Lightroom to ON1 Photo RAW 2019
By Dylan Kotecki
19587 Views 00:02:08
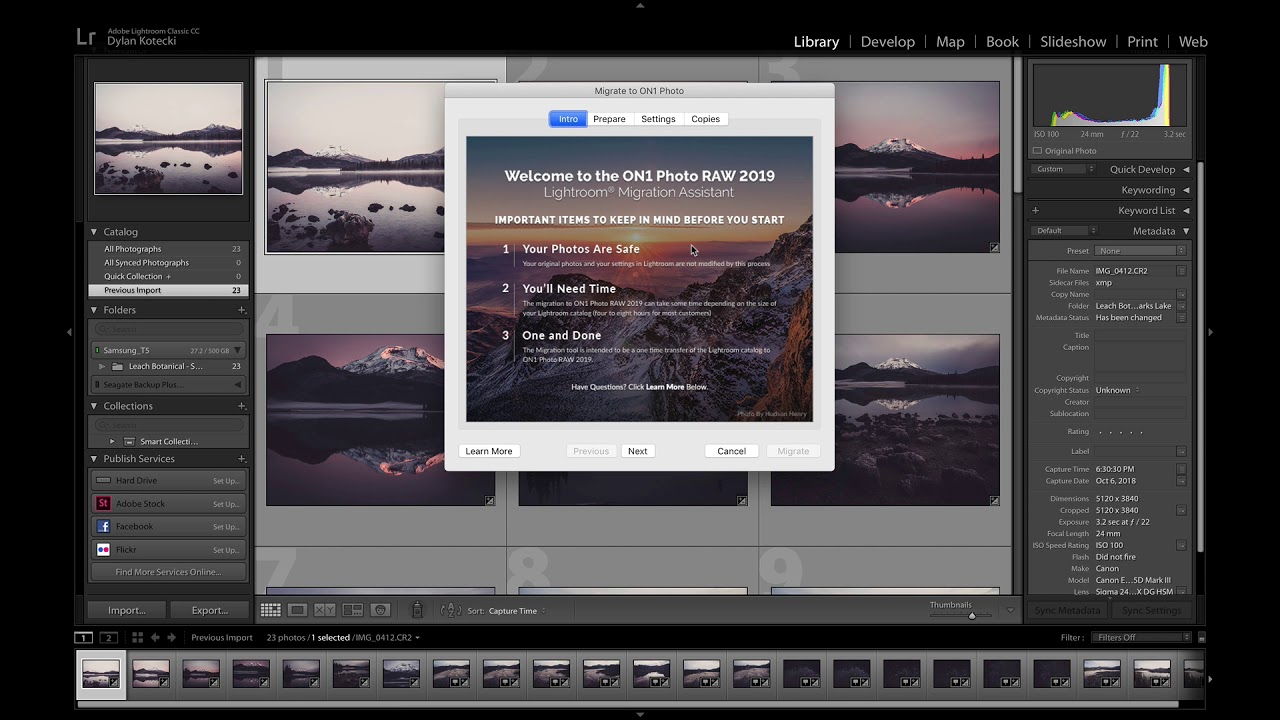
In this video, you are going to learn how to migrate your Lightroom catalog into ON1 Photo RAW 2019. The migration process will take all of your non-destructive settings from Lightroom into ON1—safely. Your original Lightroom settings will remain intact and in Lightroom. After the migration process completes you will be able to view and...
Organizing Photos
By Dylan Kotecki
19555 Views 00:07:57
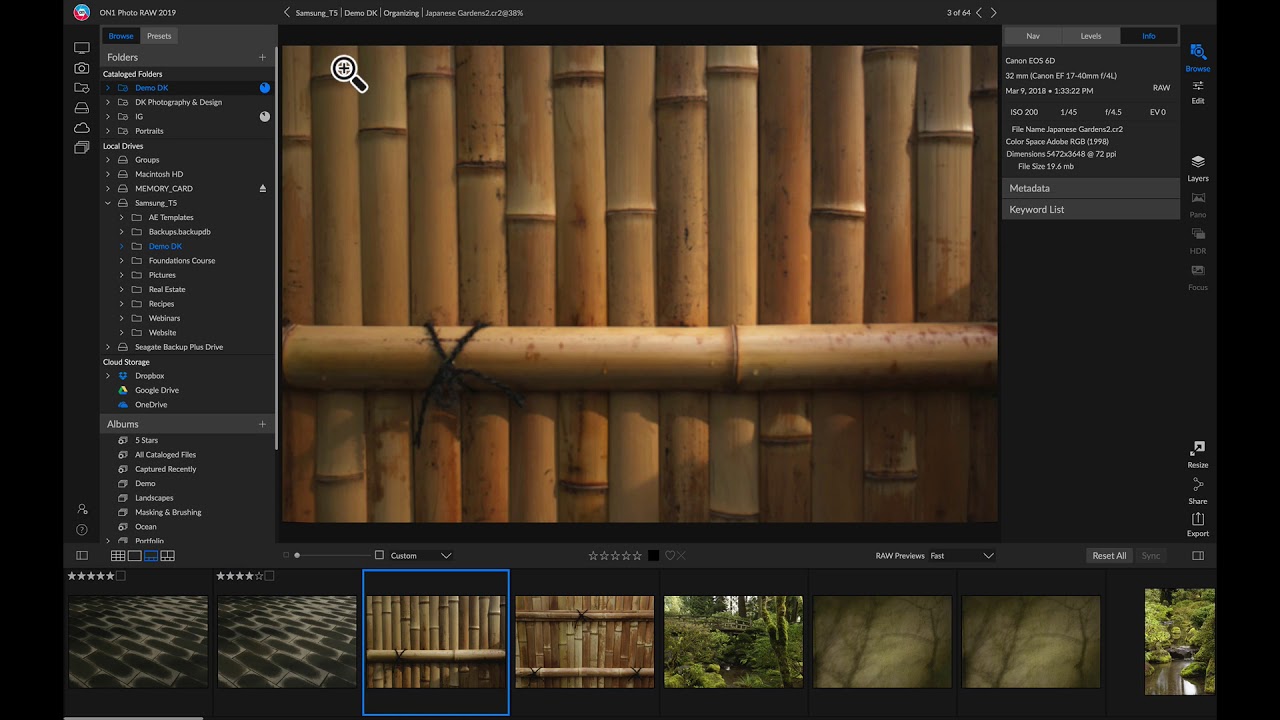
In this video, you are going to learn how to find, browse and organize your photo library. You can import photos from your camera card, add metadata, keywords all in one step. With auto advance turned on, quickly cull through a large batch of images and apply ratings, labels and more. See how a catalog...
Using Develop
By Dylan Kotecki
10232 Views 00:03:00
In this video, you are going to learn how to process a photo in the ON1 Develop tab. Learn how to crop and correct your image by modifying the sliders. Develop is the tab for performing basic global editing operations—adjusting tone and color, removing noise, sharpening and more. It is the perfect place to begin...
Adding & Masking Filters
By Dylan Kotecki
12916 Views 00:03:59
In this video, you are going to learn how to edit and mask filters the ON1 Effects tab. Using a brush and gradient mask tool, you can selectively adjust the effects made for every individual filter in the stack. Take it a step further and see how blending options give you even deeper editing options....
Retouching Portraits
By Dylan Kotecki
11702 Views 00:01:57
In this video, you will learn how to easily retouch a portrait photo. The Portrait tab in ON1 Photo RAW 2019 helps you retouch faces quickly and naturally. Portrait automatically detects each face in your photo and can retouch and smooth skin as well as brighten and sharpen eyes and whiten teeth all at once,...
Using the Retouching Tools
By Dylan Kotecki
13541 Views 00:02:26
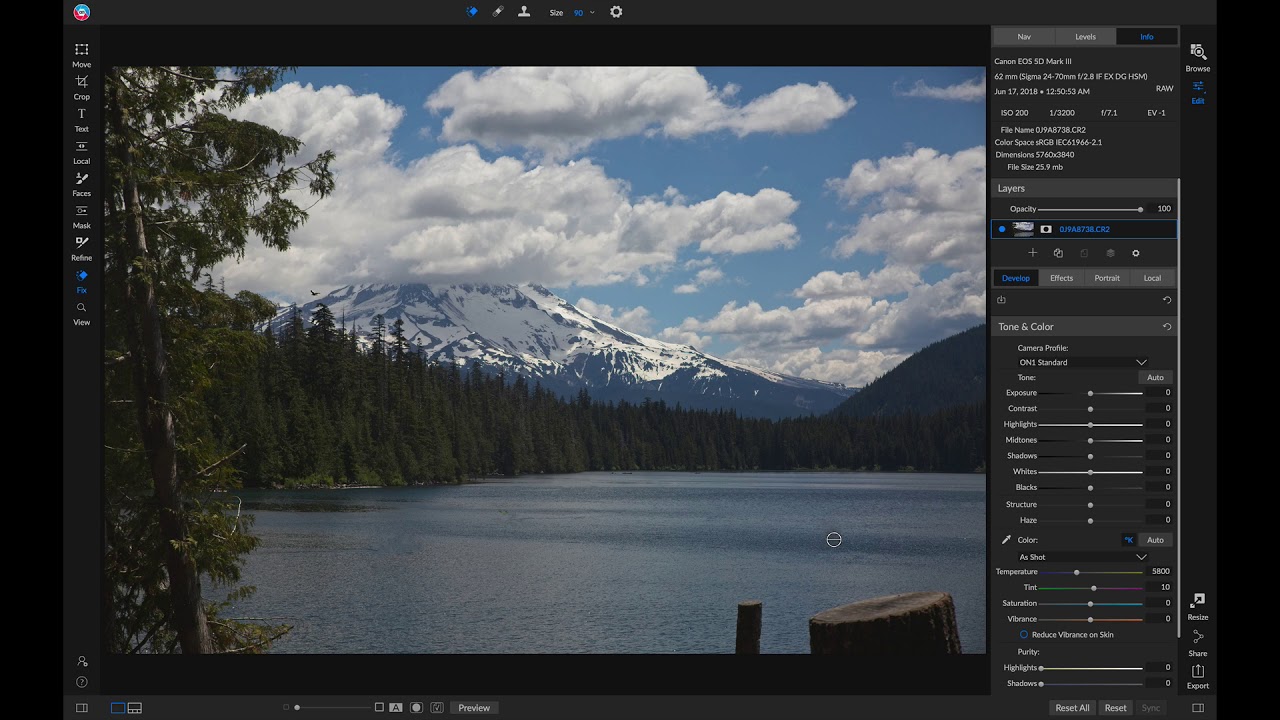
In this video, you are going to learn about the various retouching tools available in ON1 Photo RAW 2019. Each retouching tool has a specific purpose and use-case. The Perfect Eraser can be used to remove larger distracting elements and blemishes from your image with content-aware technology. Use the Retouch Brush to remove small imperfections...
Using Local Adjustments
By Dylan Kotecki
13313 Views 00:02:29
In this video, you will learn how to take advantage of the powerful Local tab in ON1 Photo RAW 2019. Local adjustments can be used to apply a gradient filter to darken a sky, for example, or to add a more complicated vignette to an image. Local adjustments are in essence a mask that is...
Using Layers
By Dylan Kotecki
19108 Views 00:02:13
In this video, you will learn about the possibilities with using Layers in ON1 Photo RAW 2019. In this video, you will learn about the possibilities with using Layers in ON1 Photo RAW 2019. The Layers functionality inside ON1 Photo RAW 2019’s Edit module lets you create quick composites, blend multiple images together, paint in new...
Using HDR
By Dylan Kotecki
14060 Views 00:01:40
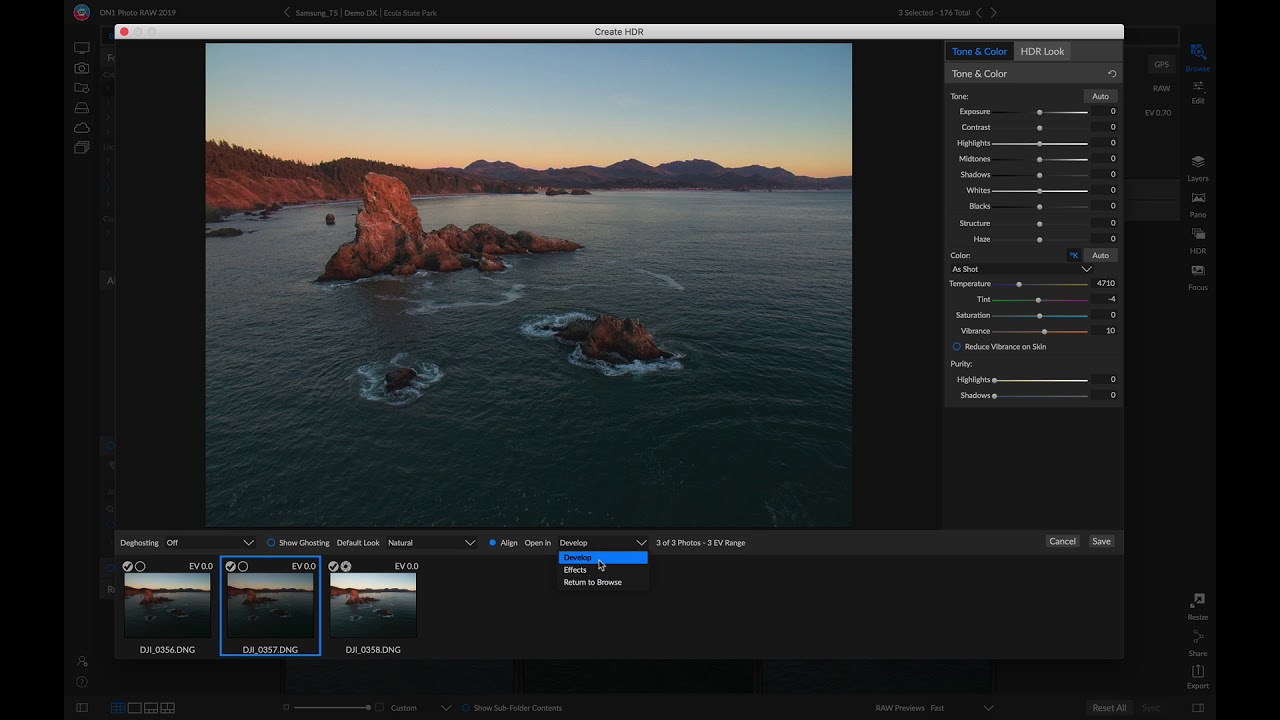
In this video, you will learn how to use the ON1 HDR dialog. See how to take a bracket of images and merge a high dynamic range (HDR) photo creation. This feature lets you take multiple shots of a scene, at varying exposure levels—accurately capturing shadows, midtones and highlights in different frames across the series—and...
Stitching Panoramas
By Dylan Kotecki
19804 Views 00:01:04
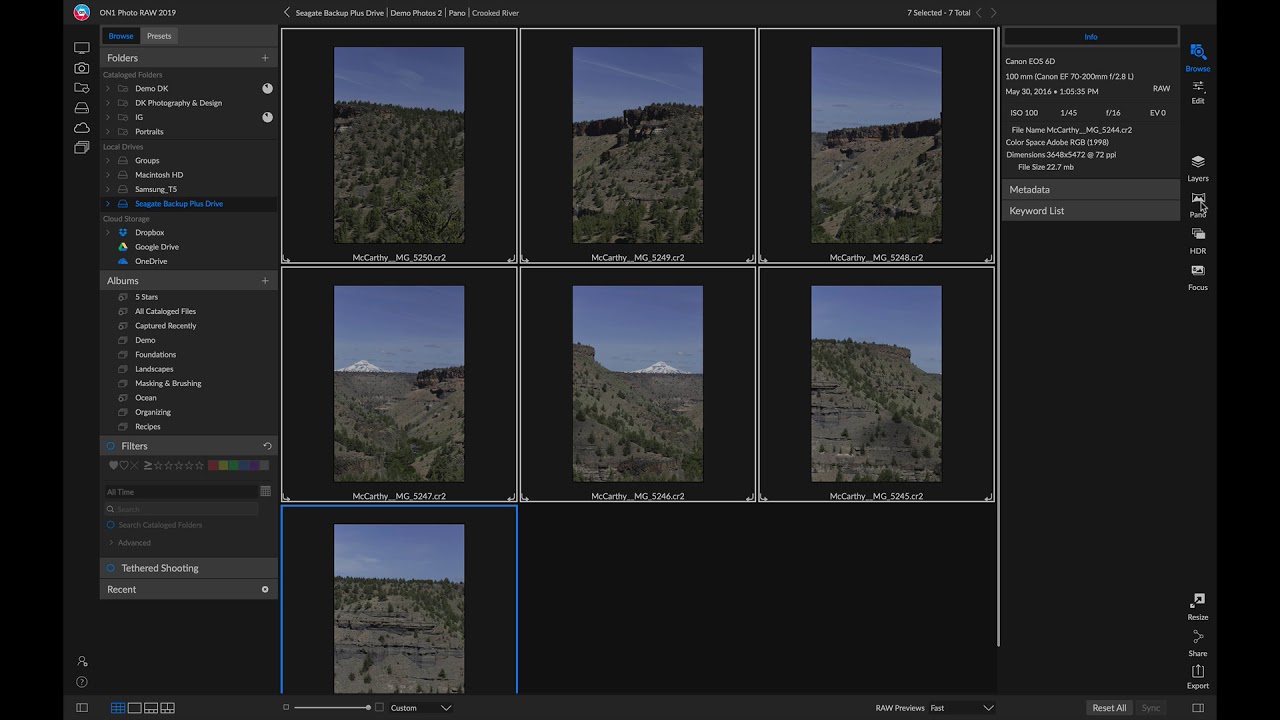
In this video, you will learn how to stitch multiple photos together to make a single panoramic photo. Panoramas are composite photos created from multiple individual frames of a scene. While they’re often thought of as wide, narrow images, panoramas can be horizontal or vertical, wide or compact. They give you a much higher quality...
Focus Stacking
By Dylan Kotecki
31132 Views 00:01:14
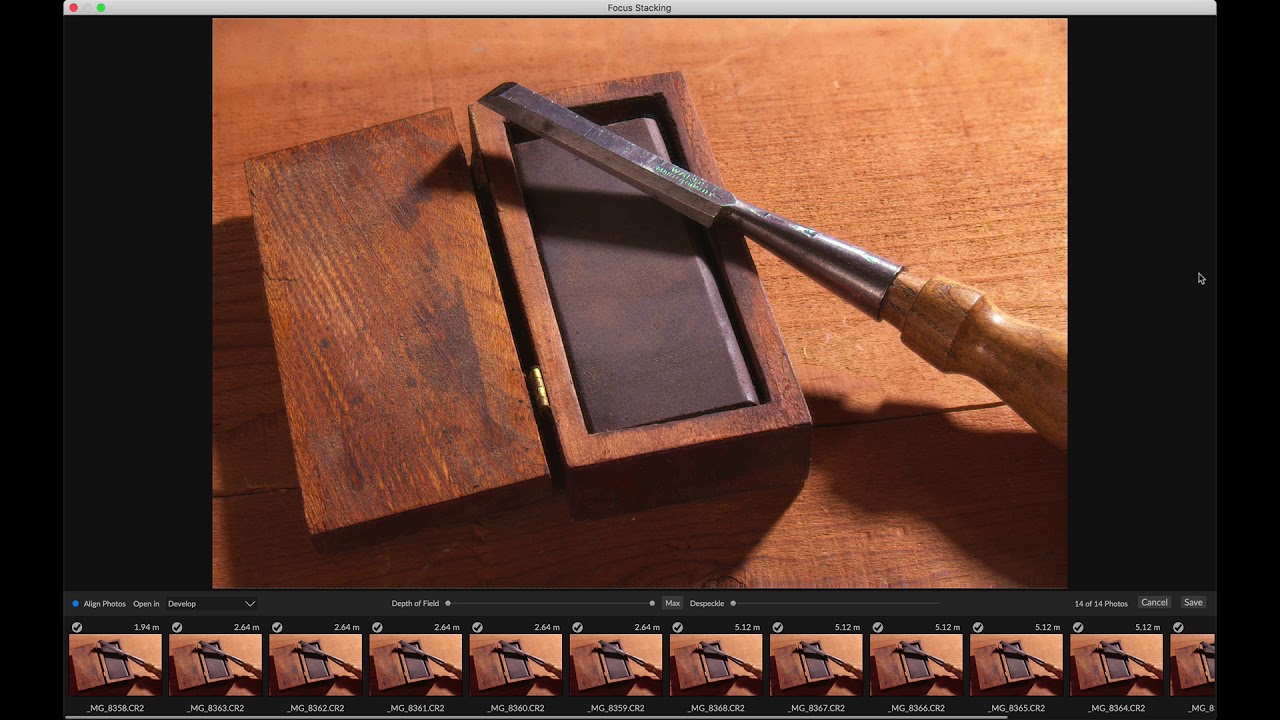
In this video, you will learn how to stack a series of photos with different focus points to generate an incredibly sharp single photo. Simply select the photos that you wish to blend and click on the Focus icon in the selector on the right side of the interface. This will launch the Focus Stacking...
Using Photo RAW 2019 as a Plug-in
By Dylan Kotecki
9474 Views 00:02:59
In this video, you will learn how to access ON1 Photo RAW 2019 as a Plug-in for popular host applications such as Lightroom, Photoshop and Apple Photos.
Preparing Prints, Resizing, and Exporting
By Dylan Kotecki
19794 Views 00:03:29
In this video, you will learn about the finals steps to editing—how to print, resize and export your photos.
Download the course assets and watch the videos offline. Depending on your internet speed you may need to download one at a time. Learn on-the-go without worrying about your internet connection. This content is yours to have and keep forever.


